24 Easy Tattoo Drawings You Can Sketch Tonight
Twenty-four tattoo drawings simple enough to sketch on a napkin, chosen because they also work as real tattoos, with notes on line weight, placement and how to hand your sketch to an artist.
What Makes a Drawing Easy to Tattoo
An easy drawing and an easy tattoo are not always the same thing. On paper you can scribble, erase, layer and shade with the side of a pencil. On skin every line is a permanent decision, and it will spread slightly as it heals. So the drawings that translate best are the ones built from few strokes, generous spacing and shapes that survive a little blur.
Three rules cover most of it. First, keep the smallest gap between two lines wider than the lines themselves; if you can't see daylight between them in your sketch at final size, the tattoo will close up into a blob within a few years. Second, avoid tiny interior detail inside a shape under an inch, such as five whiskers on a two-centimetre cat face. Third, close your shapes or leave them deliberately open, but don't leave accidental gaps that look like mistakes.
A practical test: draw your design at the actual size you want the tattoo, in ballpoint or a 0.5 mm fineliner, then photograph it and shrink the photo on your phone until it fills a thumbnail. If it still reads instantly, it will read on skin. If it turns into fuzz, simplify or scale up by 20 percent.
You do not need drawing talent for any of the twenty-four ideas below. You need patience with the same shape five times, and a willingness to throw away the first four.
One-Line Drawings: Six Designs Made Without Lifting the Pen
Continuous-line drawing is the friendliest entry point because the challenge is committing to one path, not rendering. Practise with a pen on paper, never a pencil, so you learn to accept the line you made.
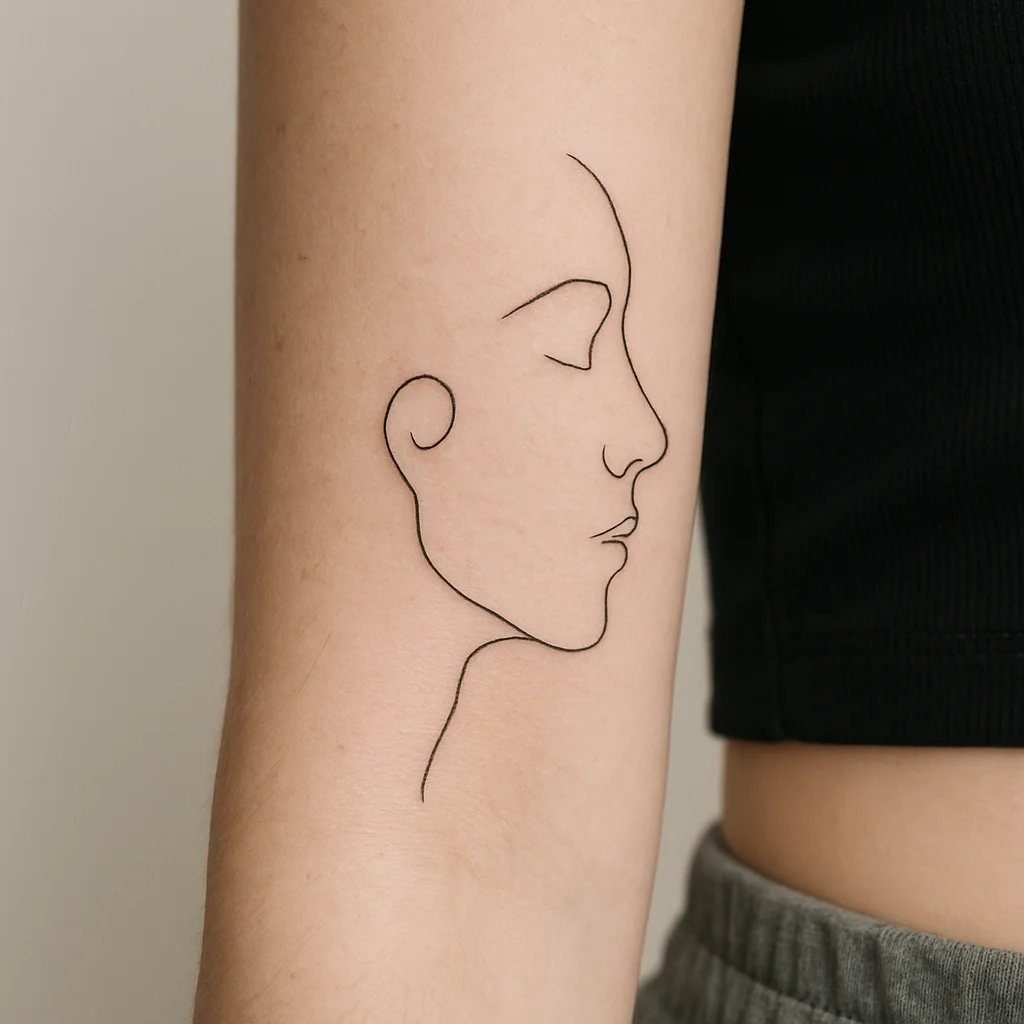
1. Continuous-line face profile
One unbroken stroke sketches a forehead, nose, lips and chin, then loops back into a curl of hair. Keep the nose blunt rather than pointy, since a sharp corner is where line weight collapses. It suits the inner forearm at three to four inches tall, where the vertical space matches the shape.
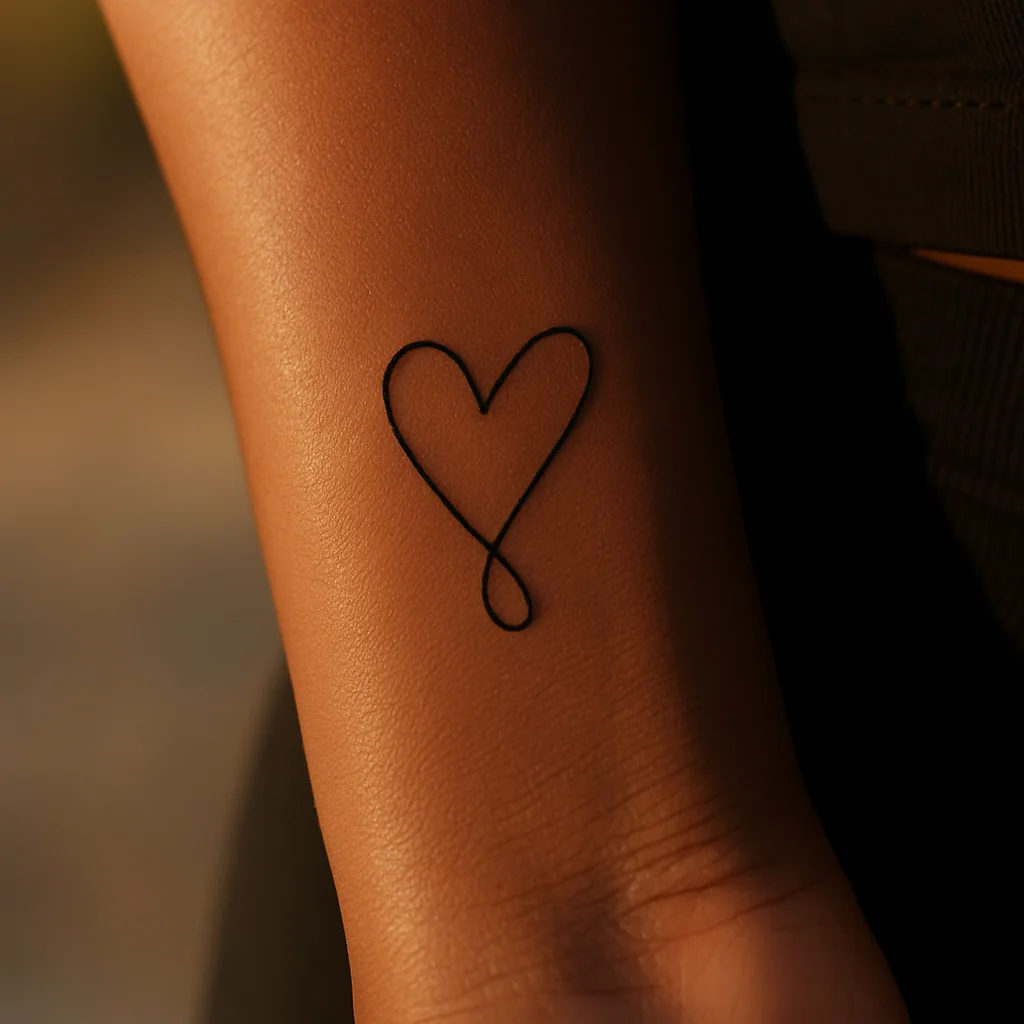
2. One-line heart with a single loop
Start at the bottom point, sweep up and over both humps and finish by crossing the start line into a small tail. That crossing point is the whole charm, so ask the artist not to clean it up. Two inches on the side of the wrist is the sweet spot.
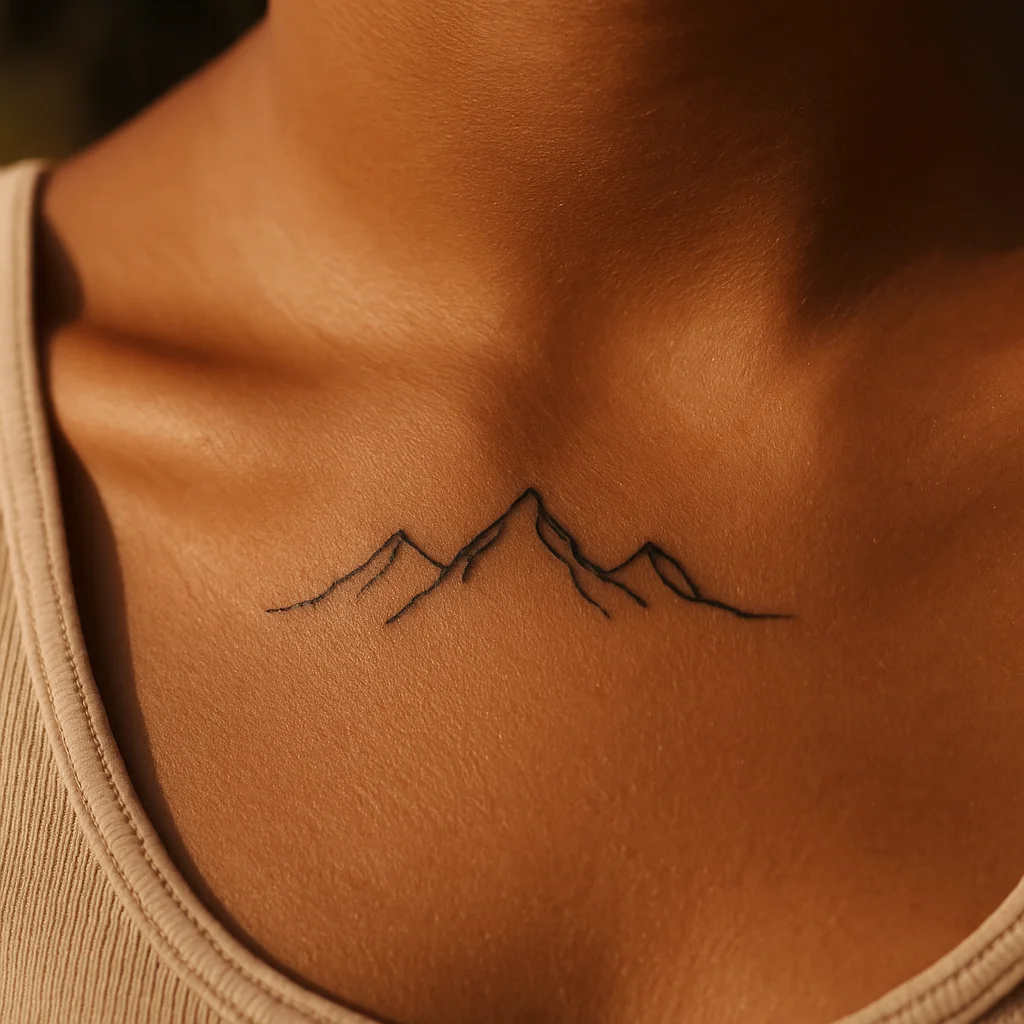
3. Single-line mountain range
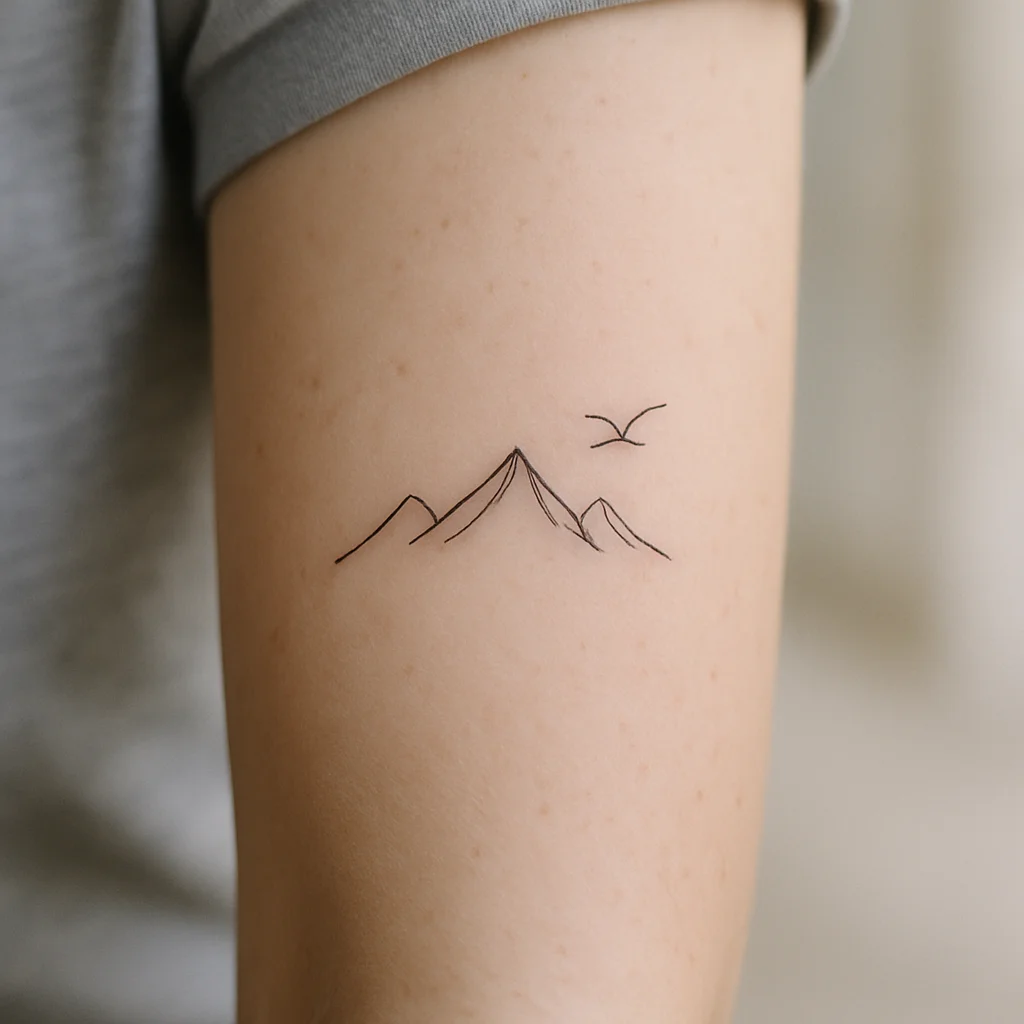
A zigzag of three peaks with one long valley, drawn without a base line so it floats. Vary the peak heights, otherwise it reads as a graph. Works beautifully as a two to five inch band under the collarbone or across the outer forearm.
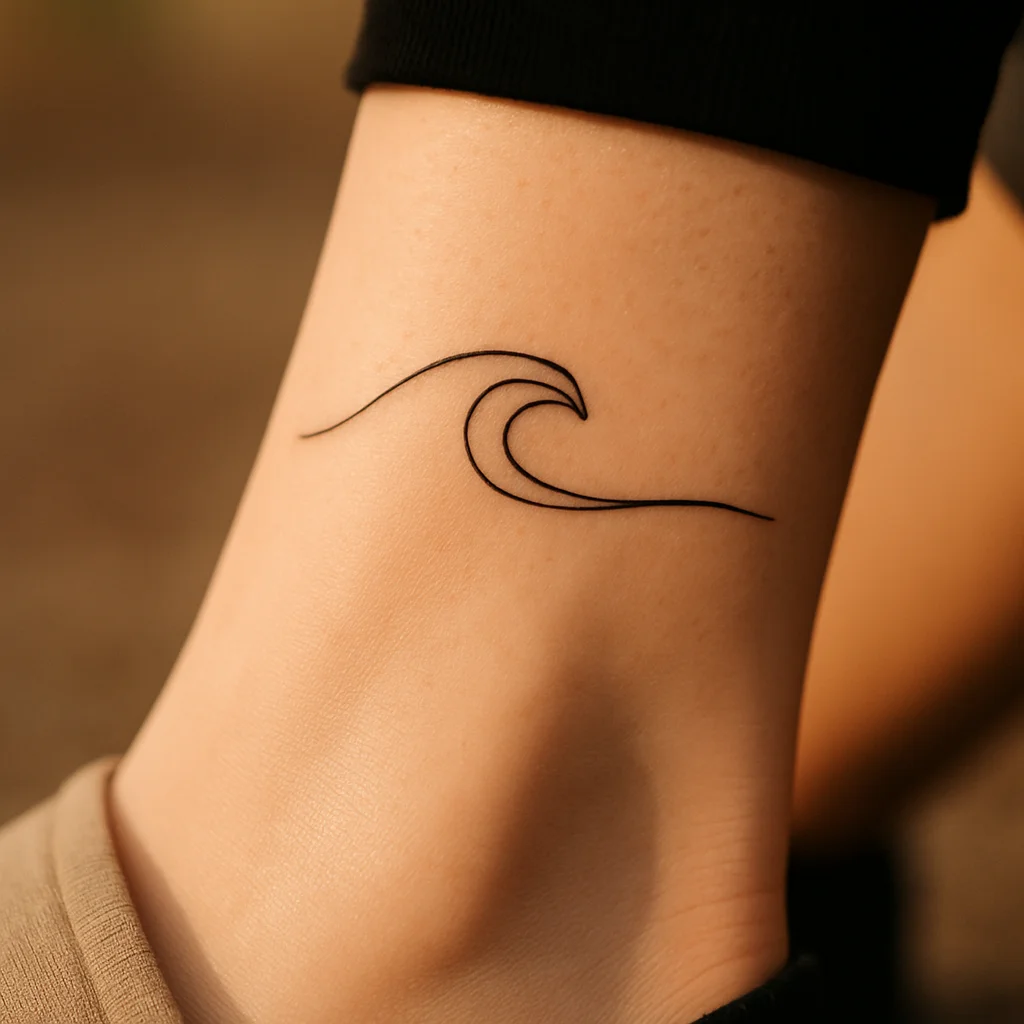
4. One-line wave
A single curve that curls over itself at the crest and trails into a thin taper. Ask for the taper to be tattooed with a needle lift rather than a shrinking line, which keeps it from looking chewed. Great on the ankle, wrapping about a third of the way round.
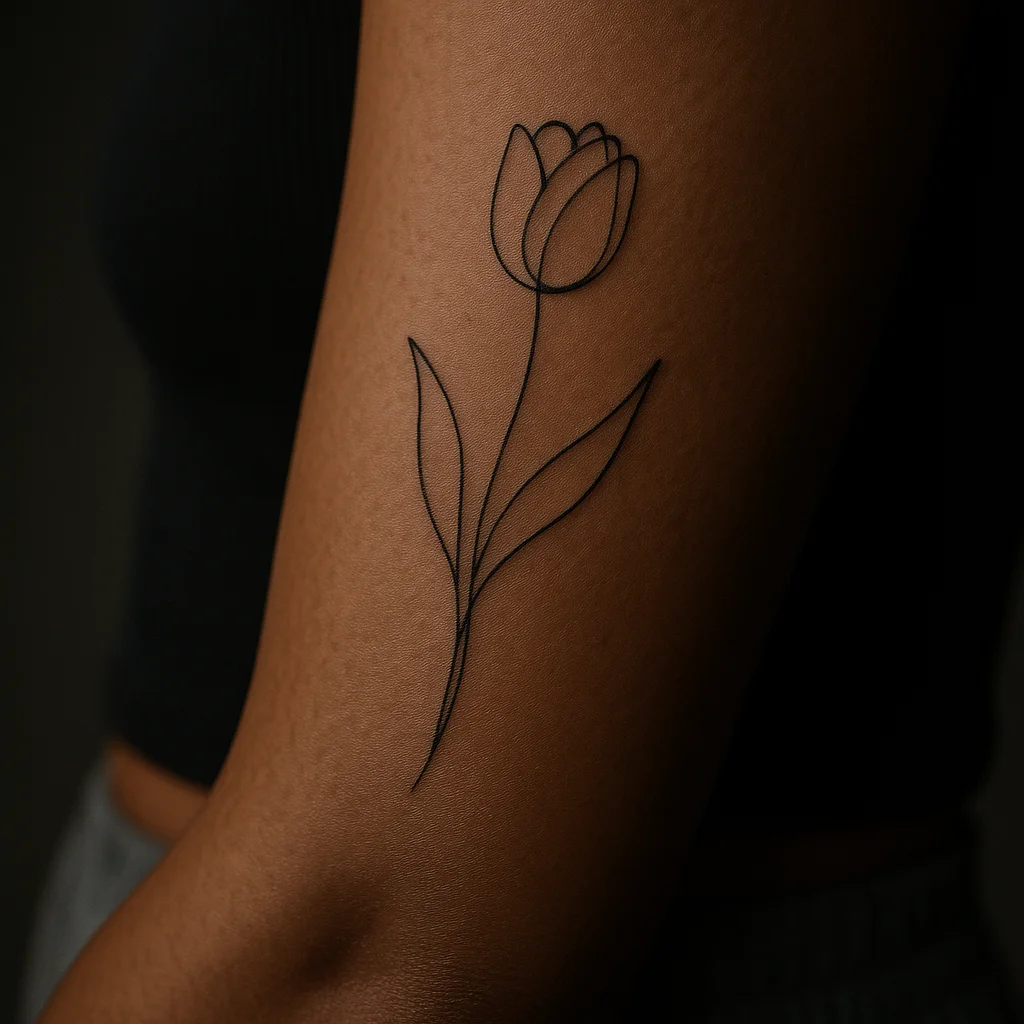
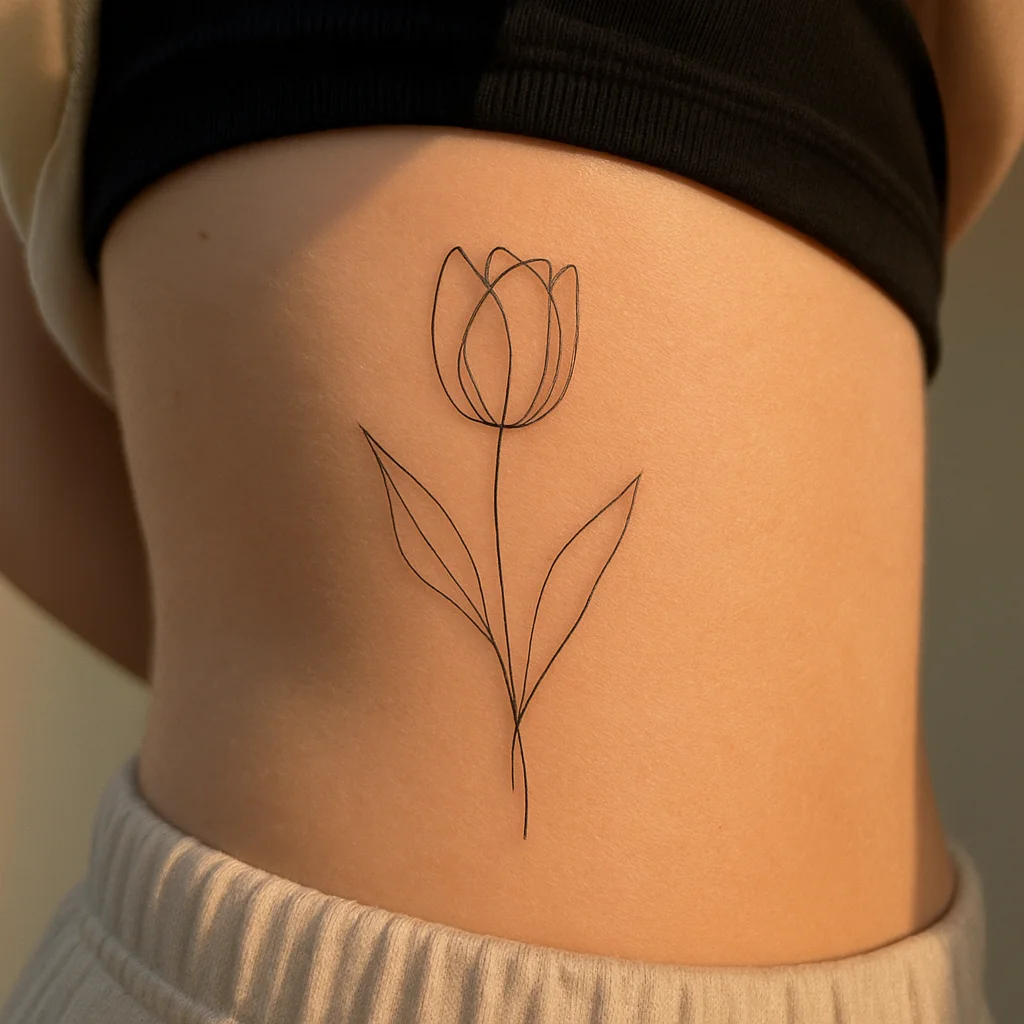
5. Continuous-line tulip
Three petal curves and a stem in one pass, with two leaves as fat lens shapes. Tulips are more forgiving than roses because they have no spiral centre to muddy. Three inches on the ribs or two inches behind the arm.
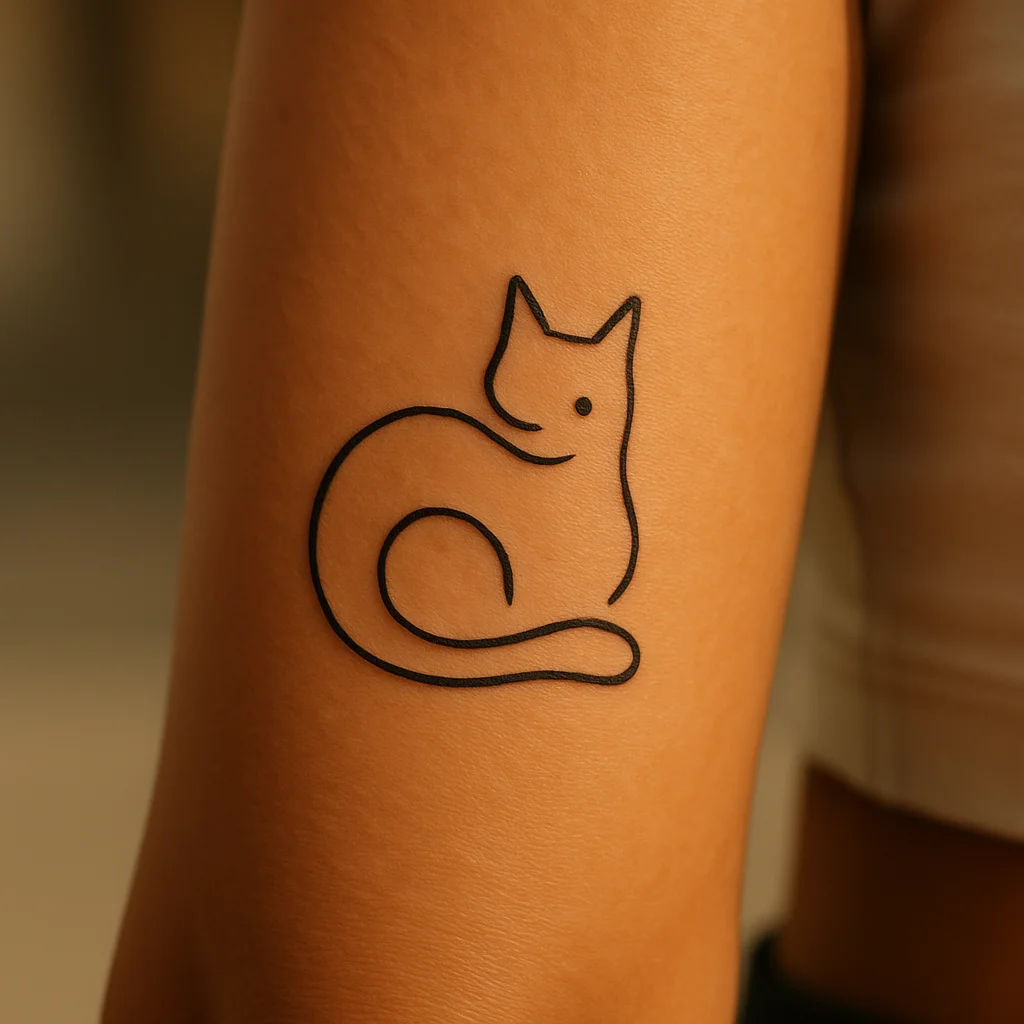
6. One-line curled cat
A single loop describes the back, tail and two ear points, with a dot for the eye and no other interior detail. This is the design most people redraw badly by adding a face, so resist. Two to three inches on the outer forearm or above the ankle bone.
Little Nature Sketches: Eight Drawings Built From Basic Shapes
These are the doodles you already draw in margins. What makes them work as tattoos is deciding line weight up front: one consistent thickness reads graphic and clean, while a slightly heavier outline with thinner interior marks gives depth without shading.
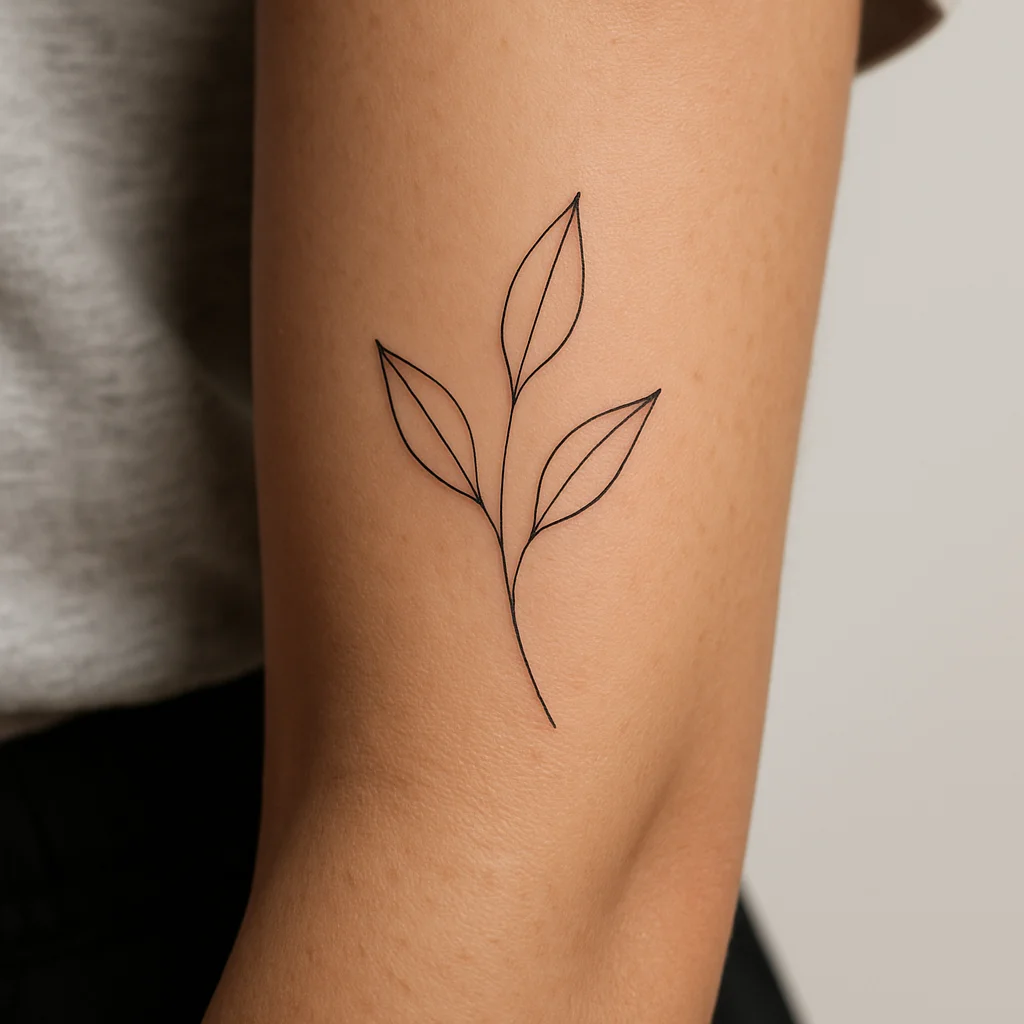
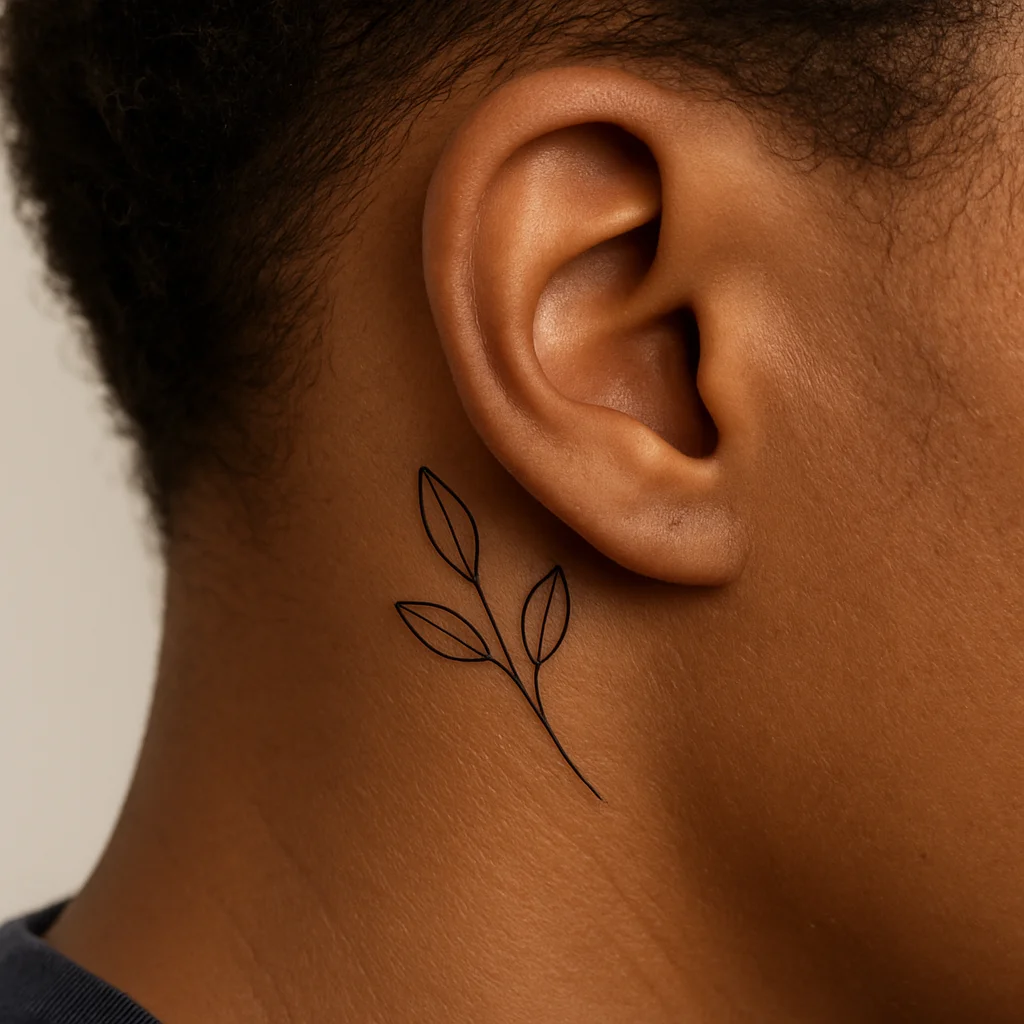
7. Three-leaf sprig
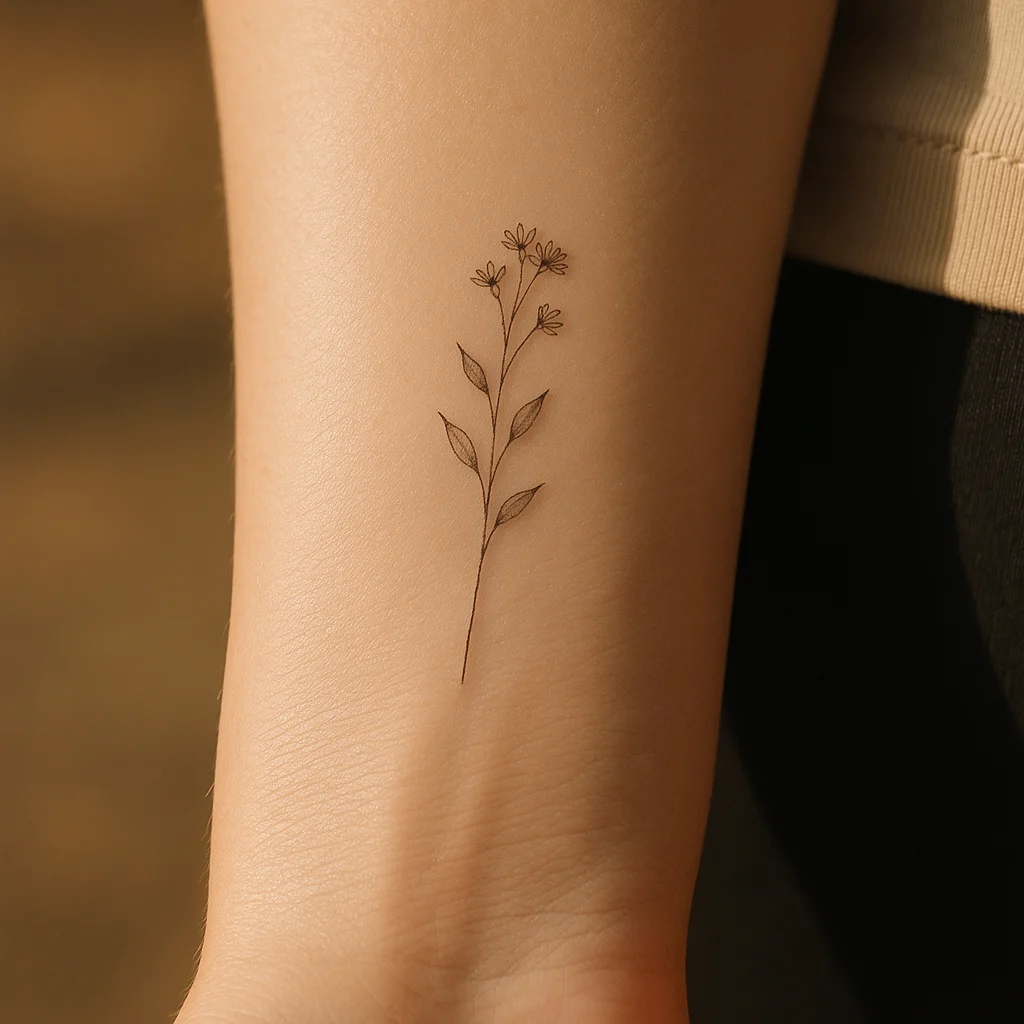
A gently bent stem with three teardrop leaves, one at the tip and two staggered below. Draw the leaves as two arcs meeting at both ends rather than filling them in solid, so the piece stays airy. At one to two inches it fits the finger side, behind the ear or the top of the foot.
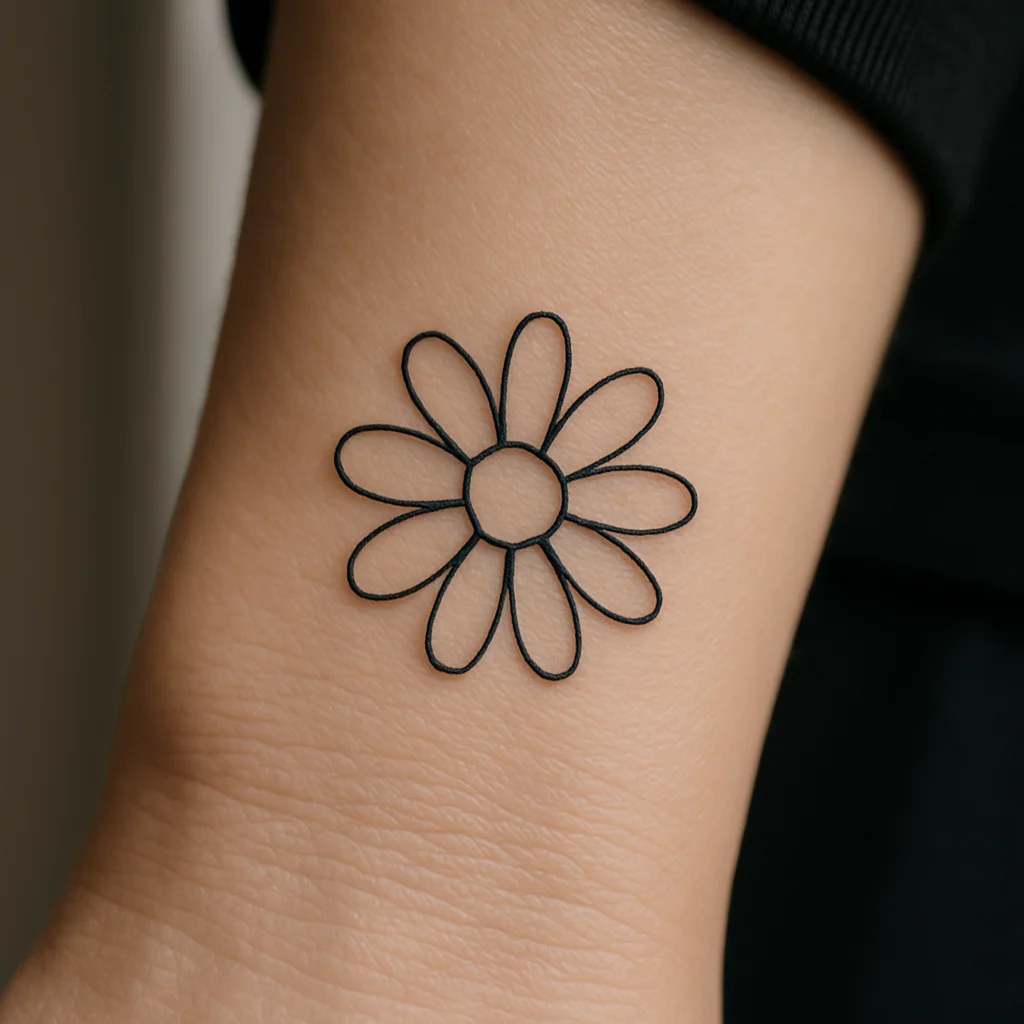
8. Simple daisy
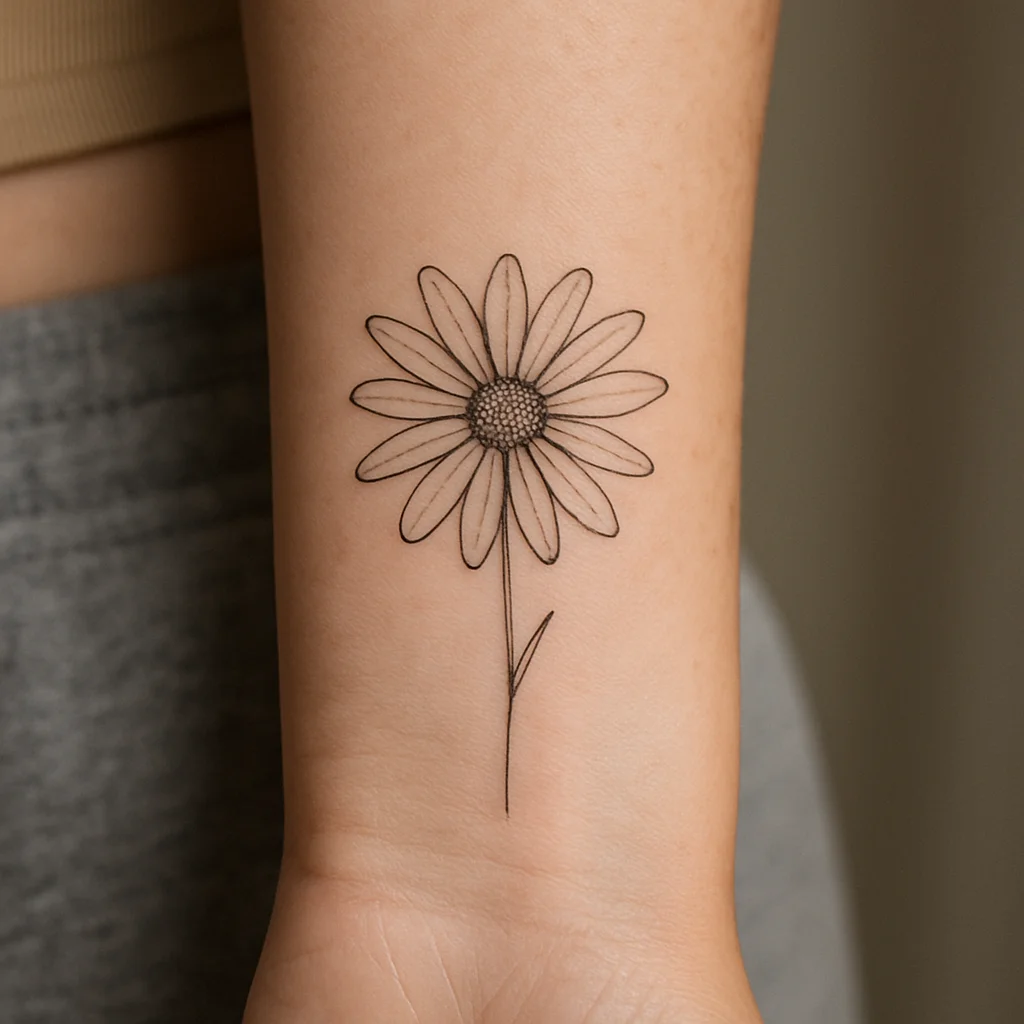
Six or seven rounded petals around an open circle, never a solid dot centre if the flower is under an inch. Odd petal counts look more natural than even ones. Two inches on the inner wrist is classic; three inches on the shoulder blade lets you add a second, smaller bloom.
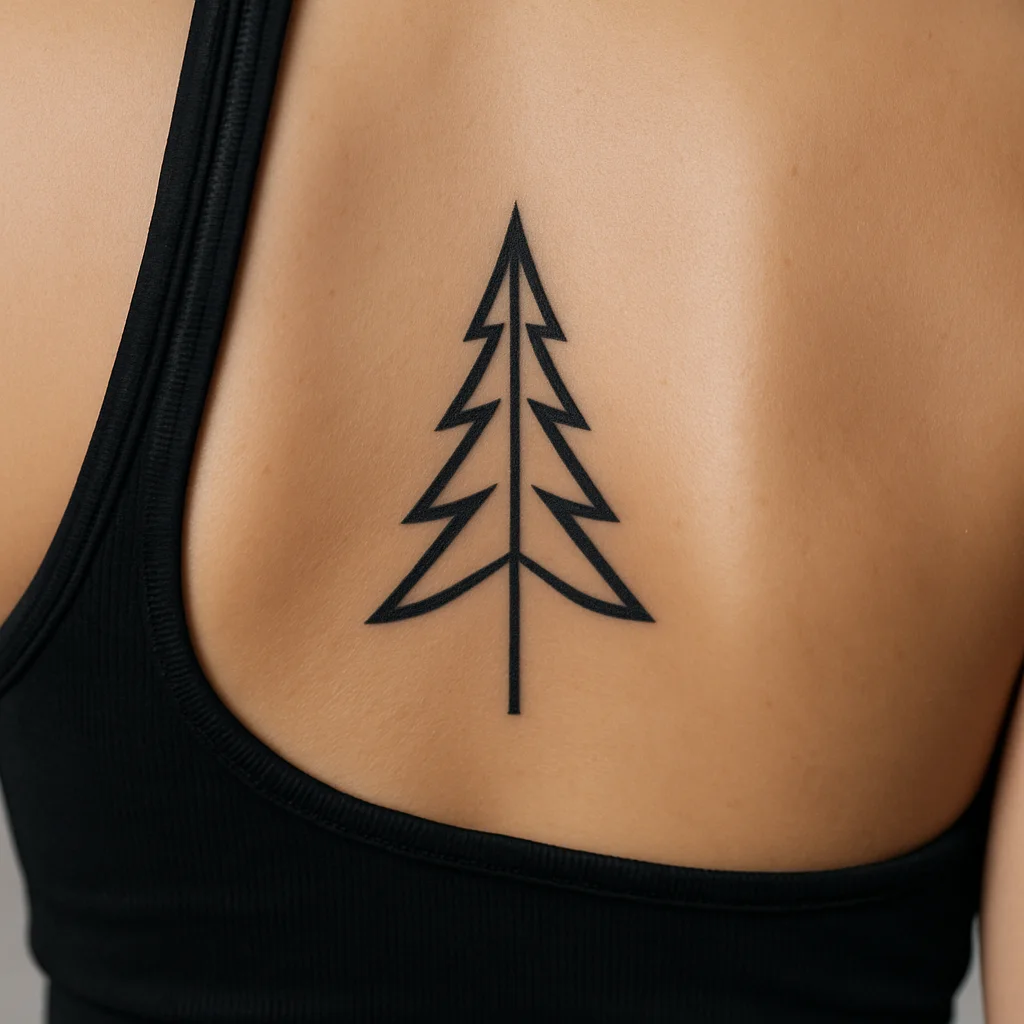
9. Pine tree triangle
Two long diagonals with three horizontal notches cut into each side and a short trunk. The notches are the only detail, so space them unevenly. A one-inch version tucks behind the ear; a three-tree row of two inches each works along the spine.
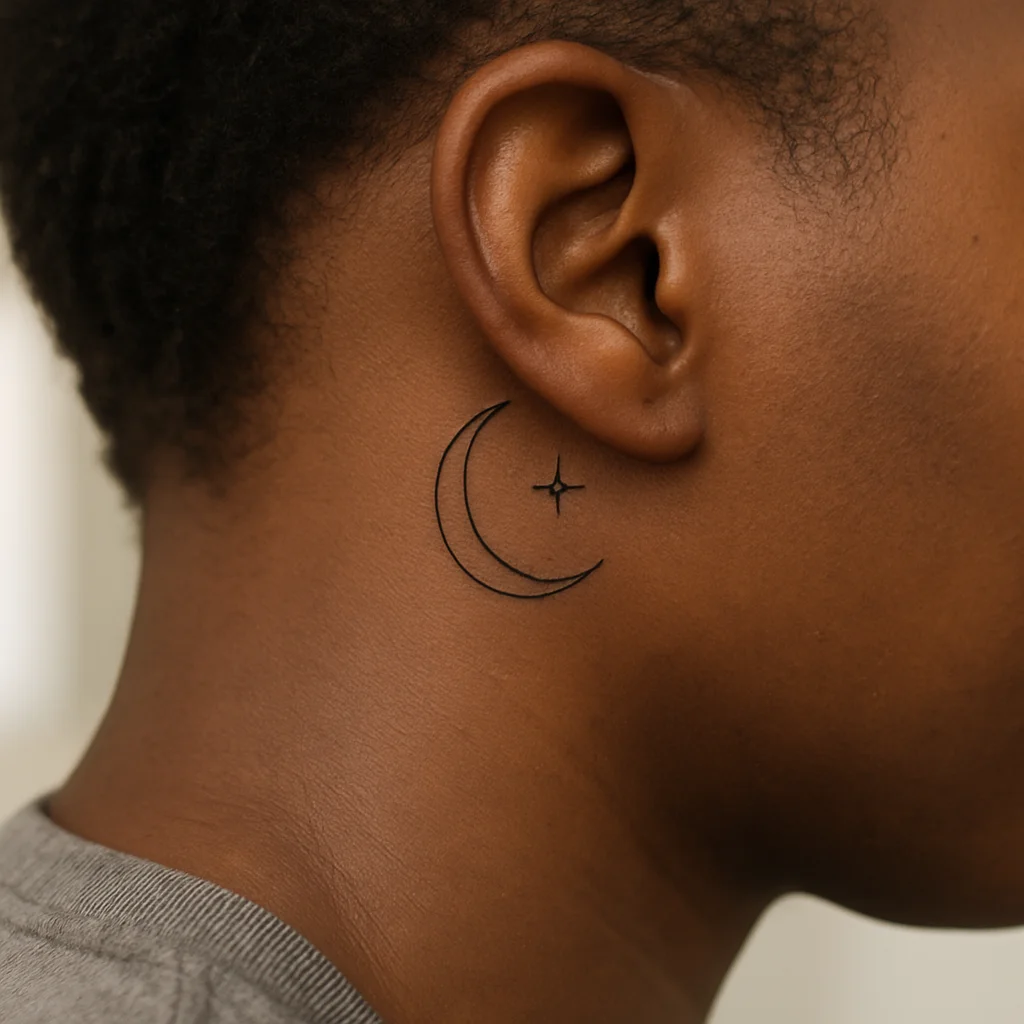
10. Crescent moon with a single star
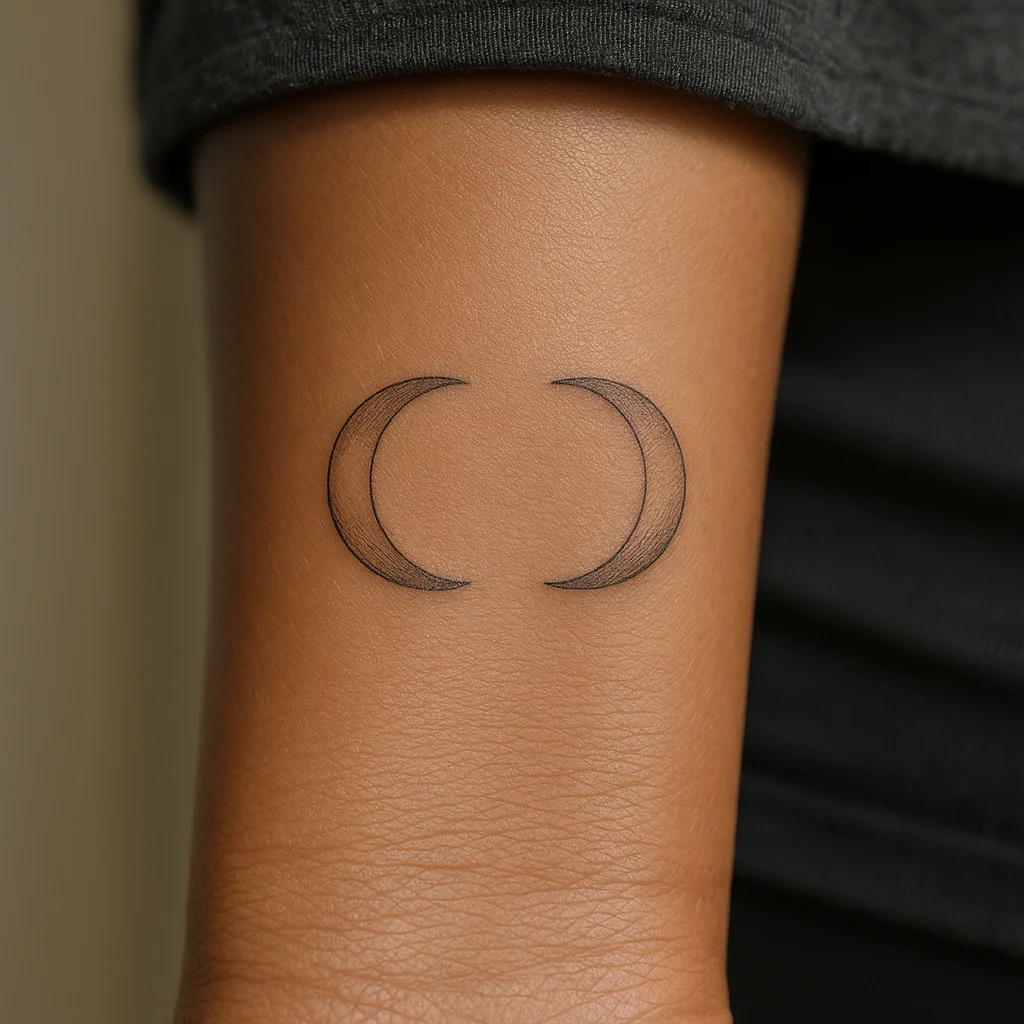
Two arcs of different curvature form the crescent, and one four-point star sits just off the inner curve, not touching it. Leaving that gap is what keeps it from filling in. Small enough for a finger, better at one and a half inches behind the ear.
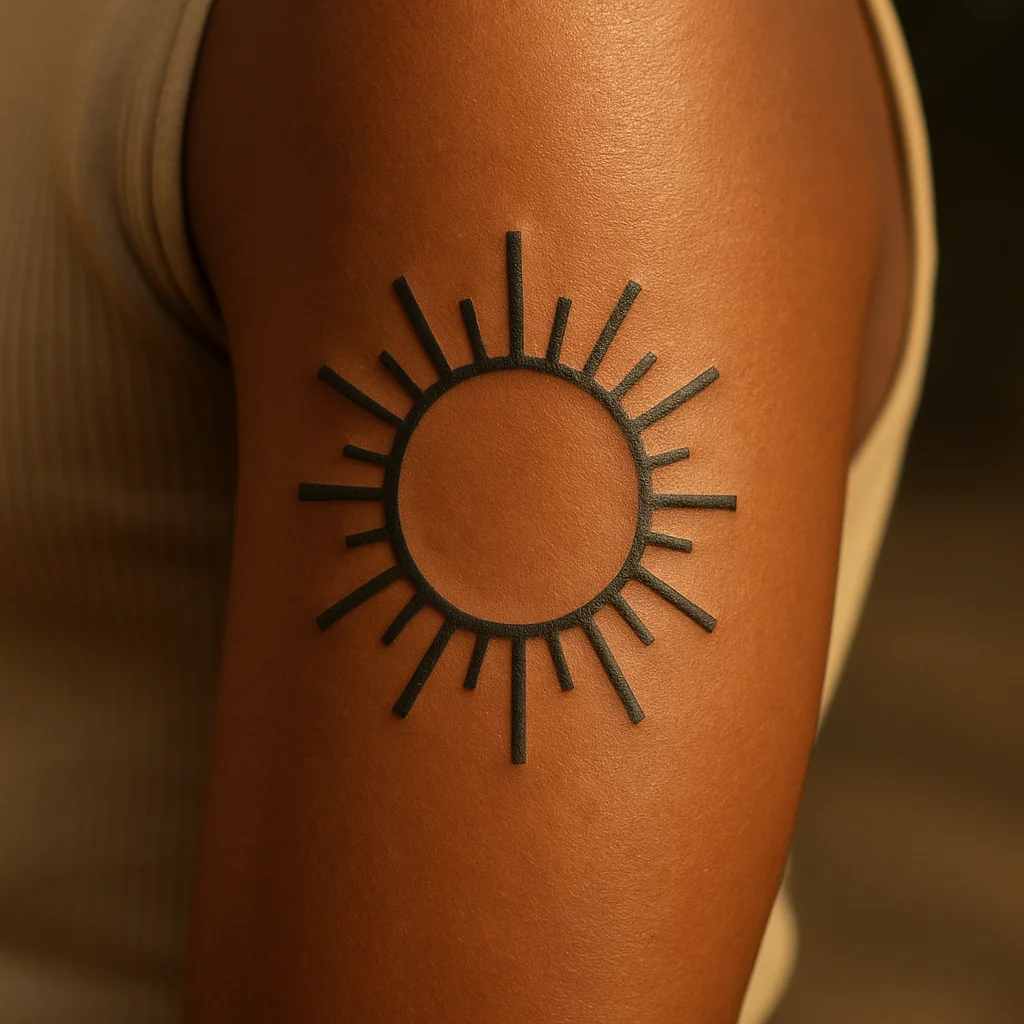
11. Sun with straight rays
A hollow circle ringed by eight to twelve straight dashes, all the same length, all the same distance from the circle. Uniformity is the difficulty here, which makes it a great compass and ruler project. Two to three inches on the upper arm or the back of the shoulder.
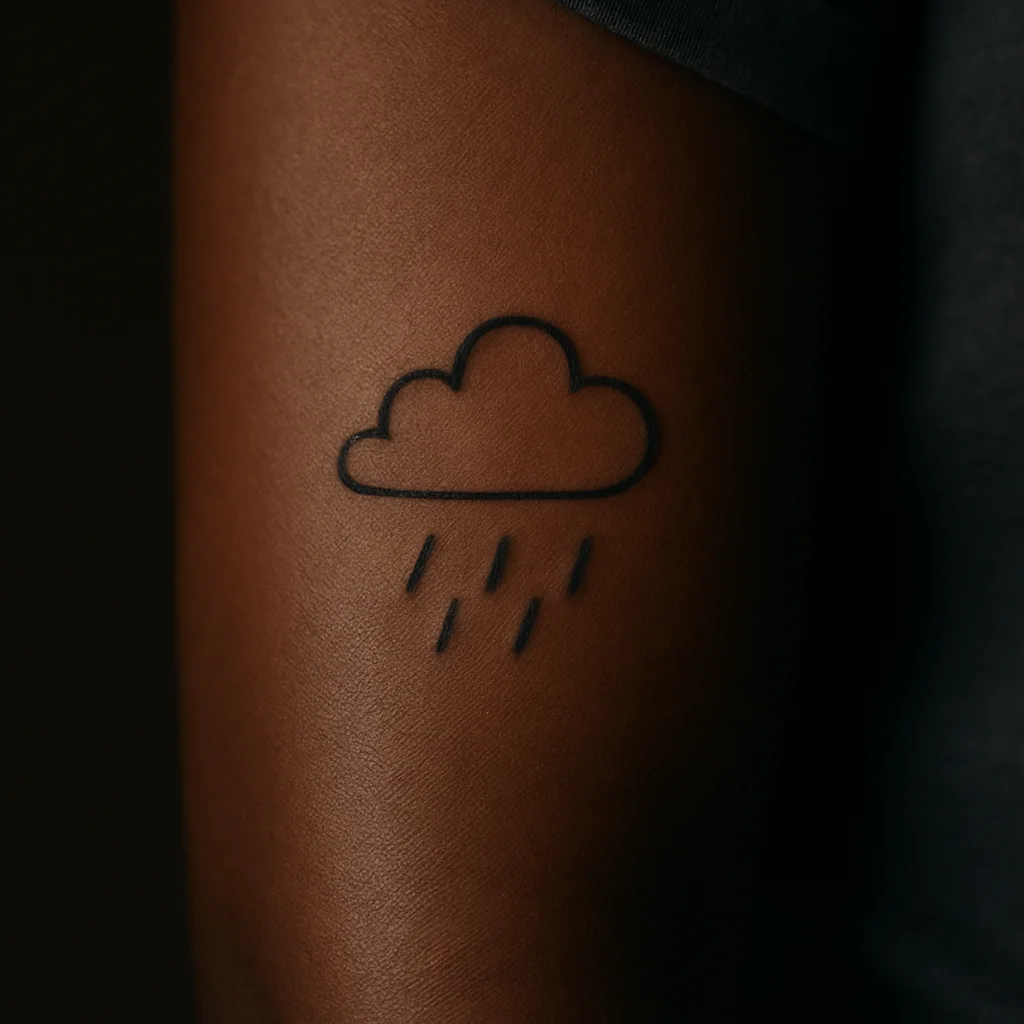
12. Small cloud with rain dashes
Three overlapping bumps on a flat base with four short vertical dashes beneath. Keep the dashes at least two line widths apart so the rain does not merge into a grey smudge. One and a half inches on the inner arm above the elbow.
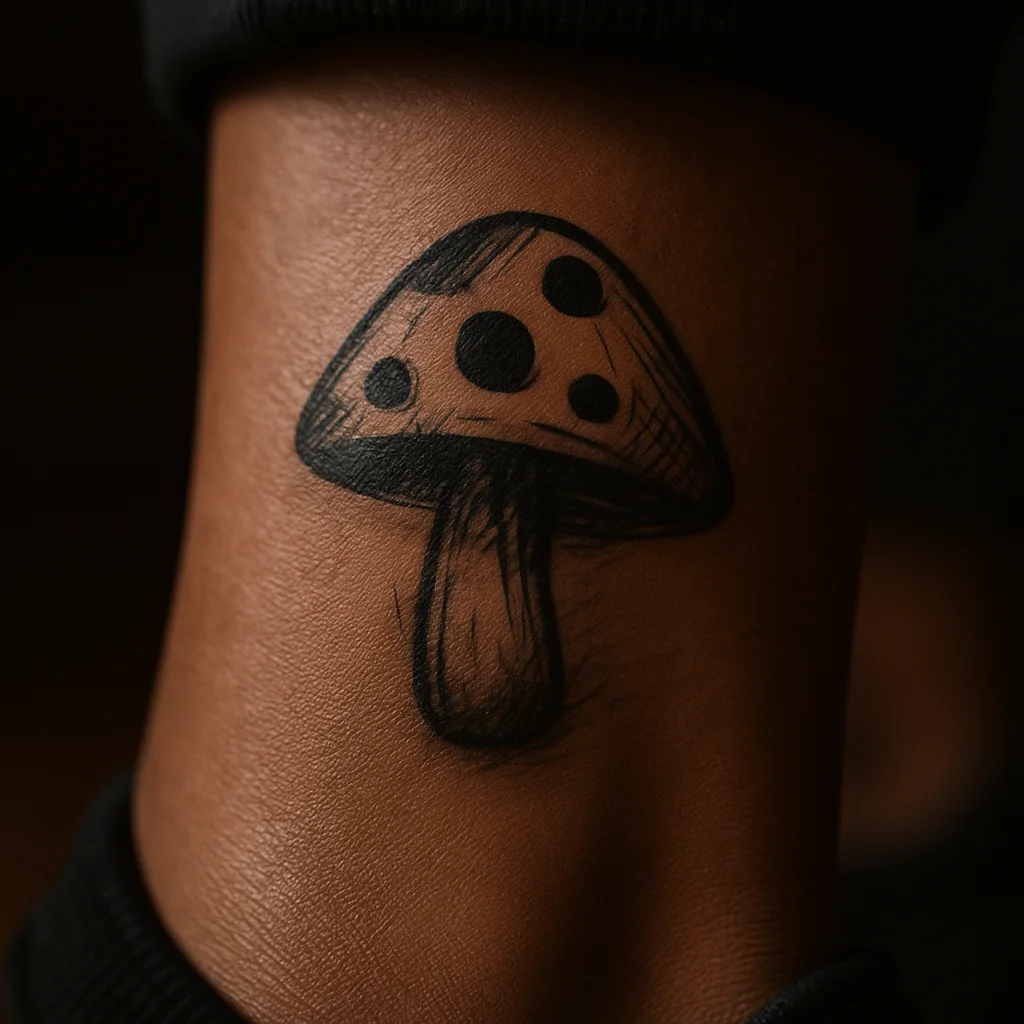
13. Mushroom cap with dotted spots
A dome, a short curved stem and three to five spots placed off-centre. Ask for the spots as solid dots rather than tiny circles; hollow micro-circles are the first thing to close up. Two inches on the ankle or the back of the arm.
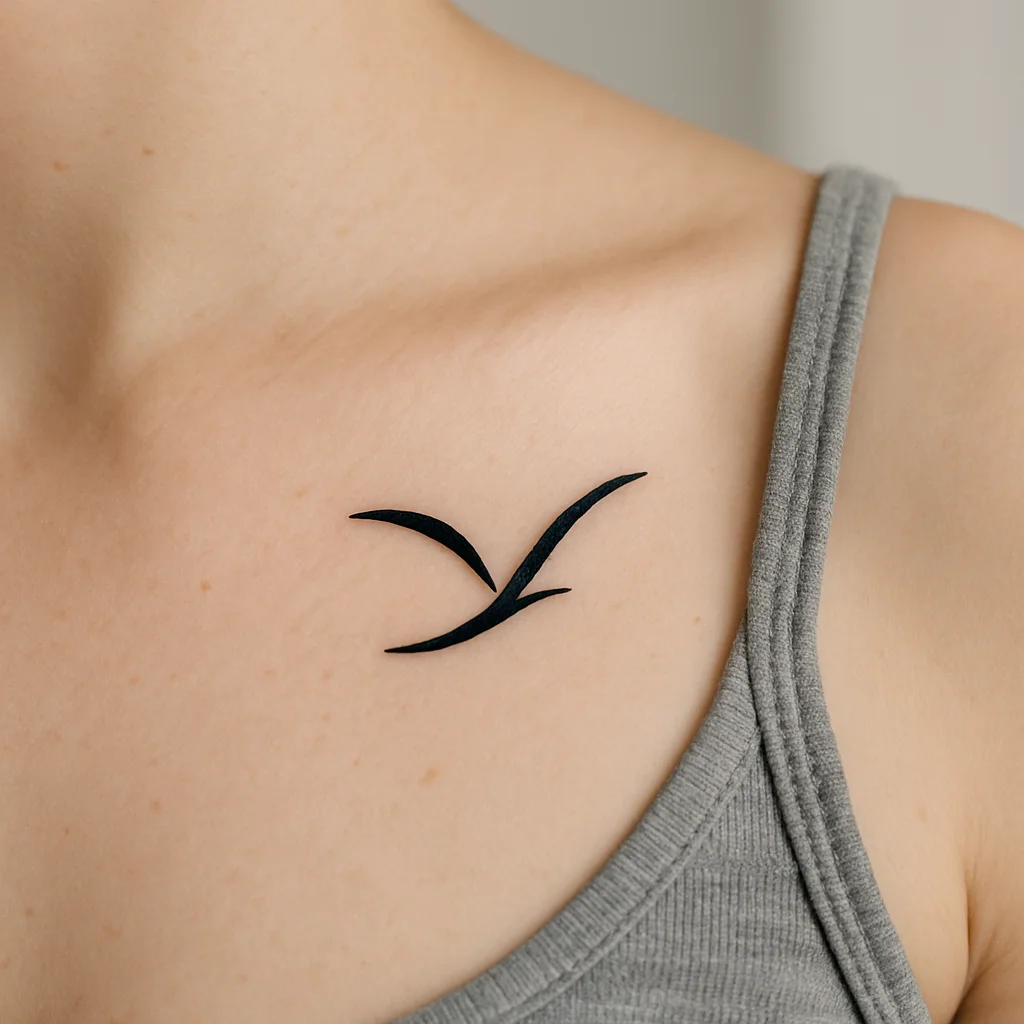
14. Two-stroke flying bird
The whole bird is two curved flicks that nearly meet at the shoulder of the wing. Draw twenty and keep the one with the most unequal wings, because symmetry makes it look like a check mark. Under an inch each, and lovely as a trio scattered across the collarbone.
Symbols and Objects: Six Drawings With Straight Lines Only
If curves are not your strength, build with straight edges. Straight-line tattoos are also the most honest about an artist's skill, so these double as a quick way to judge a portfolio: look for lines that stay the same width from start to finish.
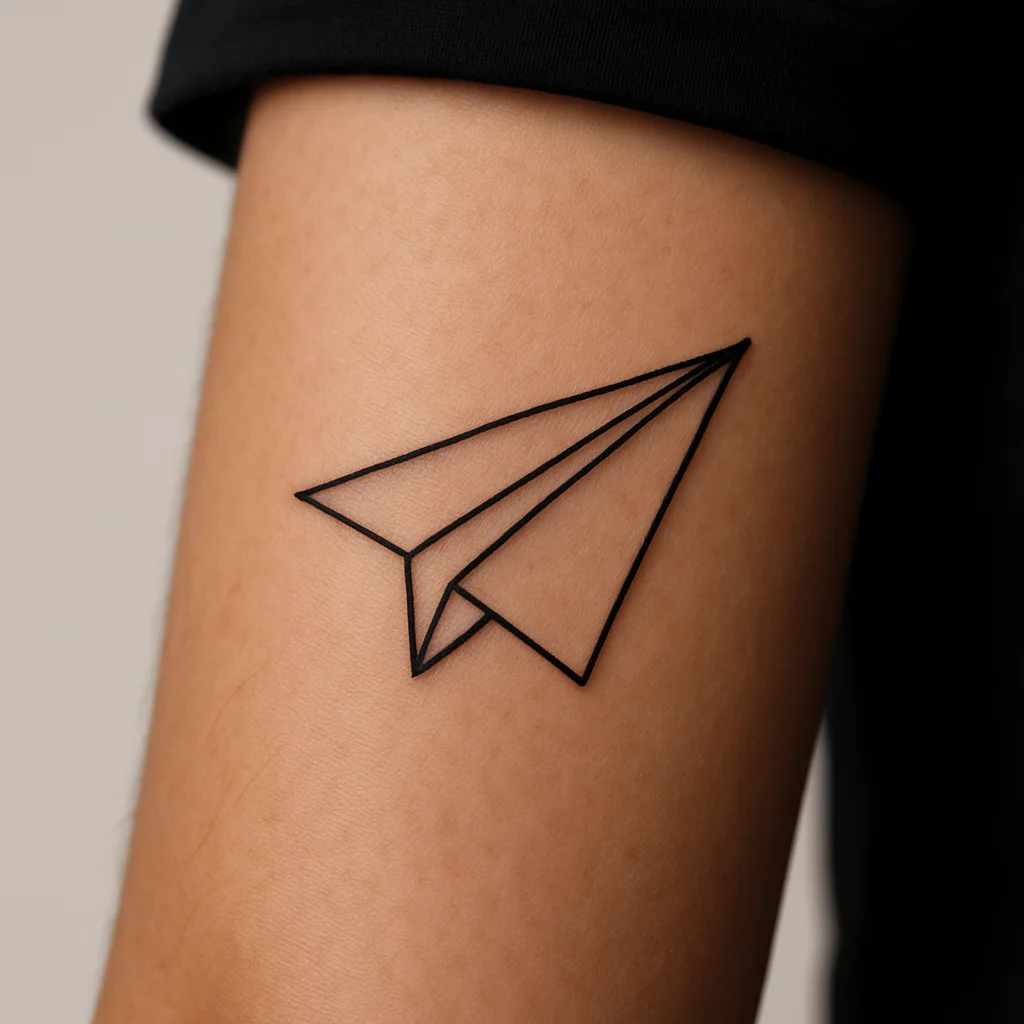
15. Paper airplane
Four straight lines make the body and one interior line marks the fold. Add a short dashed arc behind it only if the tattoo is over two inches, otherwise the dashes crowd the plane. Two to three inches on the outer forearm or the shoulder.
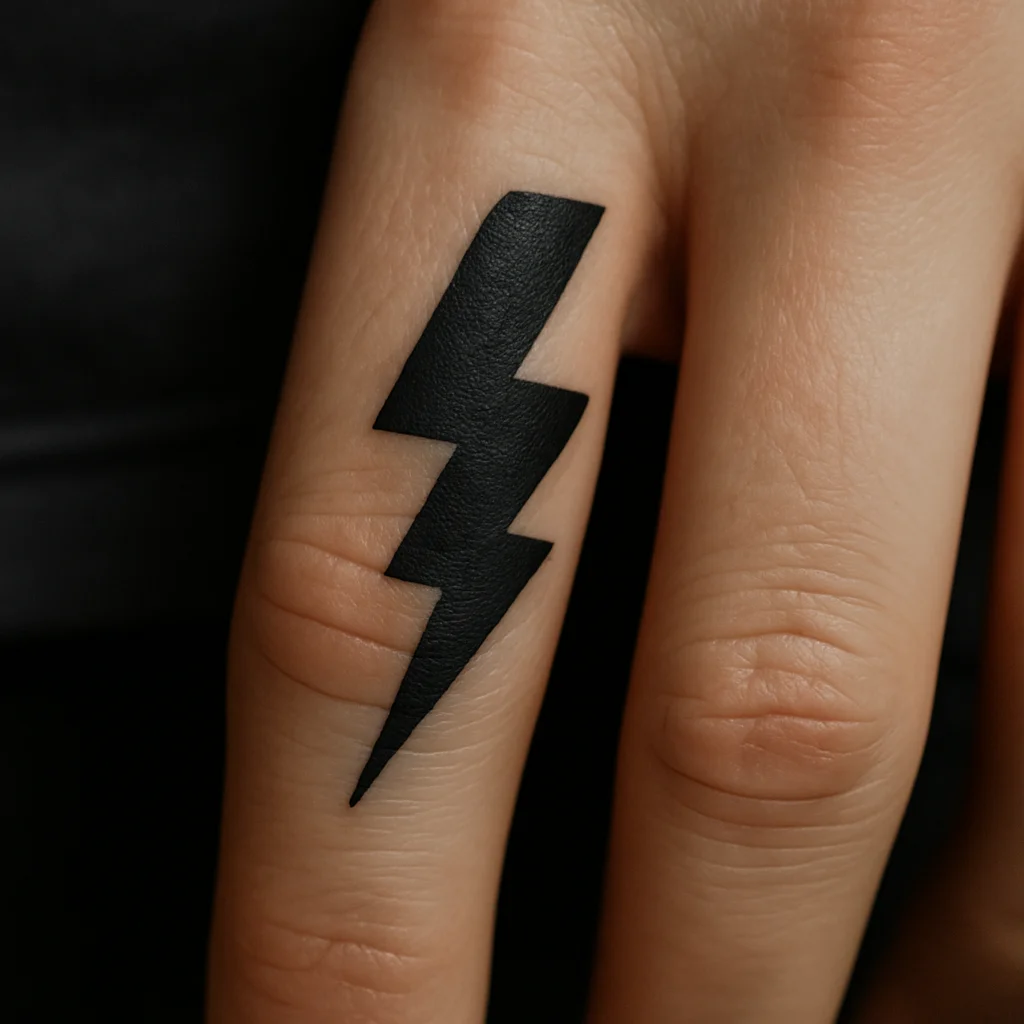
16. Lightning bolt
A six-sided zigzag, filled solid or left open. Solid black is the tougher choice to draw evenly but the better choice for longevity, since a filled shape cannot close up. One to two inches on the finger, the wrist or behind the arm.
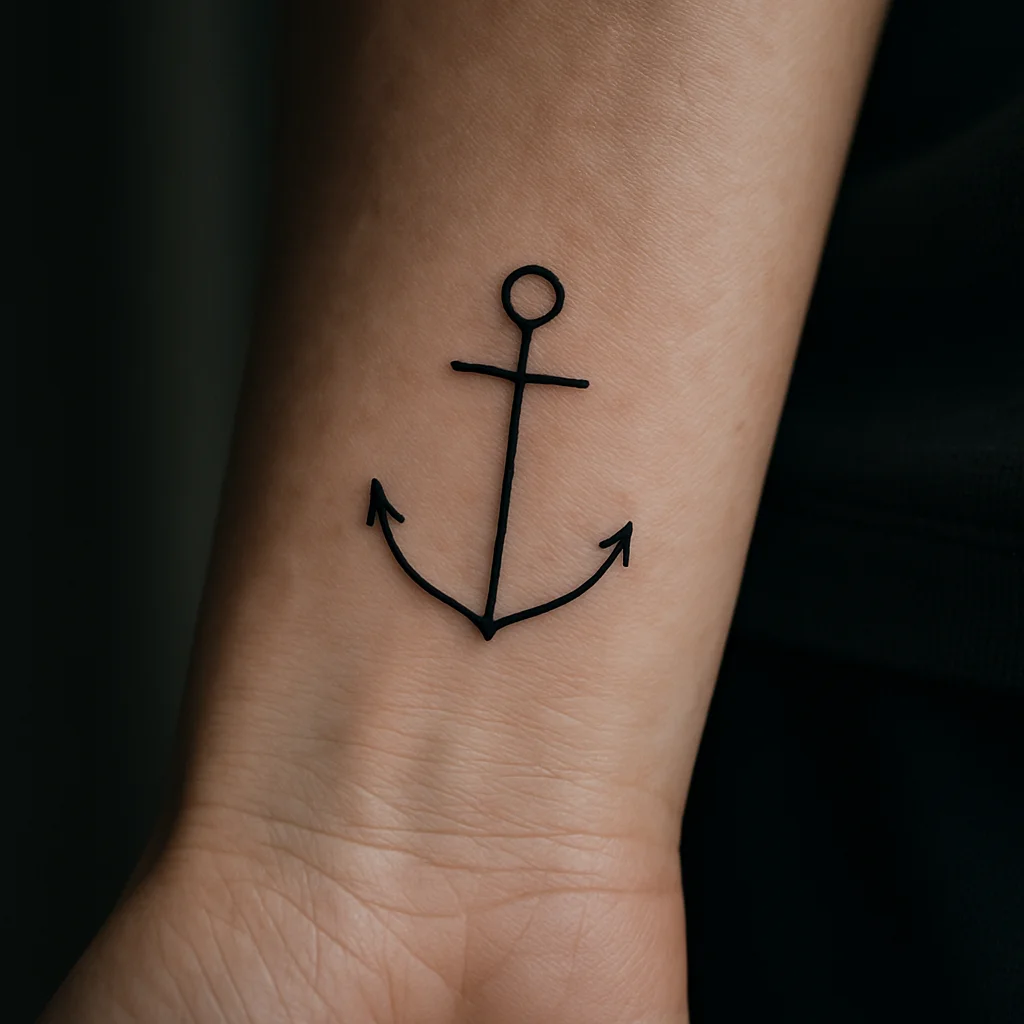
17. Three-line anchor
A vertical shaft, one horizontal crossbar and a shallow U at the base with two small barbs. Skip the rope; woven rope at small scale is where simple designs go to die. Two inches on the wrist, three on the calf.
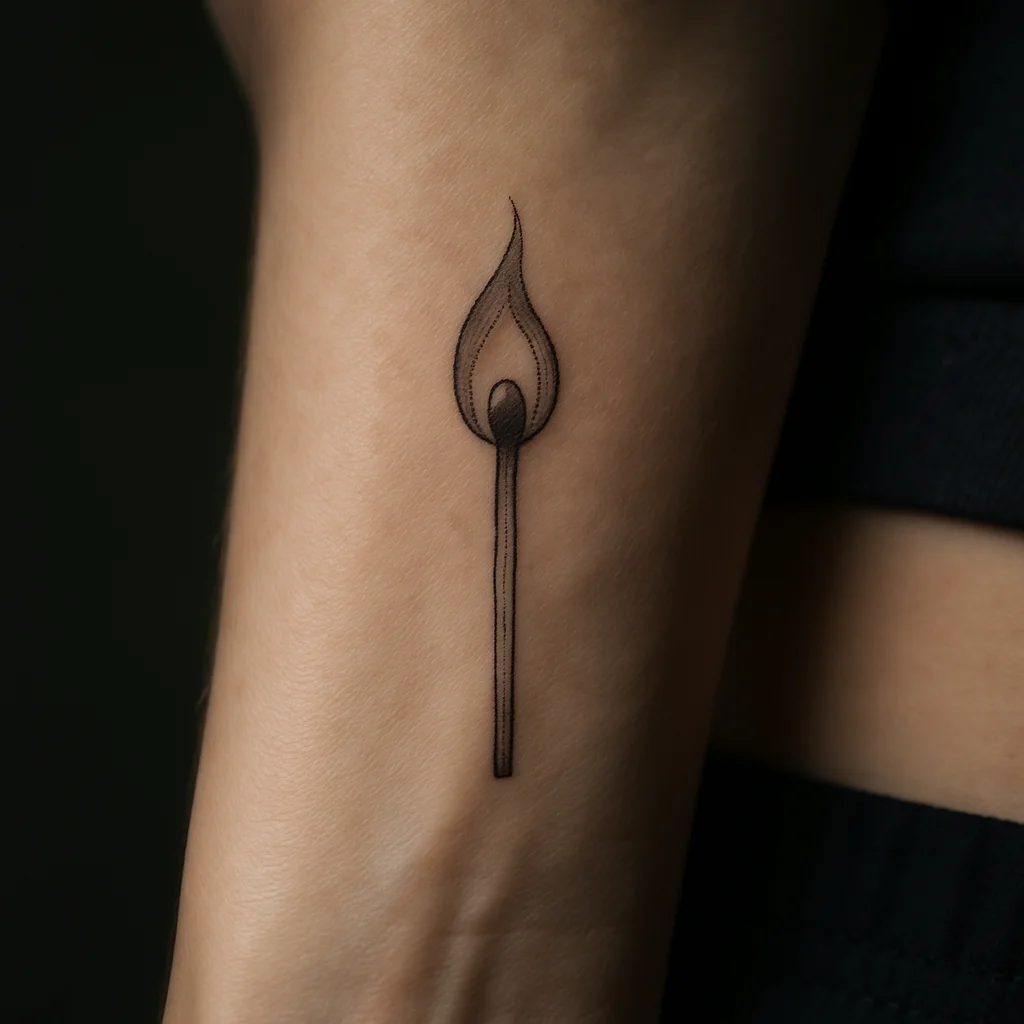
18. Struck match
A straight stick, a rounded head and a teardrop flame with a small hollow at its base. The hollow keeps the flame from reading as a solid lump. Perfect at two inches along the inside of the wrist or vertically on a finger.
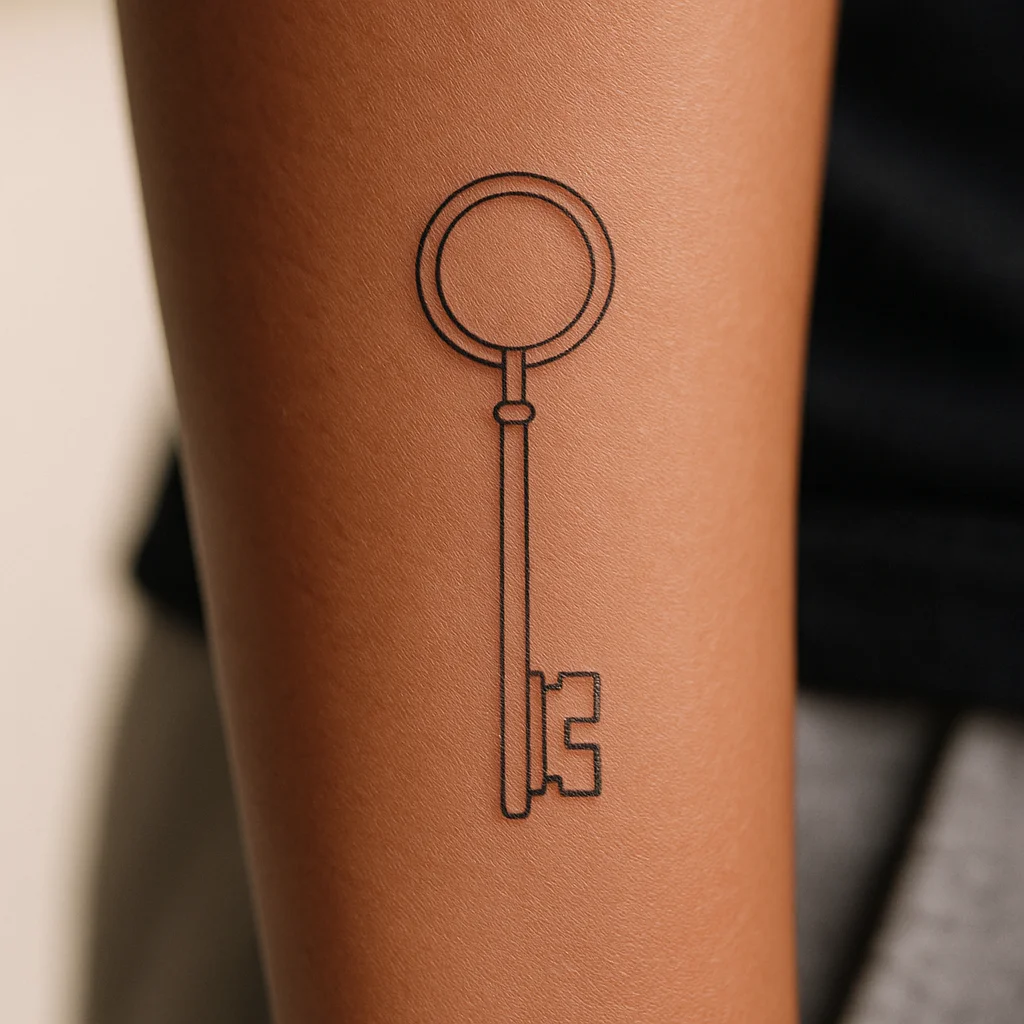
19. Skeleton key outline
A circle for the bow, a straight shaft and two rectangular teeth at the tip. Keep the teeth chunky, at least twice the line width, so they stay legible. Two to three inches on the inner forearm or under the collarbone.
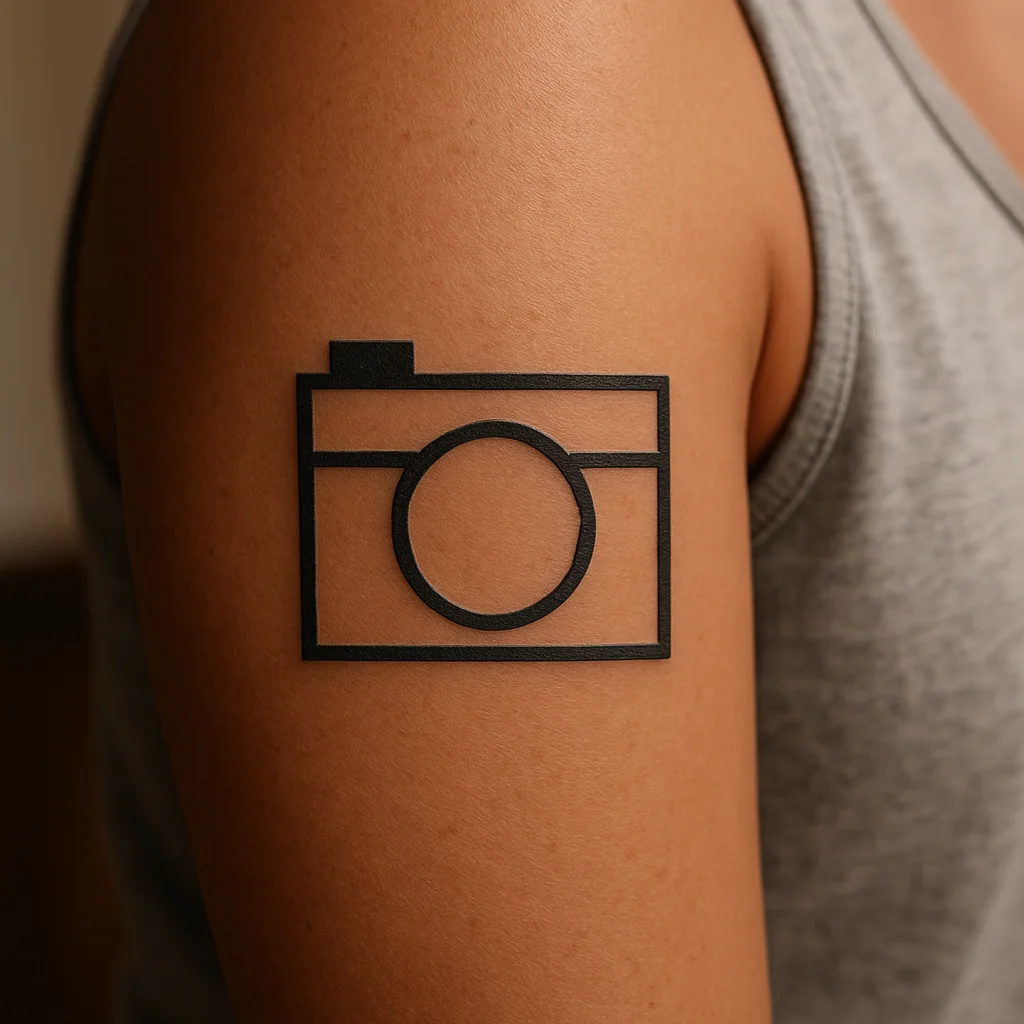
20. Boxy little camera
One rectangle for the body, a smaller one on top for the viewfinder, a circle lens and a single dot for the shutter. Four shapes total, no brand markings, no dials. Two inches on the upper arm reads best; smaller than that and the lens fills in.
Doodles With Character: Four Sketches That Keep Their Wobble
Some drawings are better slightly crooked. If you want your own hand in the tattoo, ask the artist to trace your sketch rather than redraw it, and say out loud that you want the wobble kept. Artists clean lines by instinct unless told otherwise.
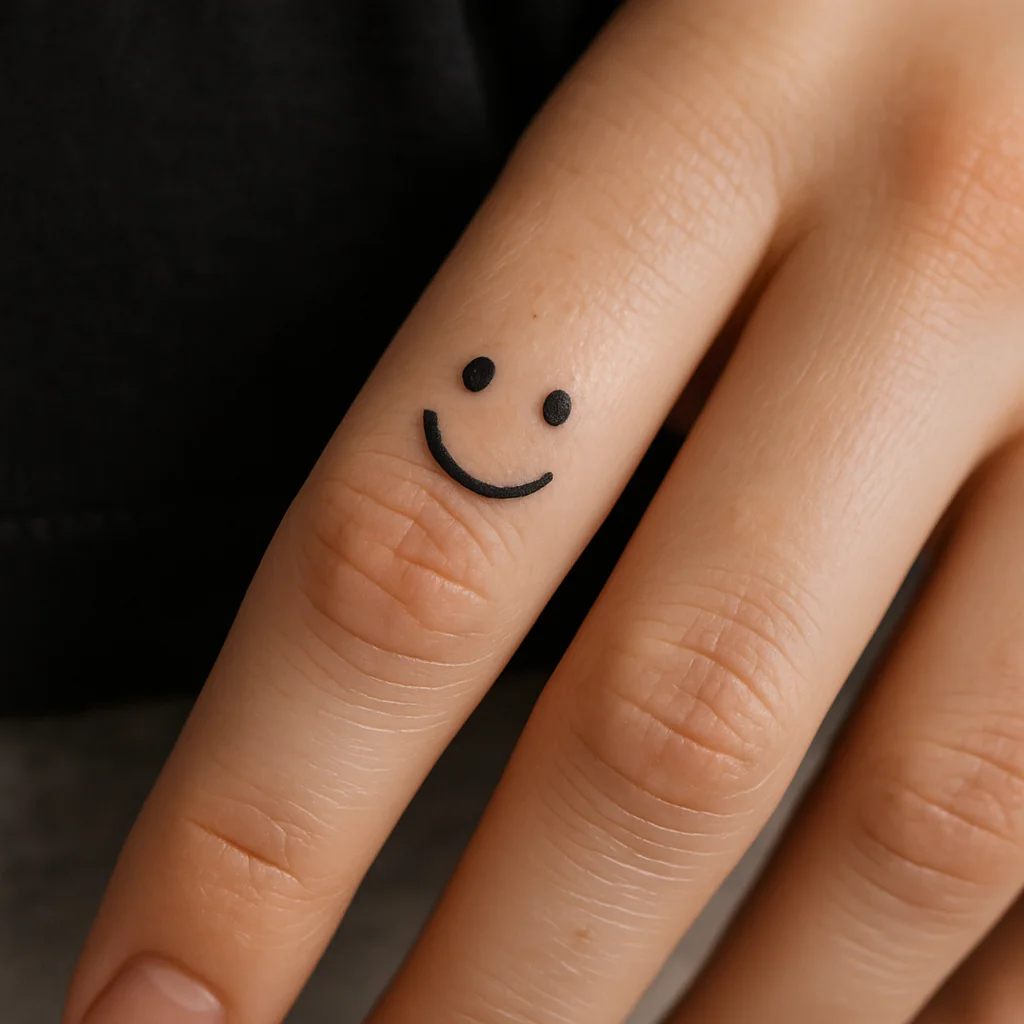
21. Two-dot smiley
Two dots and one upward arc, no circle around them. It is the smallest design here that still carries expression, and the spacing between the dots does all the work. Under an inch on the finger, the inner wrist or the back of the arm.
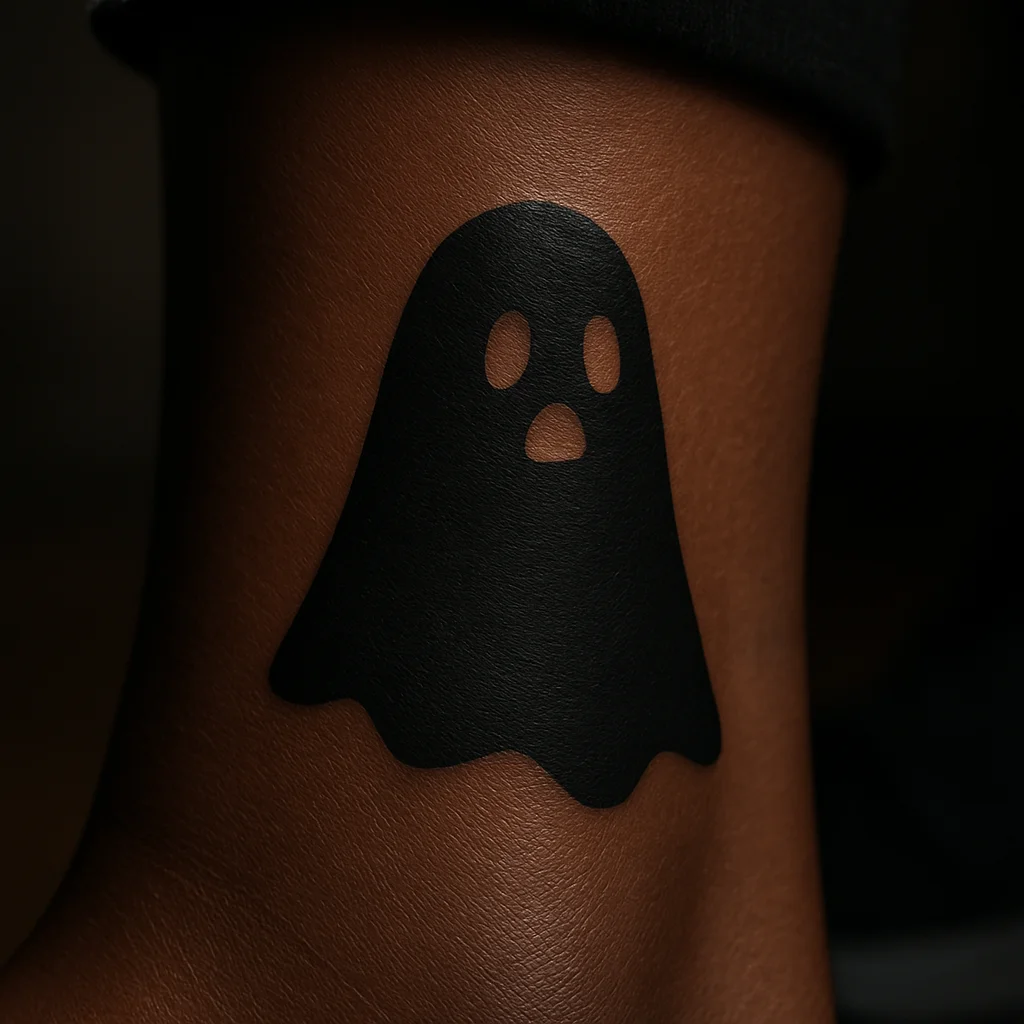
22. Ghost blob
A dome with a wavy hem, two dot eyes and a small oval mouth. Leave it unfilled for a light look or fill the body solid and leave the face as negative space, which ages extremely well. One and a half to two inches on the ankle or forearm.
23. Stick figure mid-dance
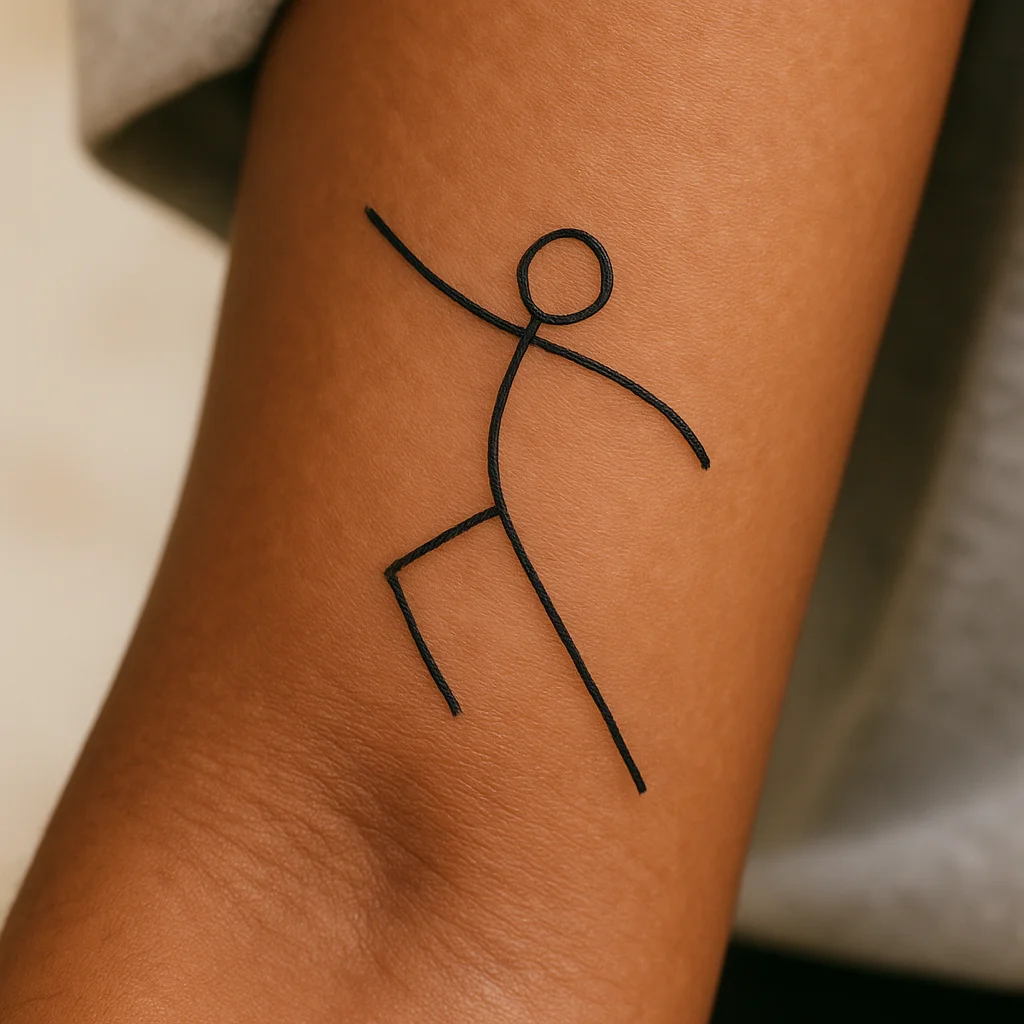
Five lines and a circle head, arms and legs thrown in different directions. Draw ten poses and pick the one that feels the most off-balance, because balance reads as stiff. Two inches on the inner arm, or matching poses across two friends' wrists.
24. Wiggly-line snake
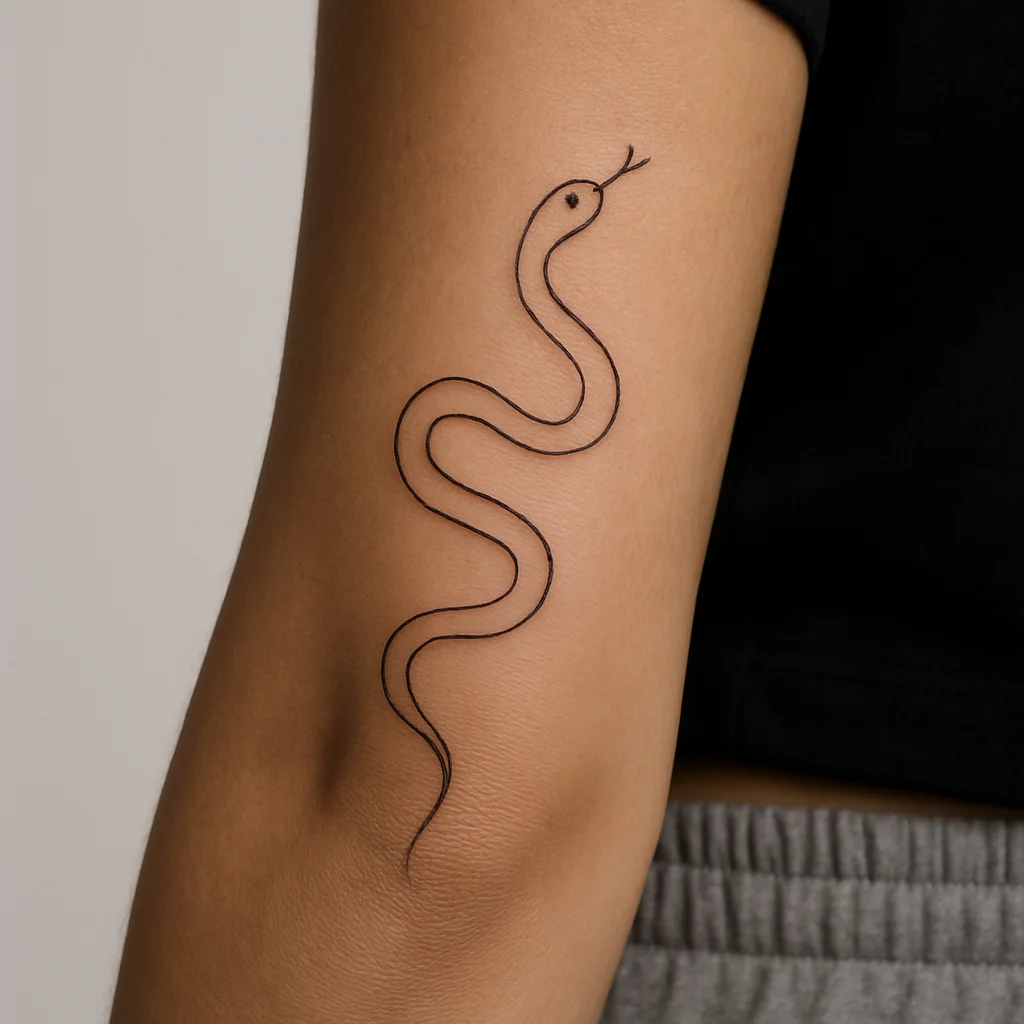
One long S-curve that thickens gently toward the head, a dot eye and a two-prong tongue. No scales, no belly bands, just the silhouette of movement. Three to five inches vertically along the outer forearm, the spine or the side of the calf.
Turning Your Sketch Into a Tattoo an Artist Can Actually Use
Bring the drawing on paper as well as on your phone. Artists prefer paper because they can see your true line weight and hold it against your skin to judge size. Photograph it flat, in daylight, on white paper with the whole sheet in frame, and send it as a file rather than a screenshot of a screenshot.
Say four things at the consultation: the exact placement, the height in inches or centimetres, whether you want your own hand preserved or the lines refined, and the line weight you imagine. Line weight is the detail most people forget, and it changes everything. A hairline single-needle version of the same daisy reads delicate and will soften noticeably in a decade; a medium three-line weight reads bold and will still be crisp at twenty years. Neither is wrong, but a good artist will steer you toward the heavier option for fingers, hands and feet.
Expect the artist to redraw your sketch at least a little, and expect to be asked to lose something. That is the job. Common cuts: a dashed motion trail, an extra flower, a tiny word in cursive under two inches, or interior detail that will not survive.
On price, tiny simple pieces usually land at a studio's minimum charge, which varies widely by city and artist demand. Two or three small designs in one sitting almost always costs less per piece than three separate visits, since you pay for setup once. Never chase a bargain on line work; a wobbling straight line is permanent, and a fix costs more than the original. If you like the pared-back approach in general, our guide to minimalist tattoos built on subtraction goes deeper on what to cut.
Placement, Pain and Healing for Simple Line Tattoos
Small line work is fast, which changes the pain equation. Most designs here take between ten and forty minutes, so even tender spots are a short, sharp experience rather than an endurance test.
- Easiest: outer forearm, upper arm, shoulder, calf and thigh. Cushioned, forgiving, and the best places for lines to stay sharp for decades.
- Moderate: inner forearm, inner wrist, shoulder blade, ankle. Thin skin and nerve endings make them sting, but a fifteen-minute sitting is manageable.
- Spicy: ribs, spine, collarbone bone itself, top of the foot, fingers and the back of the hand. Bone-close and buzzy. Fingers also have the worst retention of any placement, and patchy line work there is normal rather than a mistake.
Aging matters more than pain when the whole design is line. Sun is the main enemy: unprotected forearms, hands and feet lose crispness far faster than covered areas. Once healed, sunscreen on your tattoo is the single highest-return habit you have.
Aftercare for small pieces is refreshingly simple. Keep the wrap on as long as your artist advises, wash gently twice a day with unscented soap, pat dry, and use a rice-grain amount of plain ointment or fragrance-free lotion. No soaking, no gym sweat sessions, no picking flakes for about two weeks. Line-only tattoos often look fully healed in seven to ten days, but the skin underneath is still settling for a month or more.
One honest expectation: even perfect line work spreads slightly over years. That is not a flaw in the drawing or the artist, it is skin. It is also why the wide-spacing rule at the top of this article is the most useful thing you can carry into the studio.
Frequently asked questions
Can I bring my own drawing to a tattoo artist?
Yes, and most artists welcome it because it tells them exactly what you want. Bring the sketch on paper as well as a clean daylight photo, and be ready for the artist to adjust line weight or spacing so it heals properly. If keeping your own handwriting or wobble matters to you, say so explicitly, because artists tend to tidy lines by default.
How small can a simple tattoo be before it stops working?
Below about one inch, only designs with three or four marks hold up, like a two-dot smiley, a tiny bird or a solid lightning bolt. Anything with interior detail, hollow micro-circles or lines closer together than the line is thick will merge as it heals. When in doubt, scale up 20 percent rather than adding detail.
Do easy line tattoos blur over time?
All line work spreads a little as skin ages, and hairline single-needle work softens fastest. You slow it down with slightly heavier line weight, generous spacing between elements, placement away from constant sun and friction, and daily sunscreen once healed. Designs chosen for simplicity age gracefully because there is no fine detail to lose.
What should I practise with if I want to draw my own design?
Use a 0.5 mm black fineliner or a ballpoint on plain white paper, and draw at the tattoo's true final size. Pens force you to commit rather than erase, which is exactly how tattoo lines work. Redraw the same shape ten to twenty times and keep the version that reads clearly when you shrink a photo of it to thumbnail size.
Is it cheaper to get several small tattoos at once?
Usually yes. A single tiny design typically costs the studio minimum, and that minimum covers setup time as much as tattoo time, so combining two or three pieces in one sitting lowers the cost per design. Rates vary a lot by city and artist, so ask for a quote on the full group up front.
The conversation
No comments yet. Got a thought about these designs? Start us off.
Want to weigh in? Join the community to comment, save designs and try them on your skin.