30 Arm Tattoo Ideas for Men, Sorted by Sitting
Most arm tattoo guides sort by motif. This one sorts by chair time, so you can pick a design that matches the hours, budget and pain tolerance you actually have.
Read Your Arm Before You Book Anything
An arm is not one canvas, it is five, and each behaves differently under a needle and over a decade. The outer forearm is the flattest, most stable real estate on the body: low pain, good light, minimal stretch, and it stays readable for twenty years. The inner forearm is softer and slightly more tender near the wrist, but it is the spot people actually see when you hand over a coffee. The upper arm and shoulder cap take detail well and hide the fastest under a t-shirt, which matters if your workplace is conservative. The inner bicep hurts more than men expect and fades faster because it gets less sun conditioning and more friction. The elbow ditch and elbow itself are the sharpest pain on the whole limb and should be planned, not stumbled into.
Two rules save more arm tattoos than anything else. First, respect the cylinder: a design that looks perfect flat on paper will disappear around the curve unless the artist wraps the stencil and checks it in a mirror while you stand naturally. Second, leave breathing room. A single 12 cm piece dropped dead-centre on the forearm boxes in every future tattoo you might want. Ask your artist where they would put it if you came back in two years wanting more.
Sizing shorthand that holds up in practice: anything under about 8 cm should have five or fewer elements, anything over 15 cm can carry shading and texture, and any design with faces, feathers or fine gradients needs real estate or it turns to mush by year ten.
One-Sitting Pieces (Under Three Hours)
These are the tattoos you book on a Thursday and wear out on Saturday. Expect a shop minimum to roughly three hours of hourly rate, and expect them to be finished, not started.
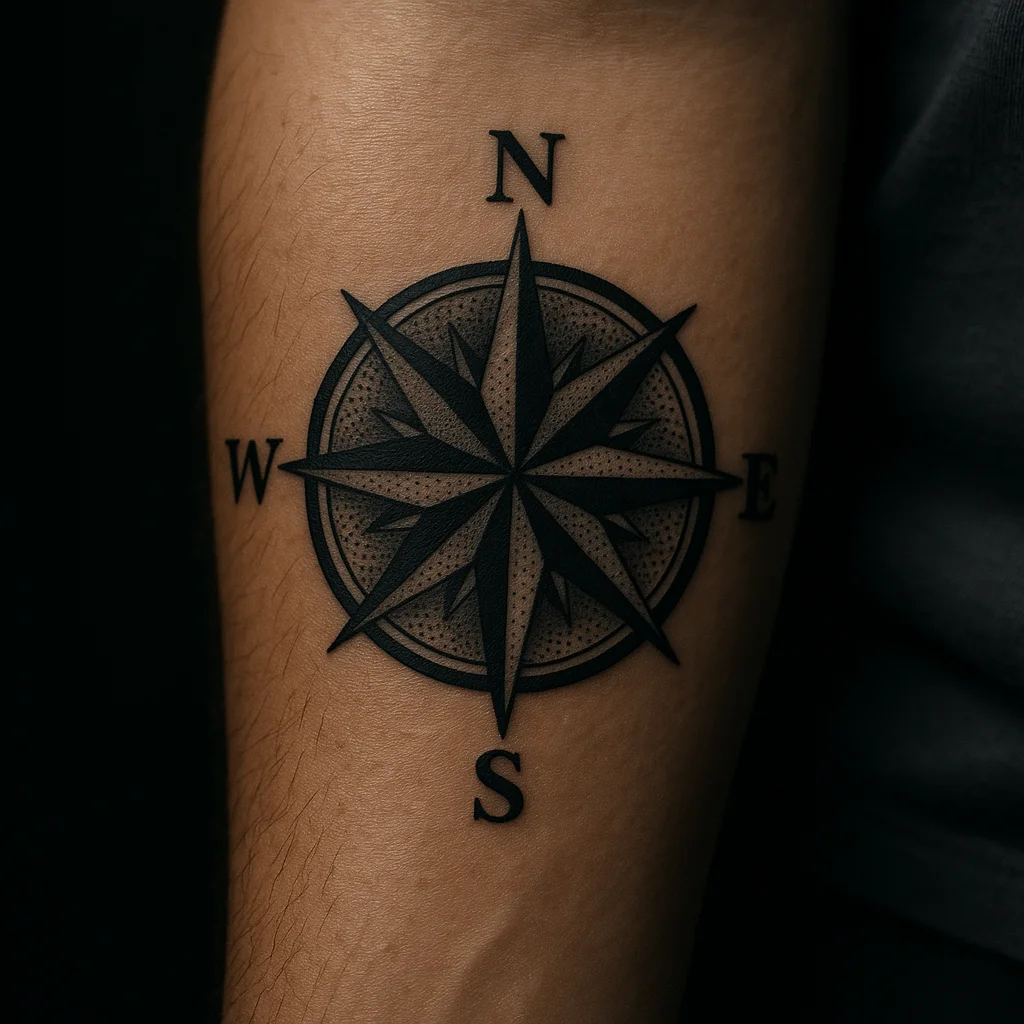
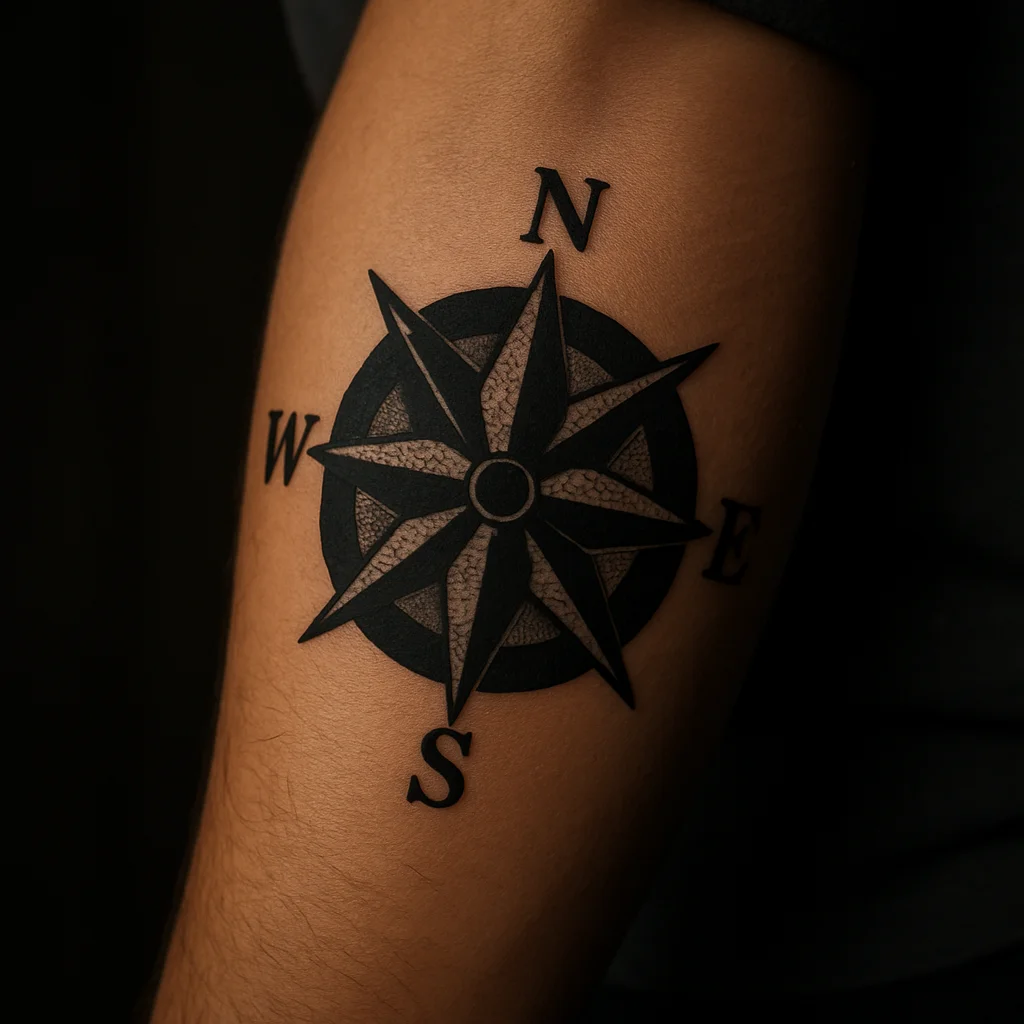
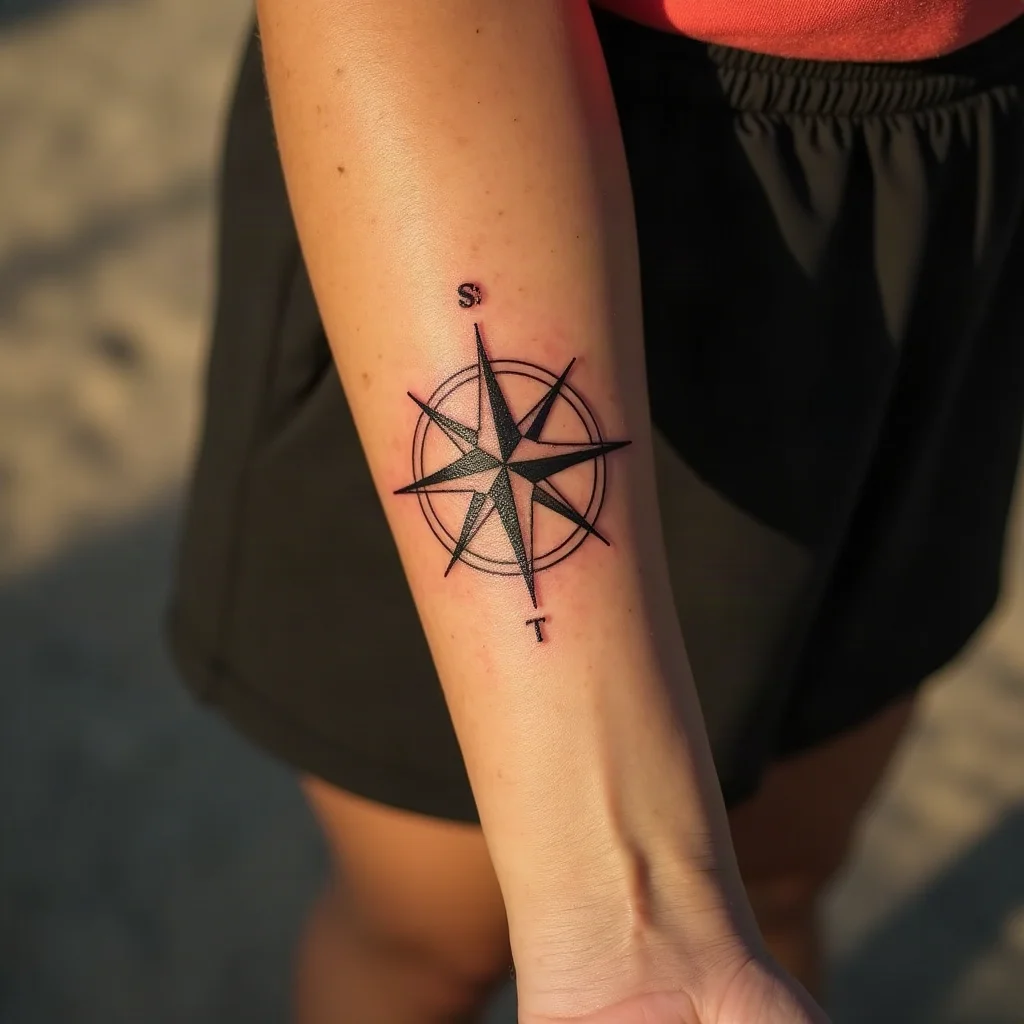
1. Blackwork compass rose on the outer forearm
A four-point compass with a heavy black star, dotwork shading in the inner petals and clean cardinal lettering reads instantly from across a room. Keep it 9-12 cm so the points stay sharp as the lines spread. It suits men who want one solid, non-negotiable statement rather than a collection.
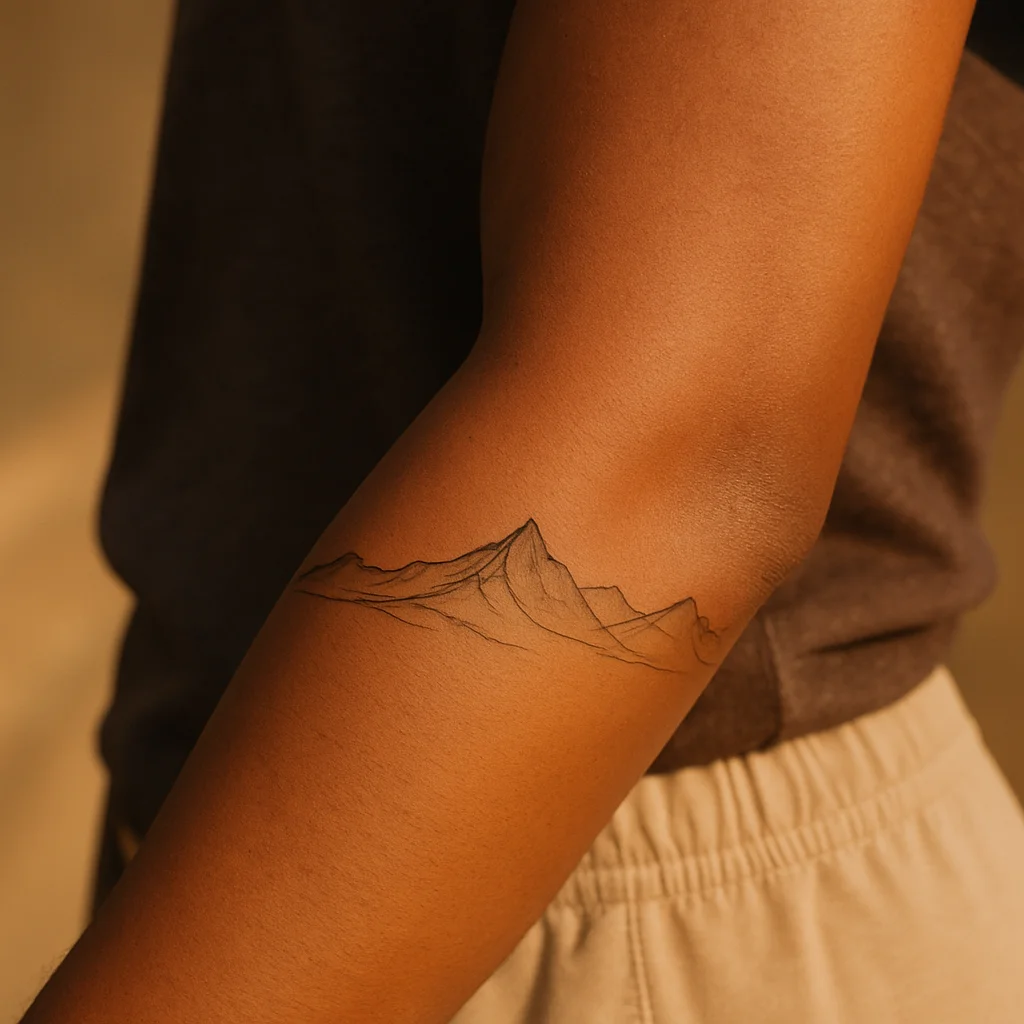
2. Single-needle mountain range along the inner forearm
A continuous horizon line of peaks running wrist to elbow, no shading, no sky, just ridgeline. Because it is one weight of line it ages predictably, and it can later become the base of a landscape sleeve. Best on lean forearms where the line follows the muscle rather than fighting it.
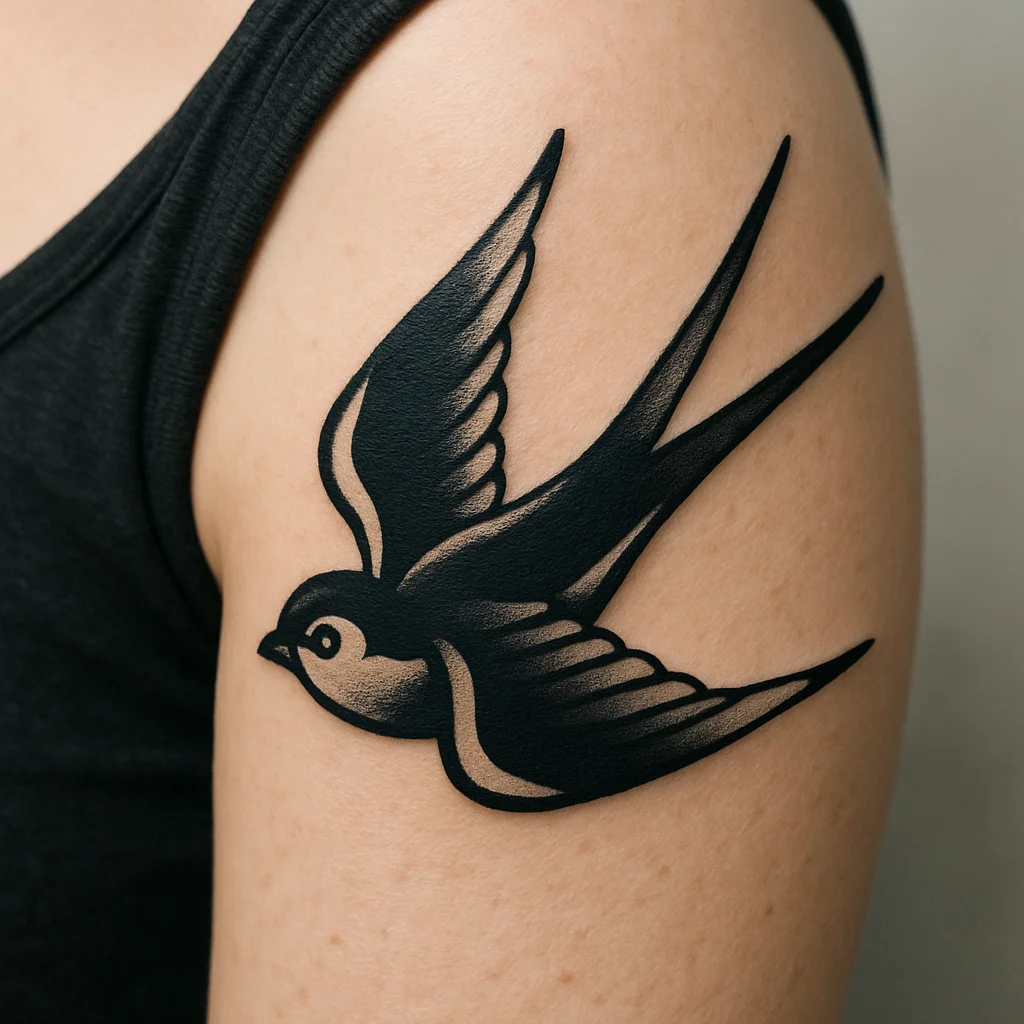
3. Traditional swallow on the upper arm
Bold outline, three colours maximum, wings open and angled toward the shoulder. Old-school swallows were built to survive fading and they still do it better than almost anything else. At 8-10 cm it fits neatly on the outer deltoid and pairs later with a second bird on the opposite side.
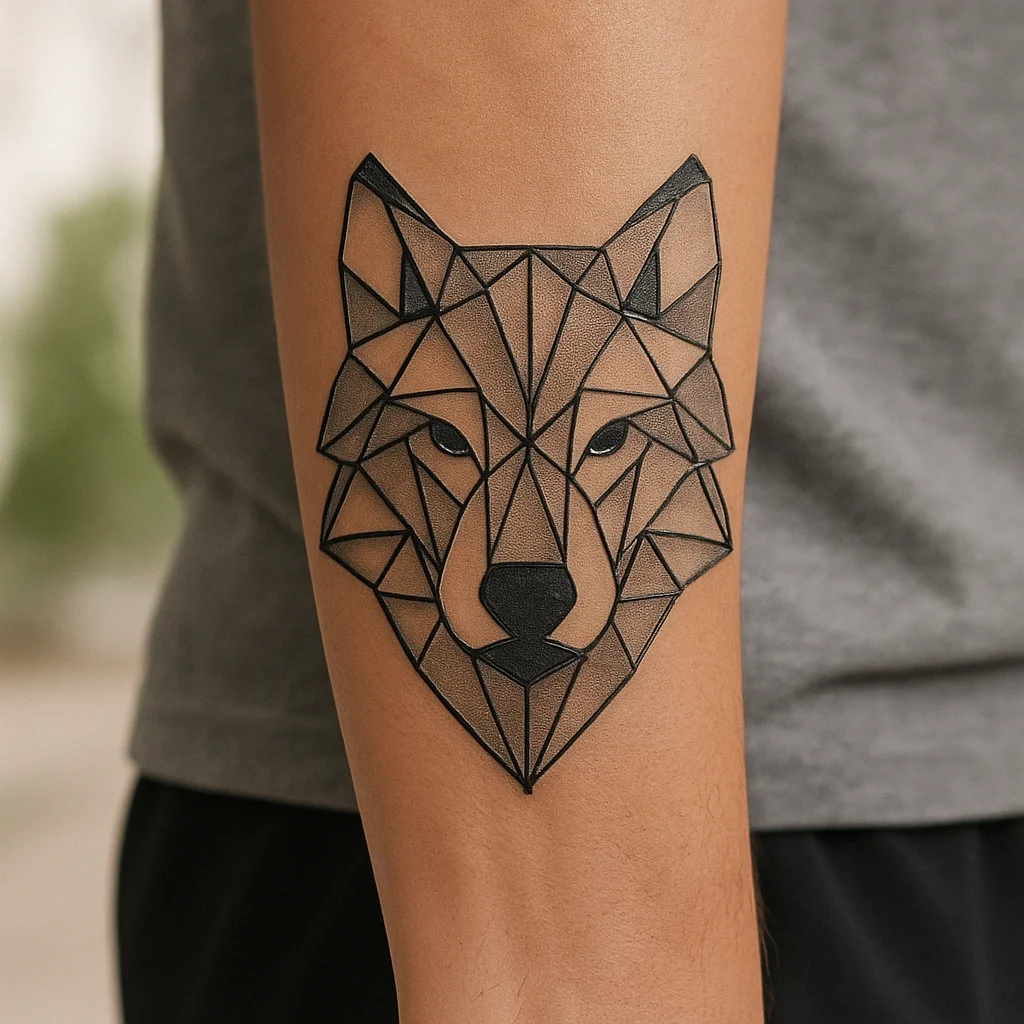
4. Geometric wolf head on the outer forearm
Faceted planes, a few solid black wedges for the muzzle and eye sockets, and no gradient work. The trick is asking for fewer facets than the reference image shows, because thin geometric slivers close up over time. Strong choice for a first tattoo that still looks deliberate.
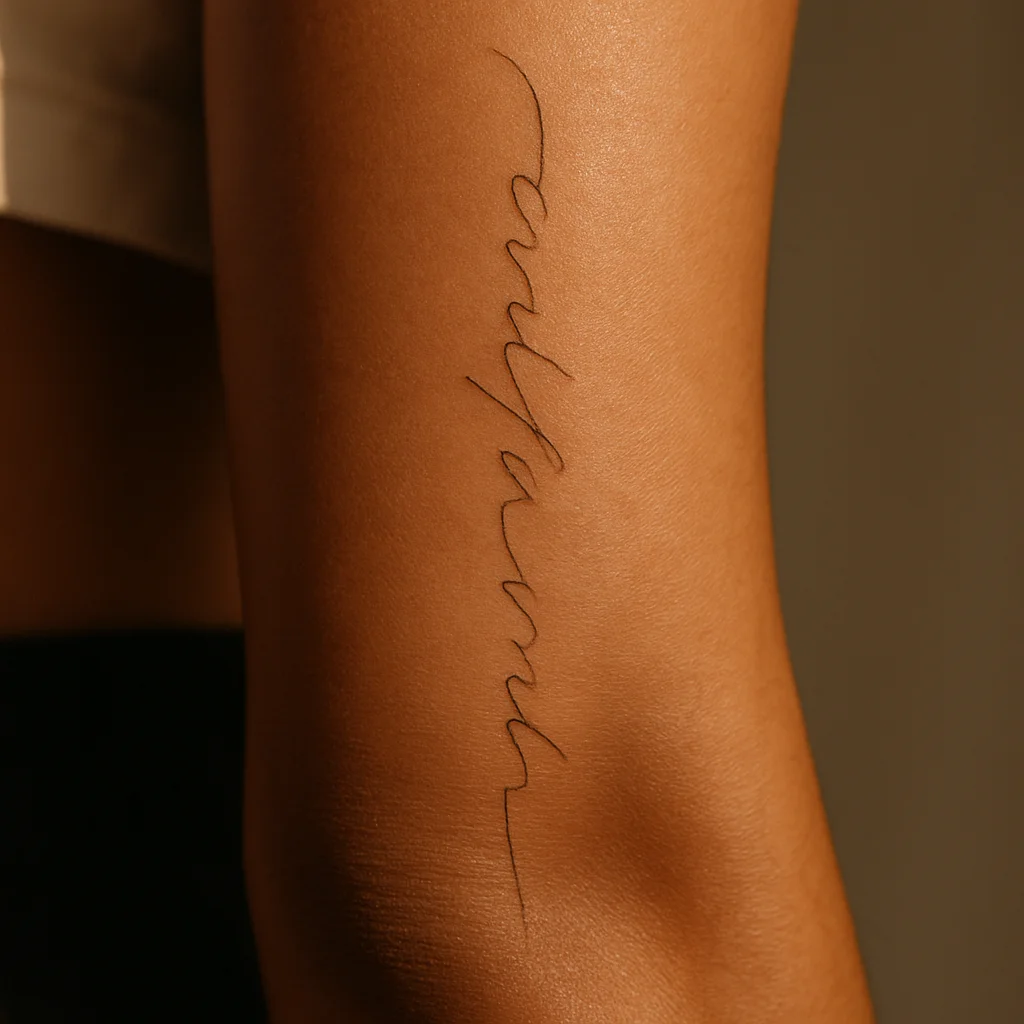
5. Short script line down the inner forearm
A single phrase or a set of coordinates, set vertically along the tendon line rather than curved. Keep letter height at least 8 mm and avoid hairline serifs, which vanish first. Ask your artist to hand-draw the lettering instead of pulling a font, the difference is obvious within a year.
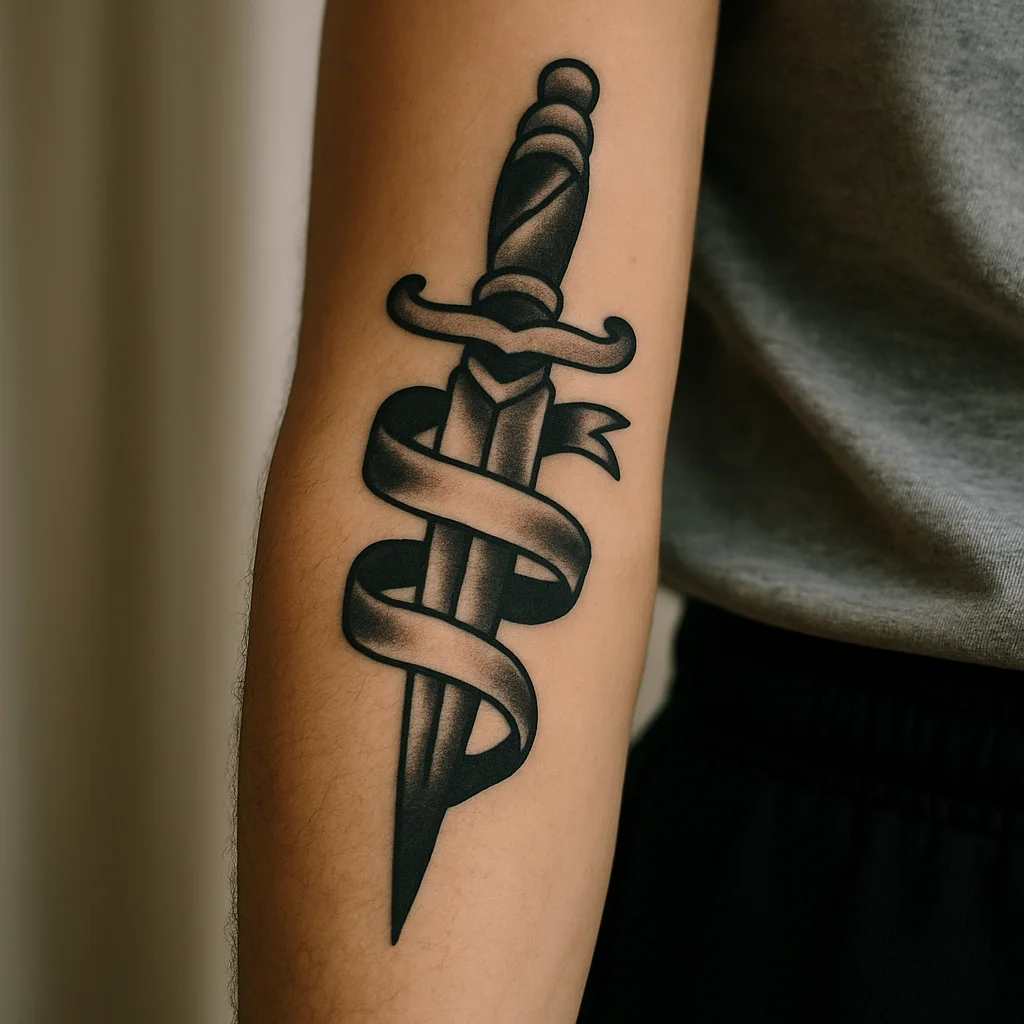
6. Traditional dagger on the inner forearm
Point toward the wrist, wrapped ribbon, one drop of red at the tip. It is a compact classic that fills the narrow inner channel without crowding it, and it sits well beside future traditional work. Around three hours if you want the handle detailed.
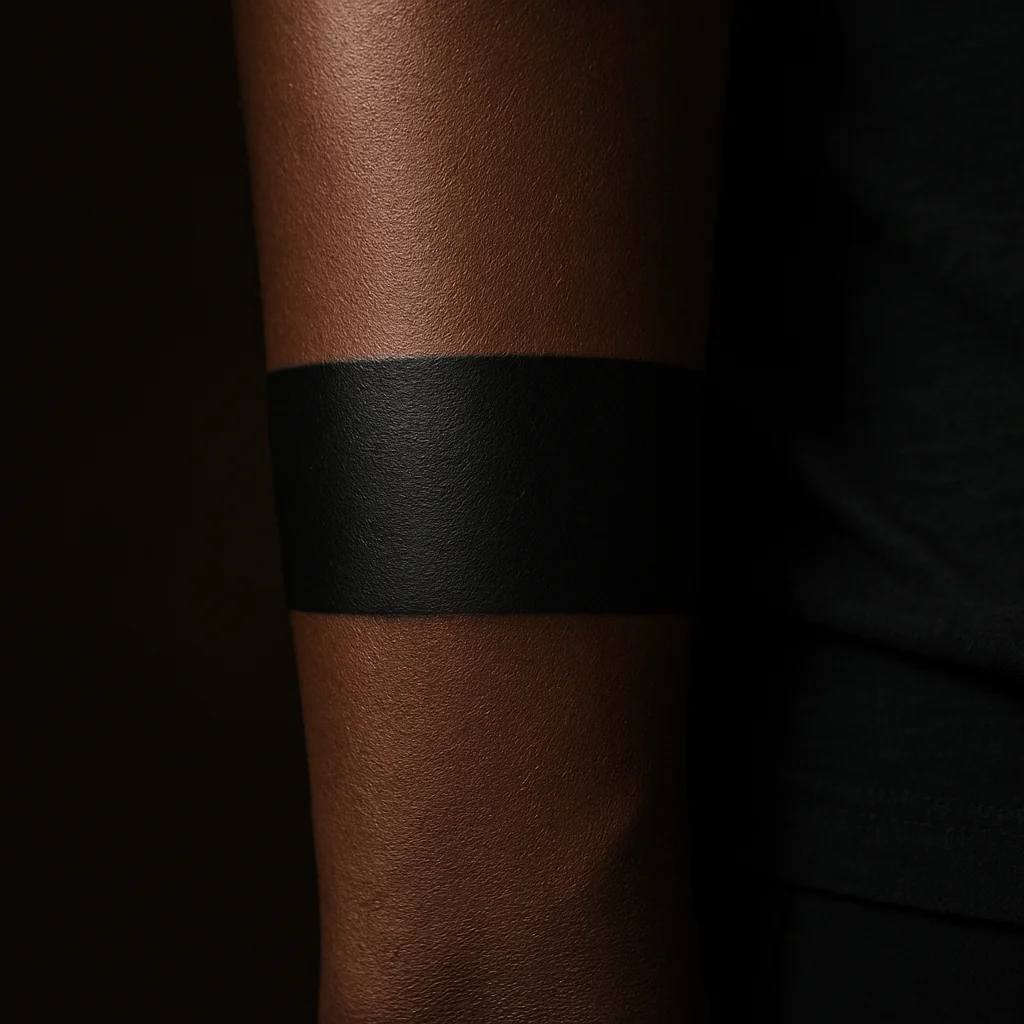
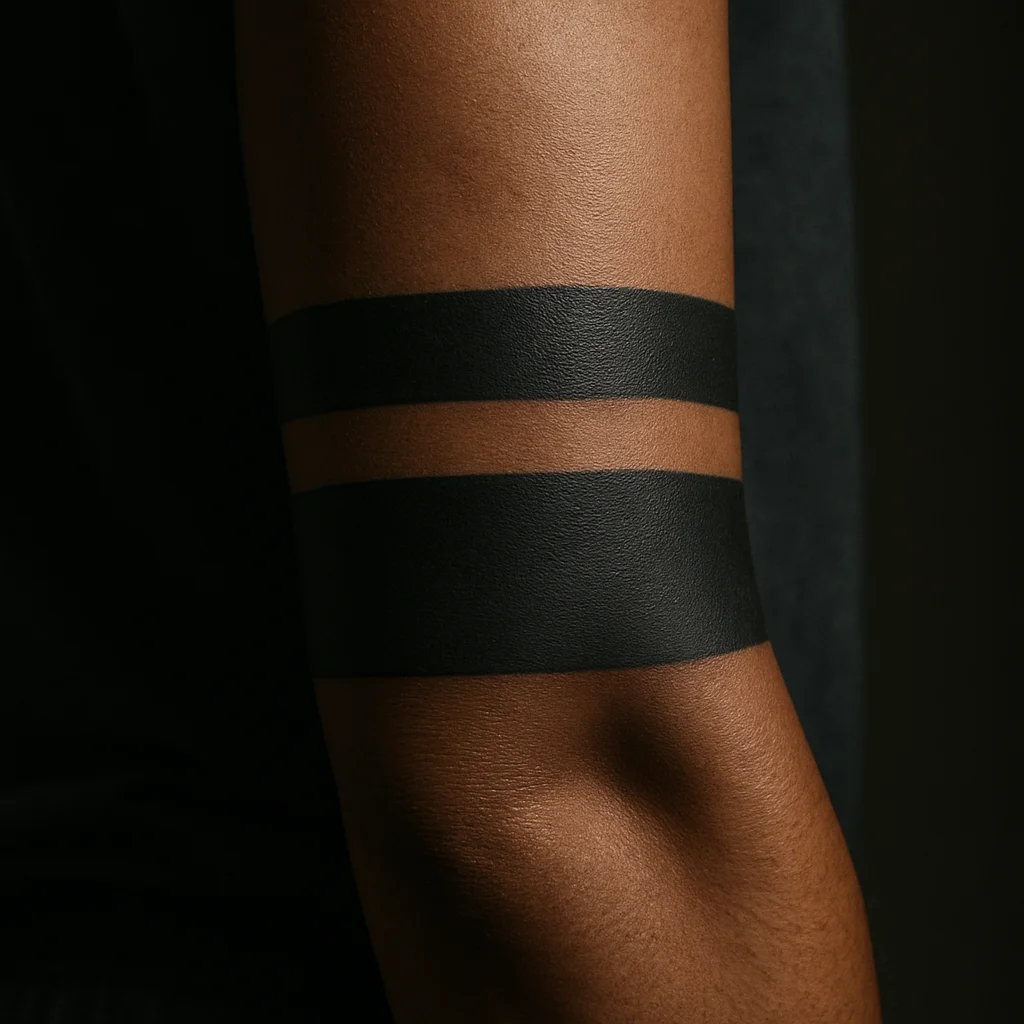
7. Twin thin bands above the elbow
Two solid black bands, roughly 8 mm and 4 mm, with a 1 cm gap. Simple to execute, brutal to fix, so the artist must free-hand the wrap while you stand with your arm relaxed. Suits big arms especially well because the bands emphasise the tricep line.
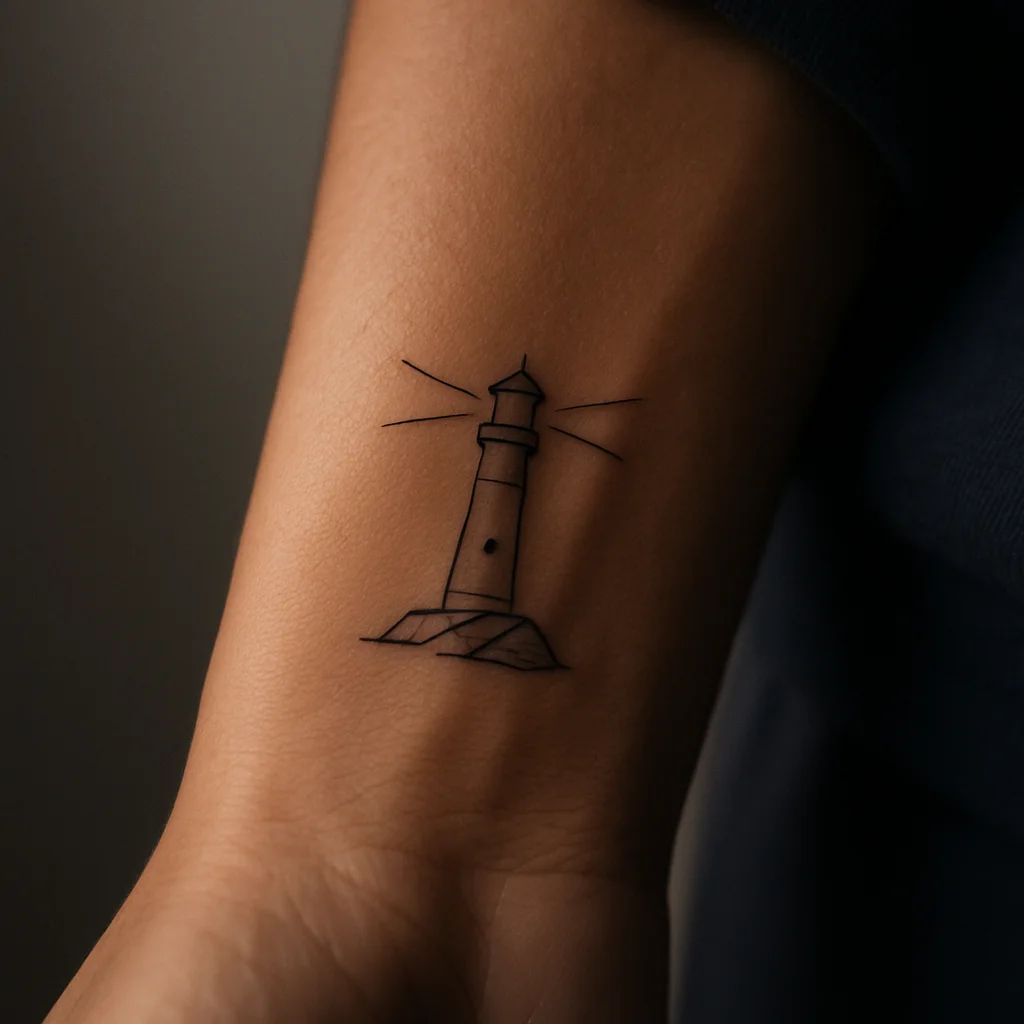
8. Minimalist lighthouse on the side of the wrist
A narrow tower, two beam lines and a suggestion of rock, all under 5 cm. It is quiet enough for client-facing work and reads as a personal marker rather than decoration. Wrist edges fade slightly faster, so ask for slightly heavier line weight than you think you need.
Half-Day Statements (Three to Six Hours)
One long sitting, usually with a lunch break, and the arm is done. This is the sweet spot for men who want something substantial without committing to a return schedule.
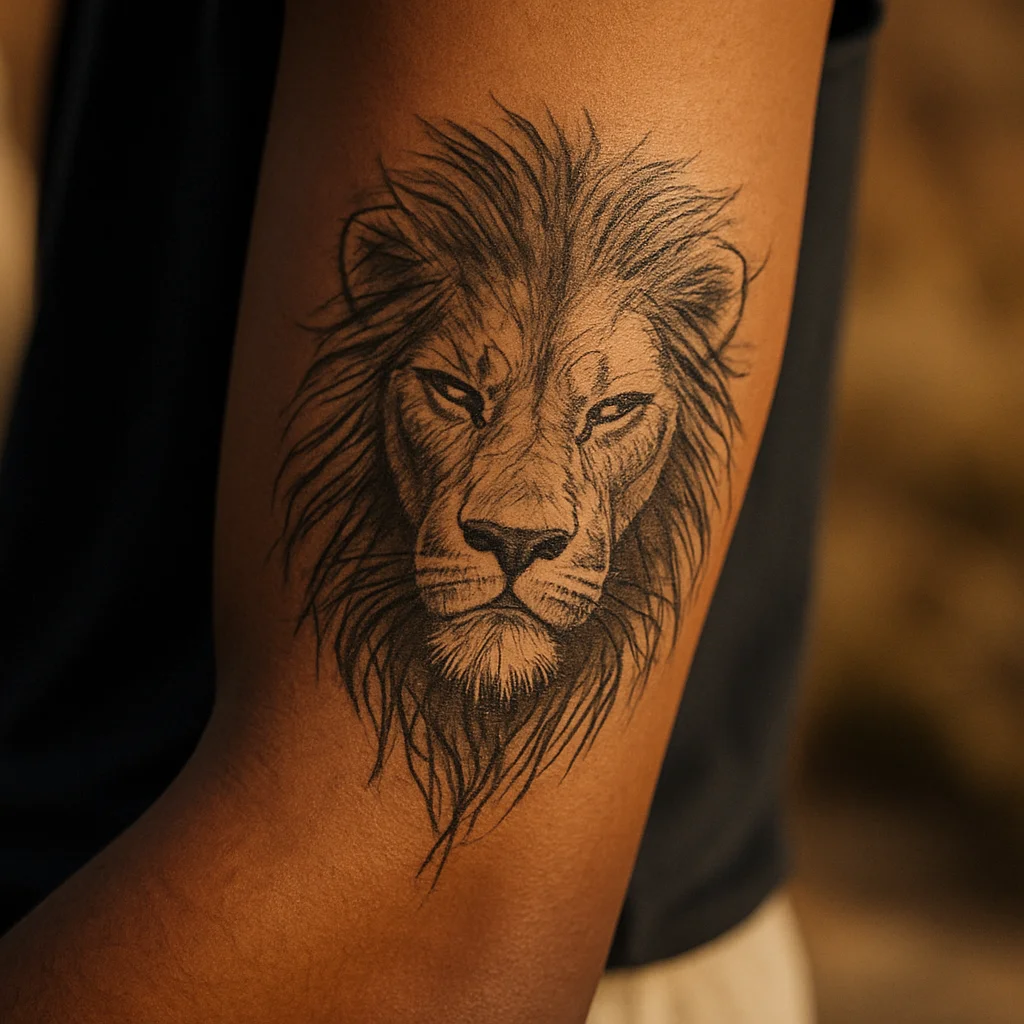
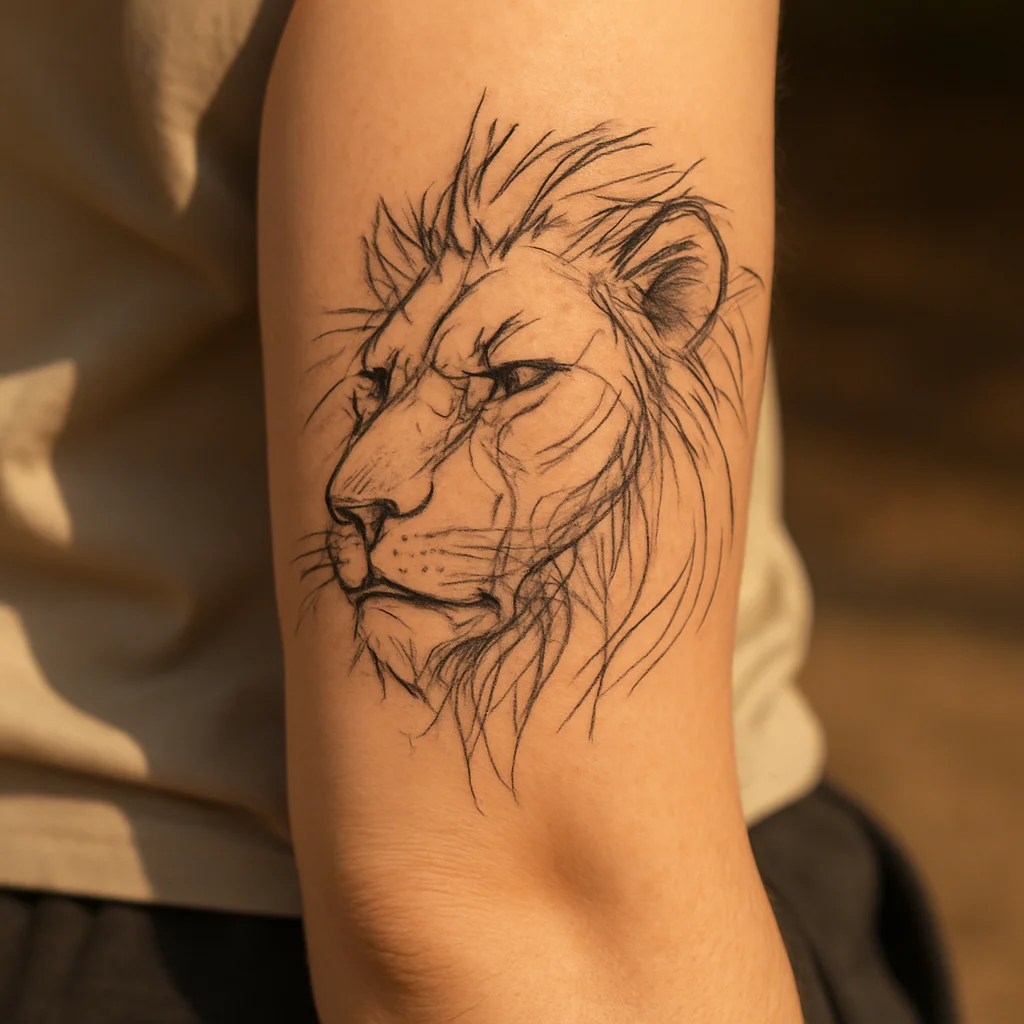
9. Illustrative lion head on the outer forearm
Mane built from directional whip shading rather than outlined hair, eyes set slightly narrow, jaw squared. It needs 15 cm minimum or the face compresses into a dark blob by year eight. Ask for open skin inside the mane so the shape still reads from two metres away.
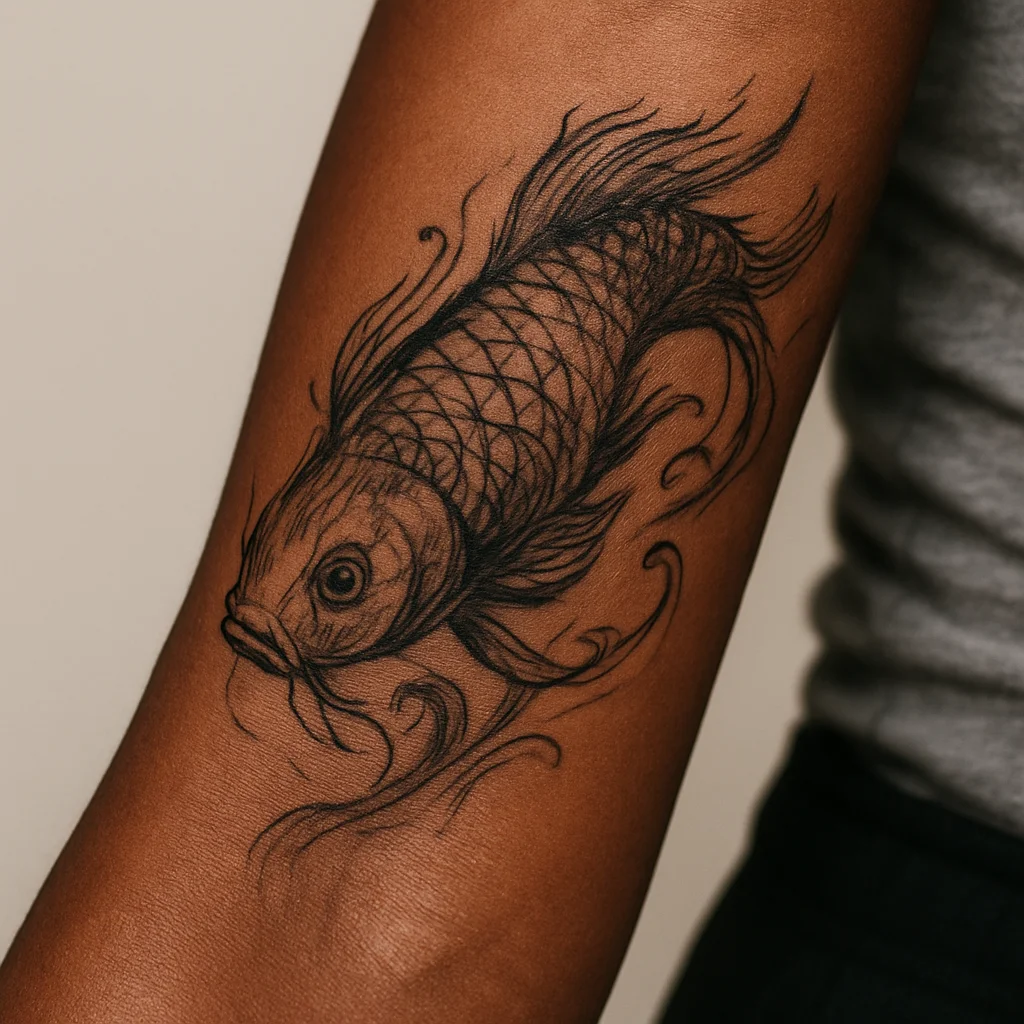
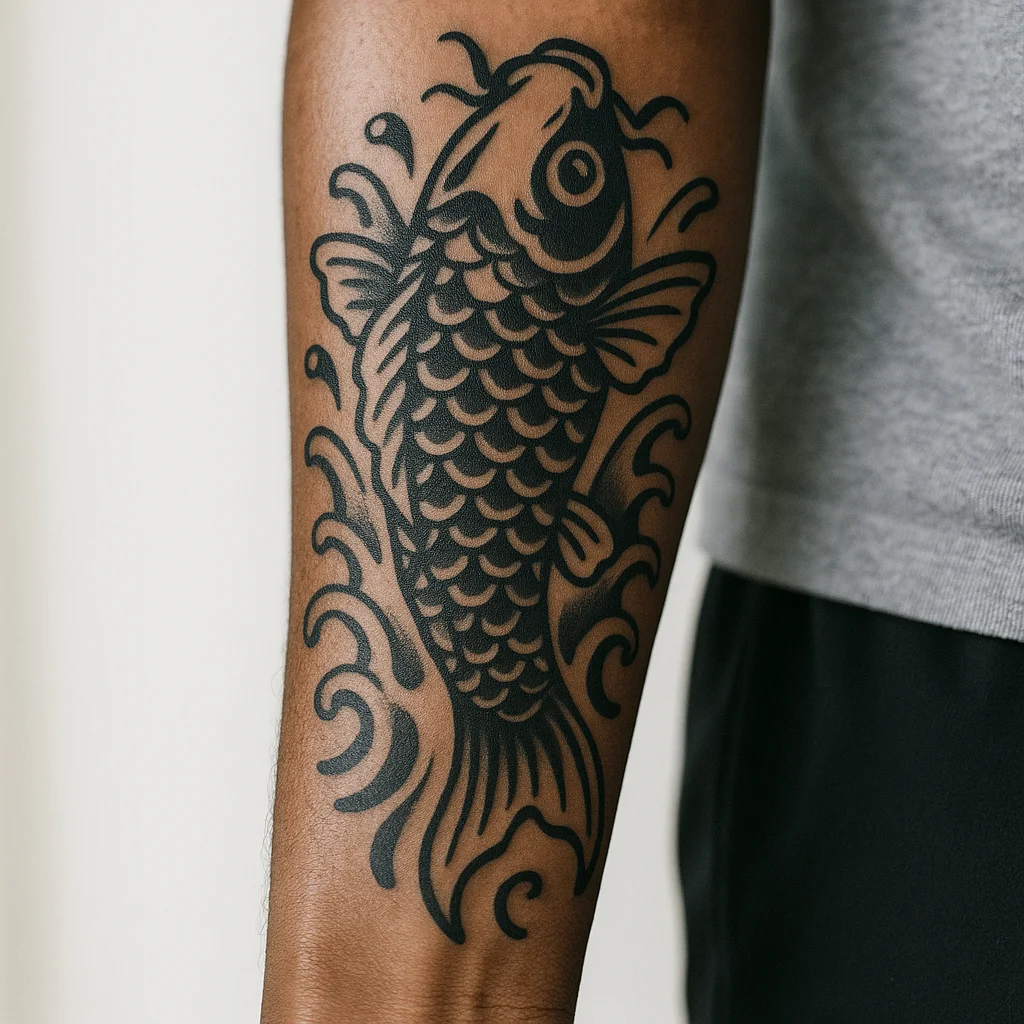
10. Koi ascending the inner forearm
Body angled diagonally from wrist to elbow ditch, scales suggested rather than fully drawn, a few water lines curling behind the tail. The diagonal is what makes it work on a cylinder, a vertical koi looks pinned. Colour adds an hour but gives you the classic orange-and-black contrast.
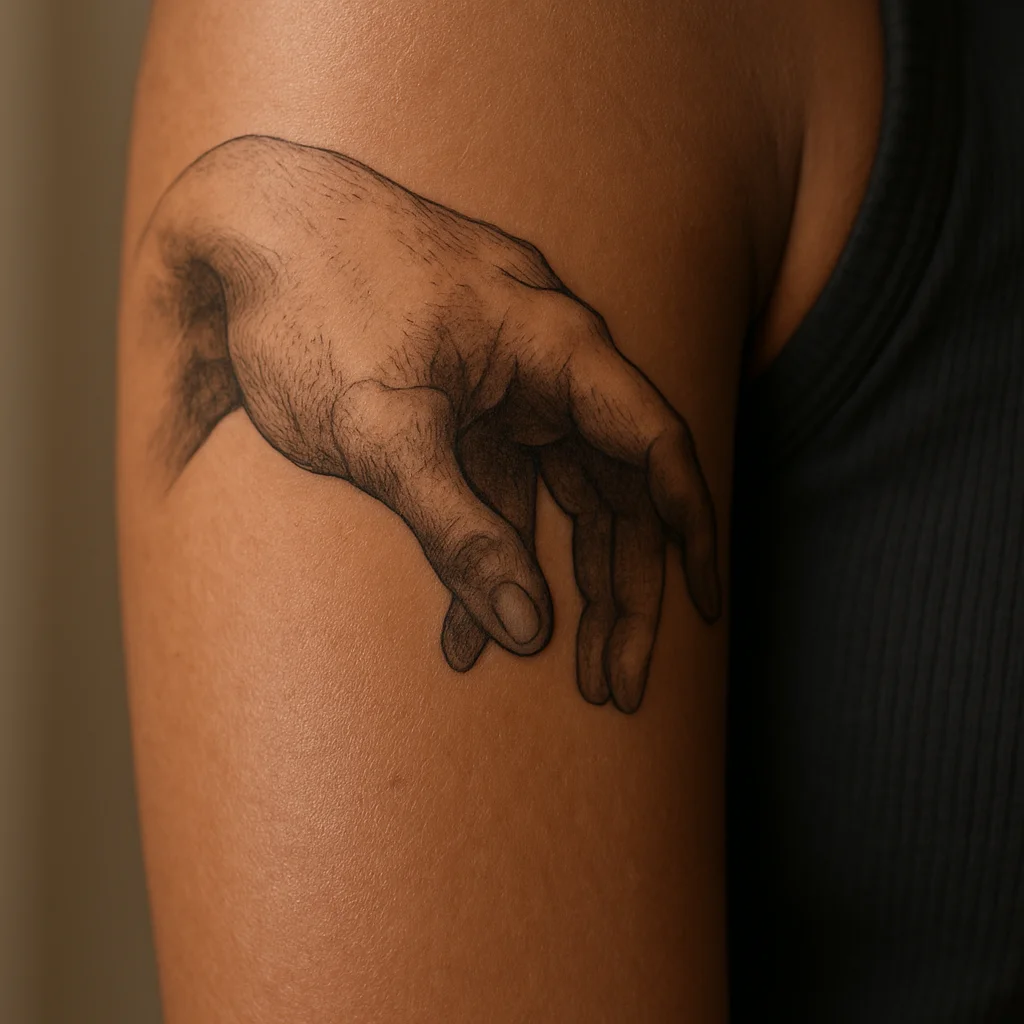
11. Classical statue hand on the upper arm
A marble hand reaching, rendered in soft grey wash with hard chisel edges and a fine crack across the knuckles. It photographs beautifully and stays legible because the value range is wide. Best on the outer deltoid where the curve mimics carved stone.
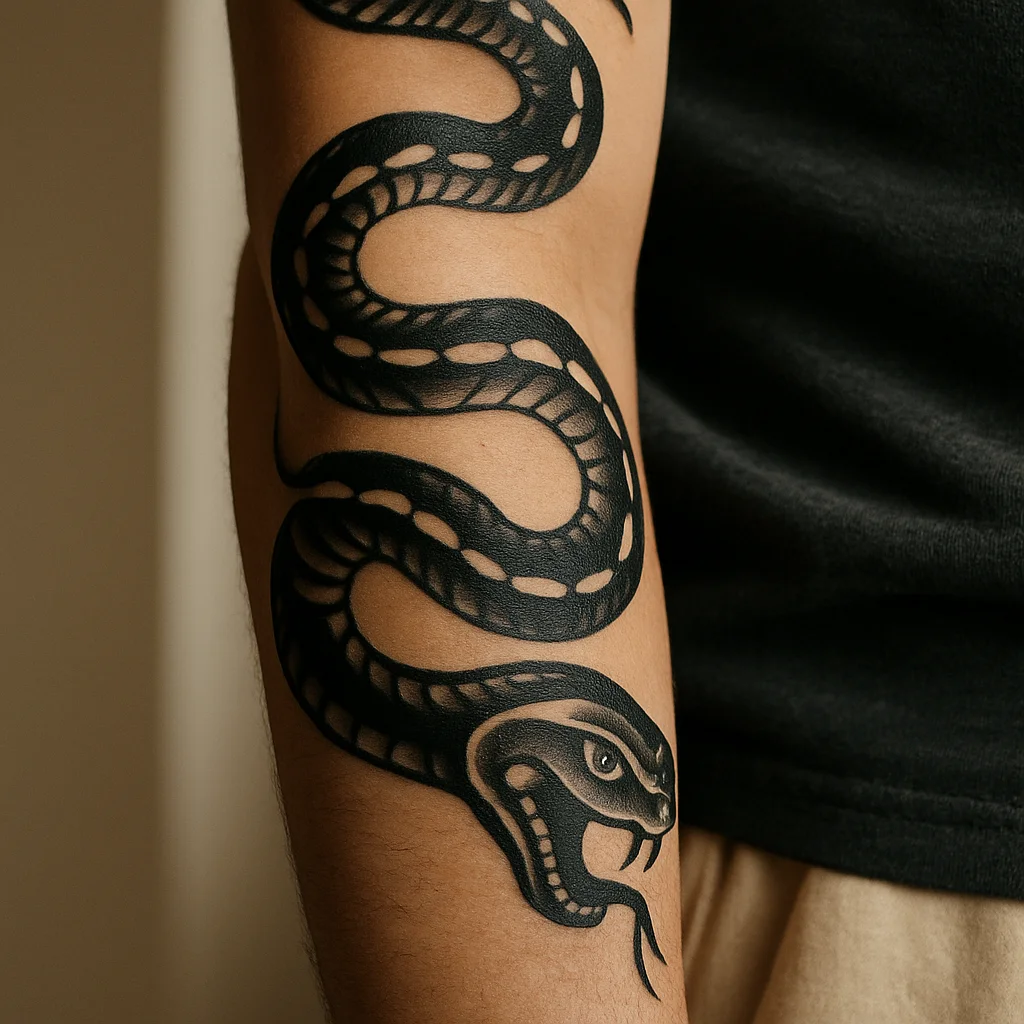
12. Snake coiled around the forearm
A traditional serpent that genuinely wraps, head resting on the inner forearm, tail disappearing over the outer edge. The wrap must be stencilled in the round; a flat stencil will leave the body looking snapped in half. Around five hours with solid black shading and a red mouth.
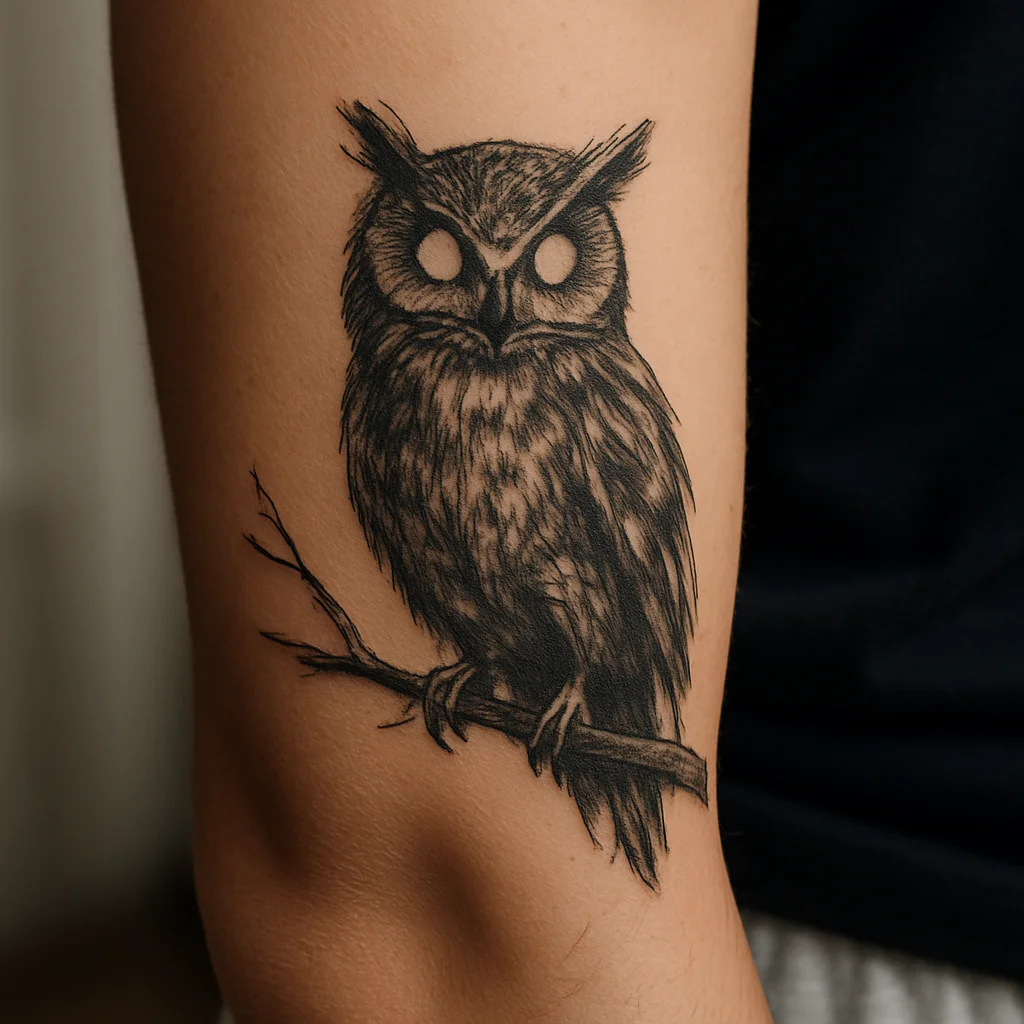
13. Owl on a bare branch, outer forearm
Feather texture built in short strokes, talons gripping a branch that follows the forearm's taper, eyes left as clean negative space. Owls carry the watchful, quiet-authority read without being loud. Give it 16-20 cm of length so the feather work has somewhere to breathe.
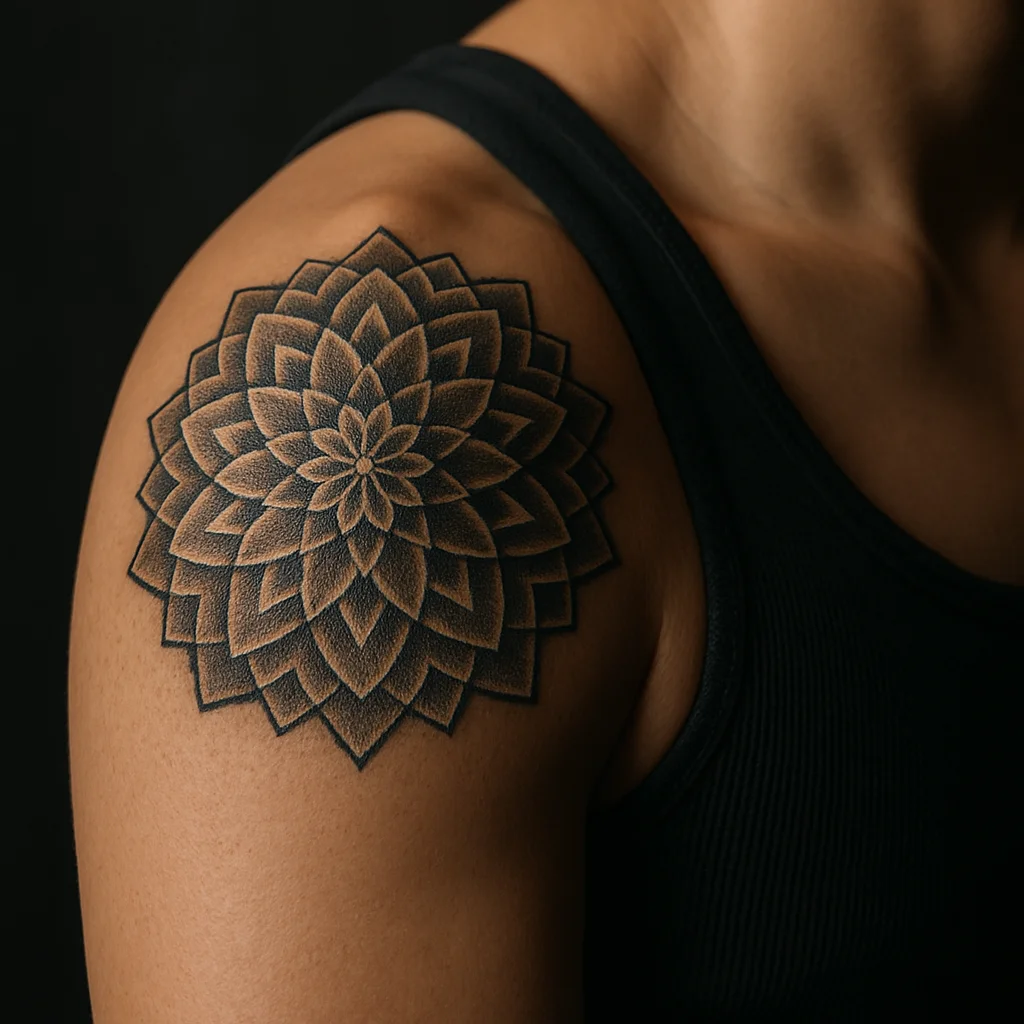
14. Dotwork mandala on the shoulder cap
Concentric geometry radiating from the top of the deltoid so it sits like a pauldron. Because the shoulder is round, the outer rings must be drafted freehand or they will read as an oval. Ideal if you want a piece that stays hidden under a sleeve and can later anchor a full arm.
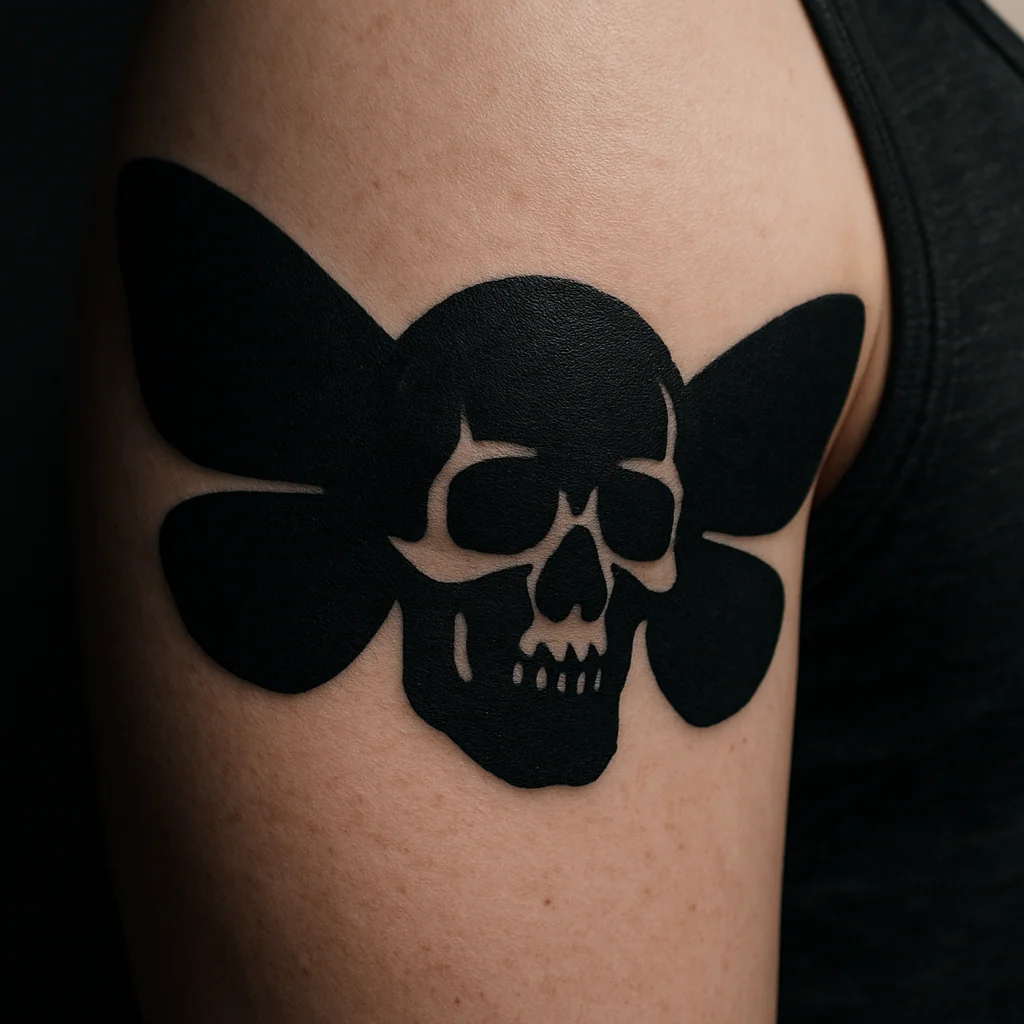
15. Skull with moth wings on the upper arm
Heavy blackwork skull, wings spreading horizontally across the bicep, antennae curling toward the shoulder. Keep the wing patterning chunky rather than lacy so it survives the first decade. It suits men who want darkness with structure rather than horror-shop shock.
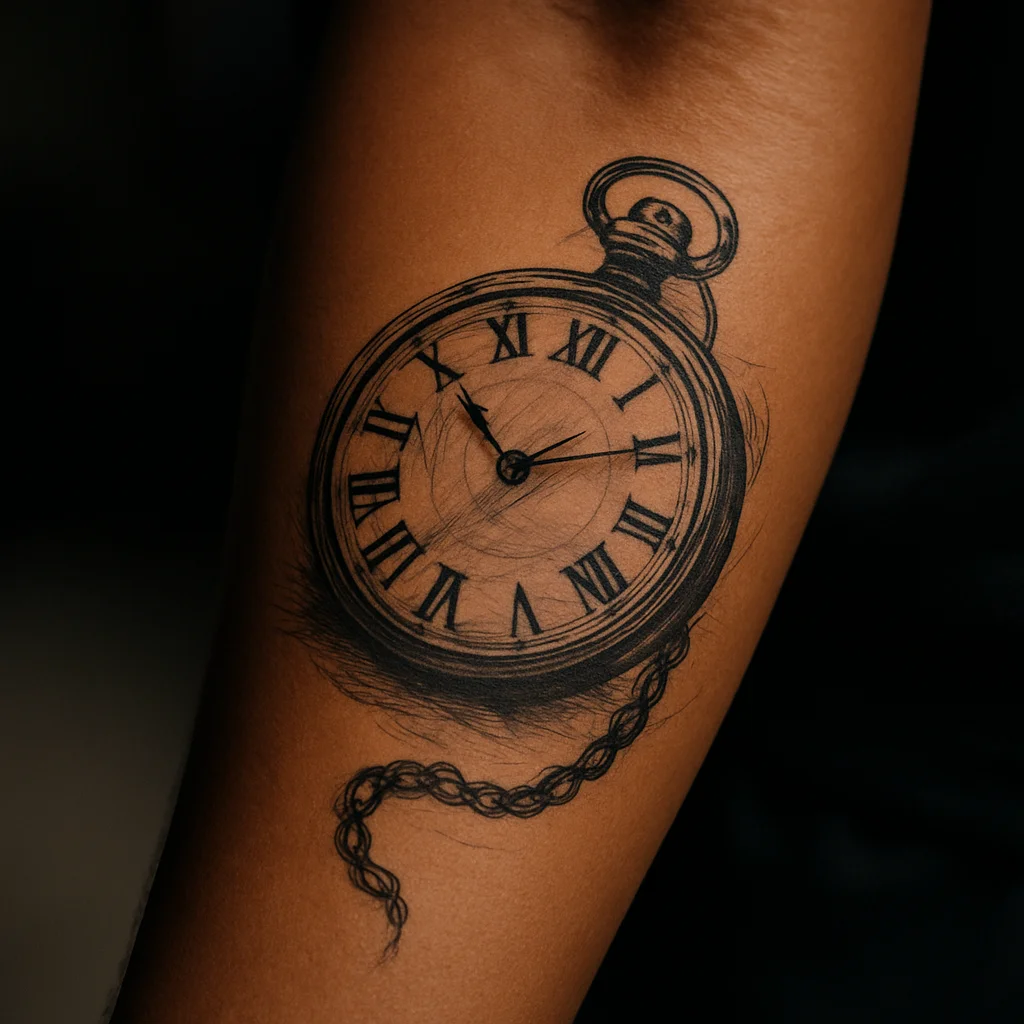
16. Pocket watch and roman numerals on the inner forearm
A watch face tilted three-quarters, chain trailing toward the wrist, hands set to a time that means something to you. It is a memorial staple for a reason, but ask for fewer chain links than the reference, because dense chain turns into a grey rope over time.
Two- and Three-Session Builds
Half-sleeve scale. Book the sessions in advance, three to six weeks apart, and expect the outline session to feel easier than the shading one. Budget accordingly, this bracket is where costs stack fastest.
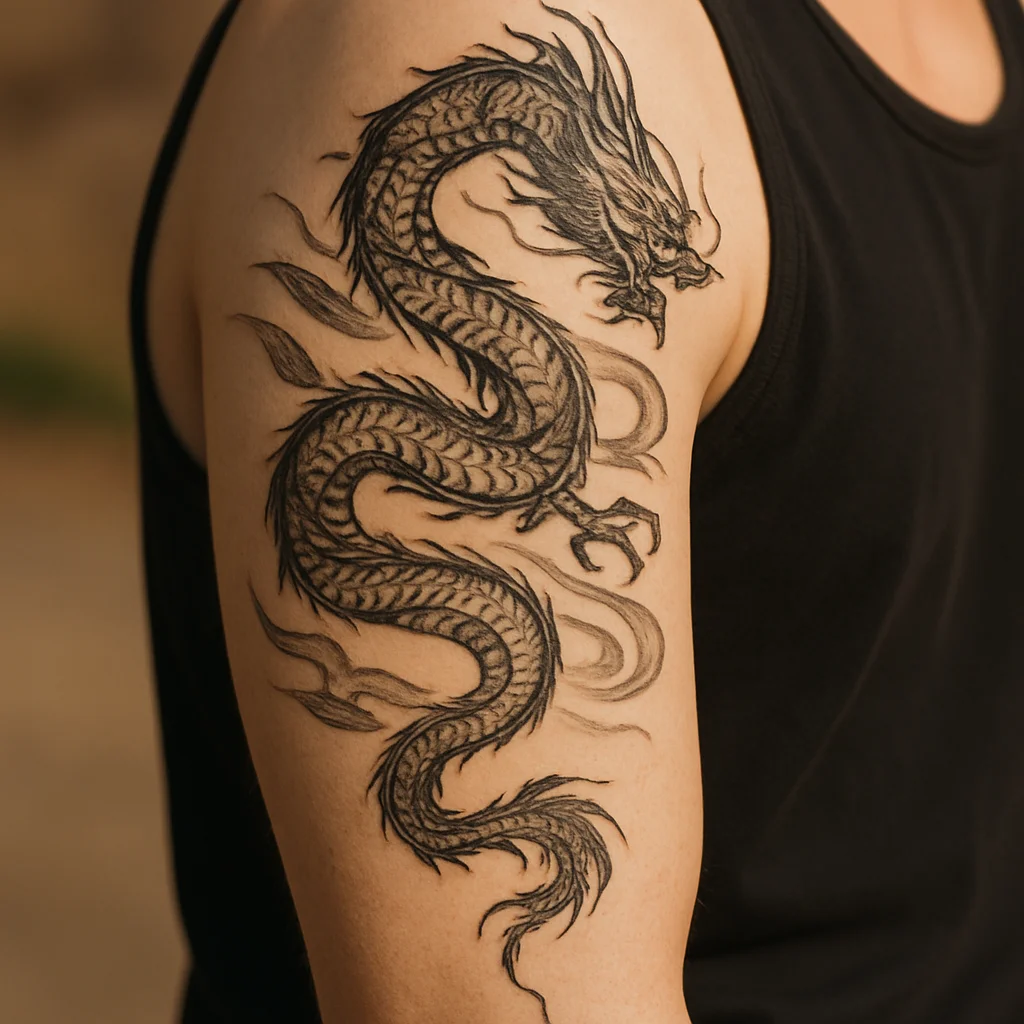
17. Japanese dragon on the upper arm
Body coiling from the shoulder cap down toward the elbow, claws gripping the tricep, wind bars and cloud filler holding the negative space. Japanese work is built to move with the body, so the artist should draw it directly on your skin. Two sessions for a half sleeve, three if you want colour.
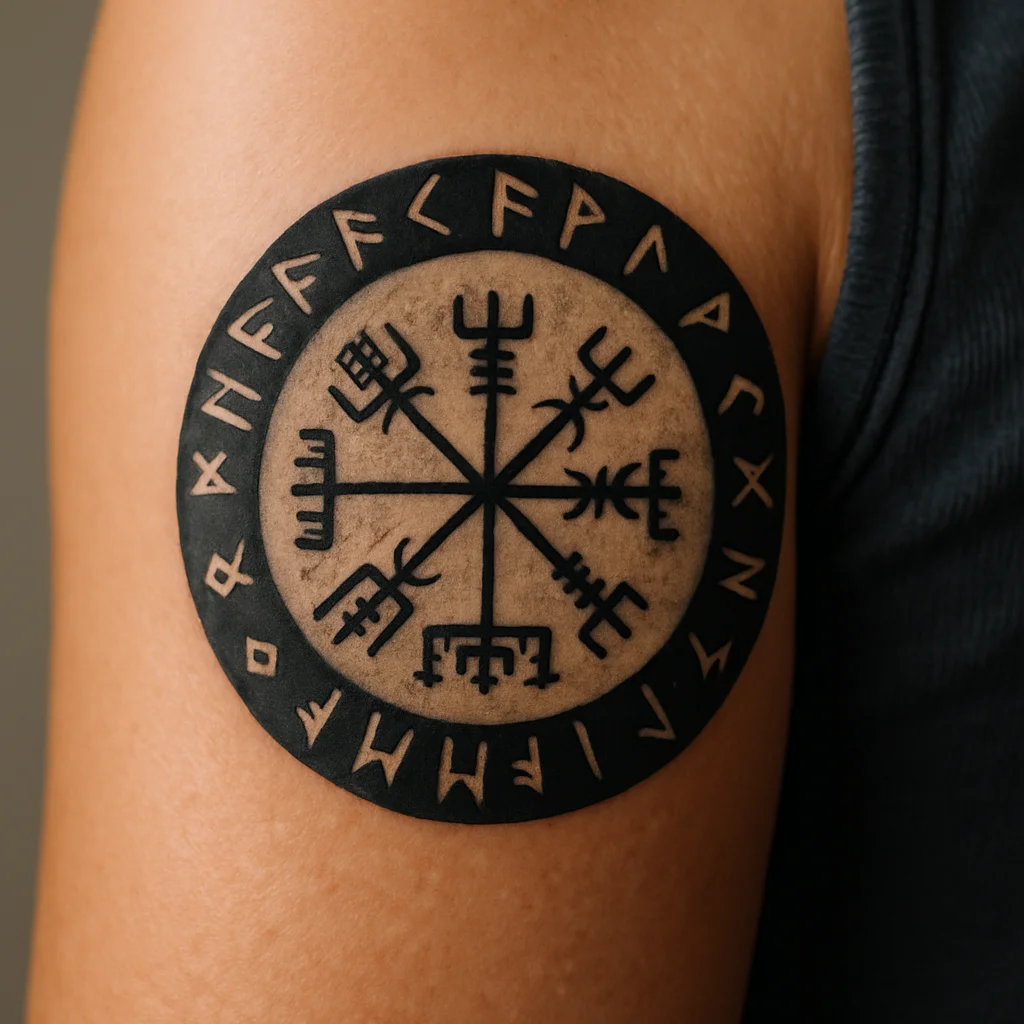
18. Vegvisir and runic ring on the upper arm
The Norse stave rendered in confident blackwork with a runic band circling it, plus a soft texture wash behind so it does not look like a decal. Ask for slightly thicker staves than the historical drawing, since thin symmetrical lines expose any drift. Suits men who want symbolism without a portrait.
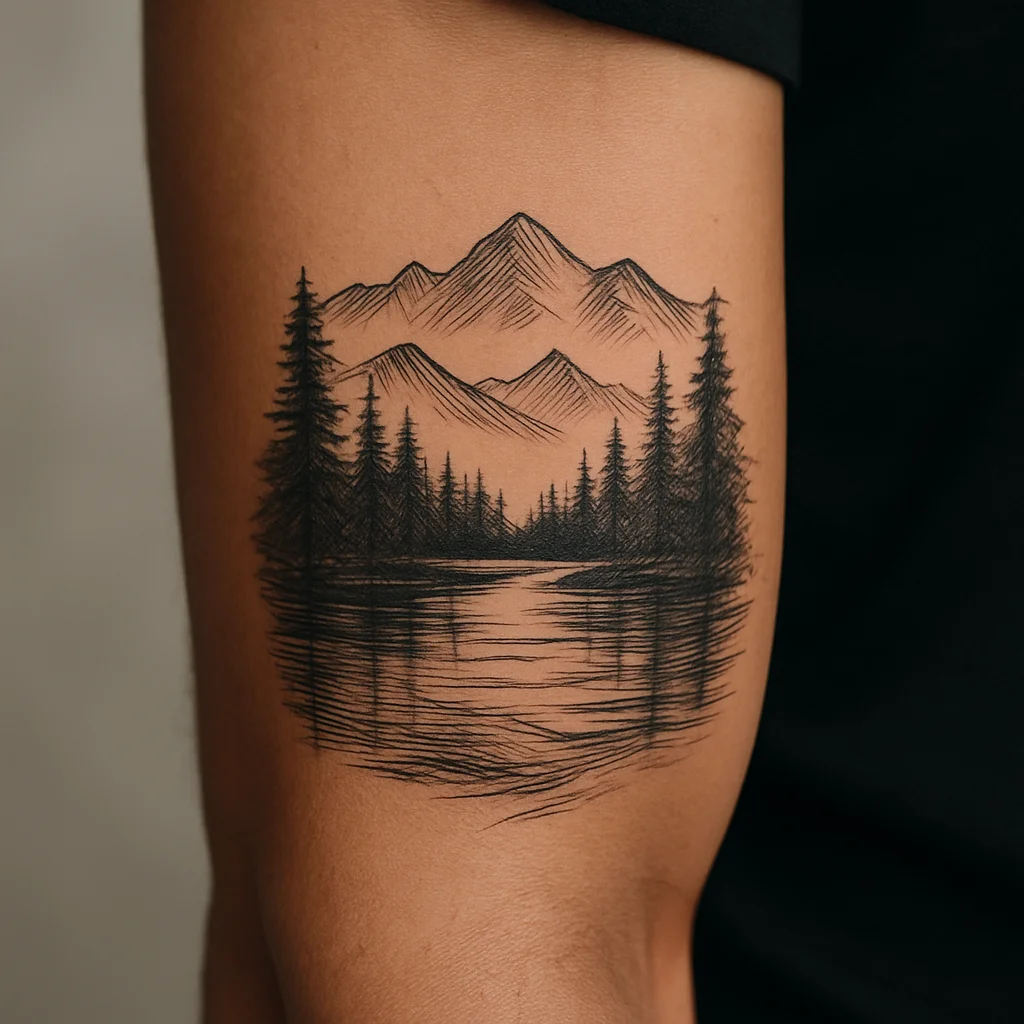
19. Layered landscape half sleeve on the outer forearm
Foreground pine silhouettes, a mid-ground lake, distant peaks, and a sky left mostly bare skin. The bare sky is the whole trick, it gives depth and keeps the piece from going flat and grey. Works best when the horizon lines run around the arm rather than straight down it.
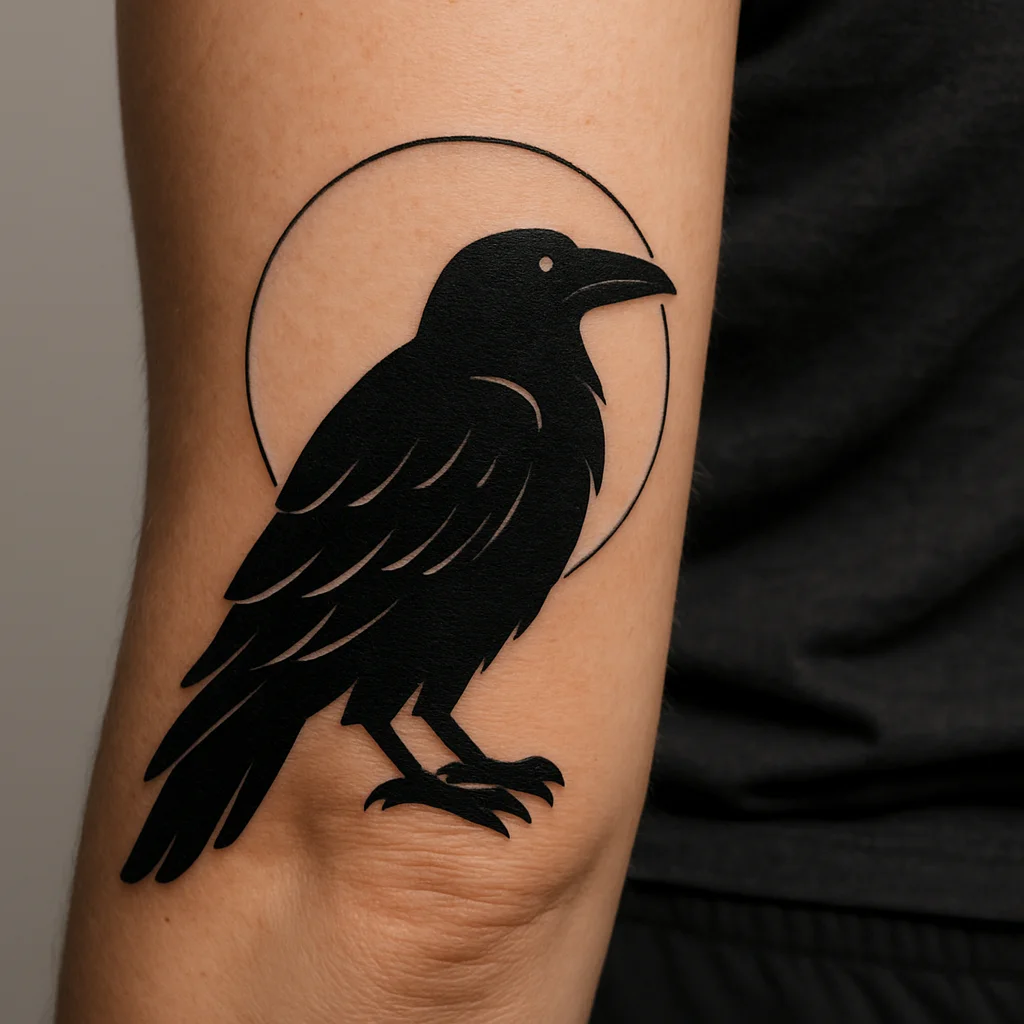
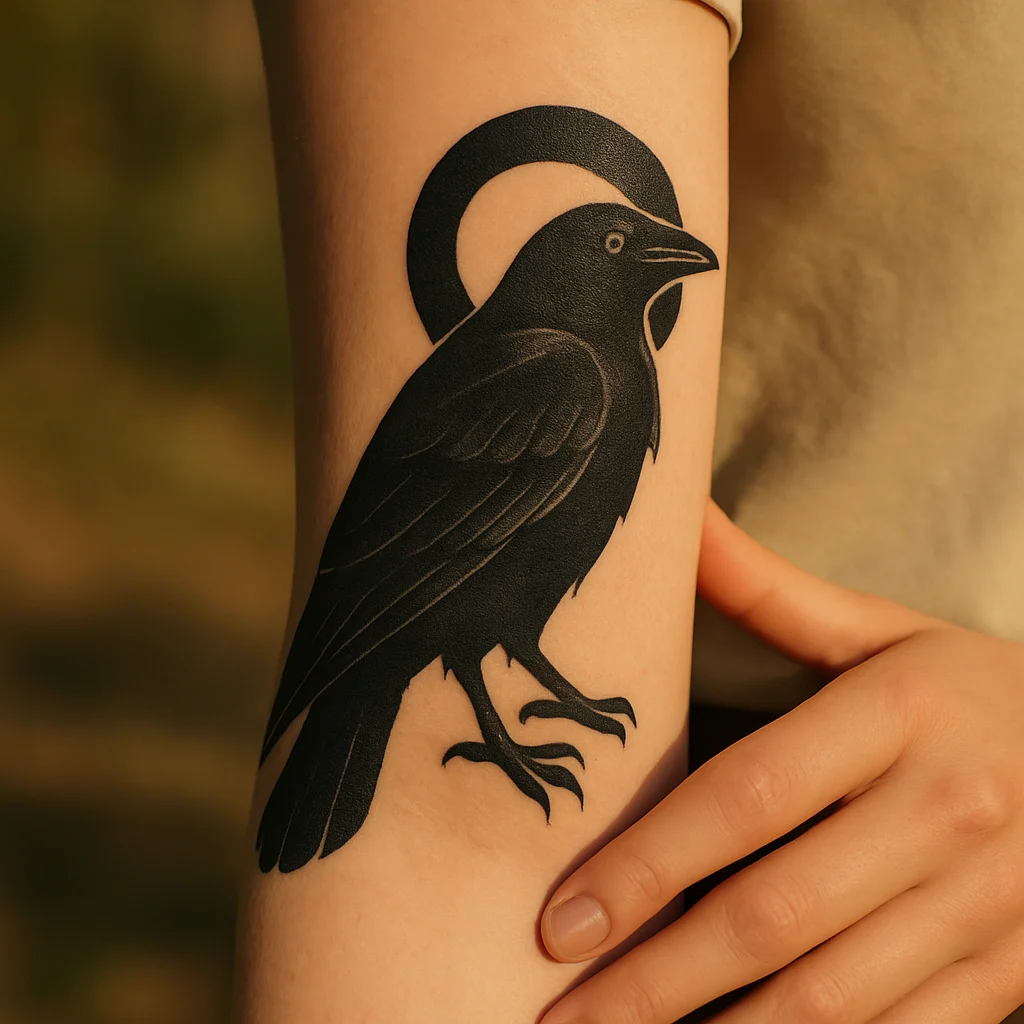
20. Blackwork raven with a negative-space moon
Solid black bird, feathers carved out with negative space, perched against a full circle of untouched skin. High contrast means it stays readable forever, and it is forgiving on hairy arms. Roughly two sessions at 18-22 cm.
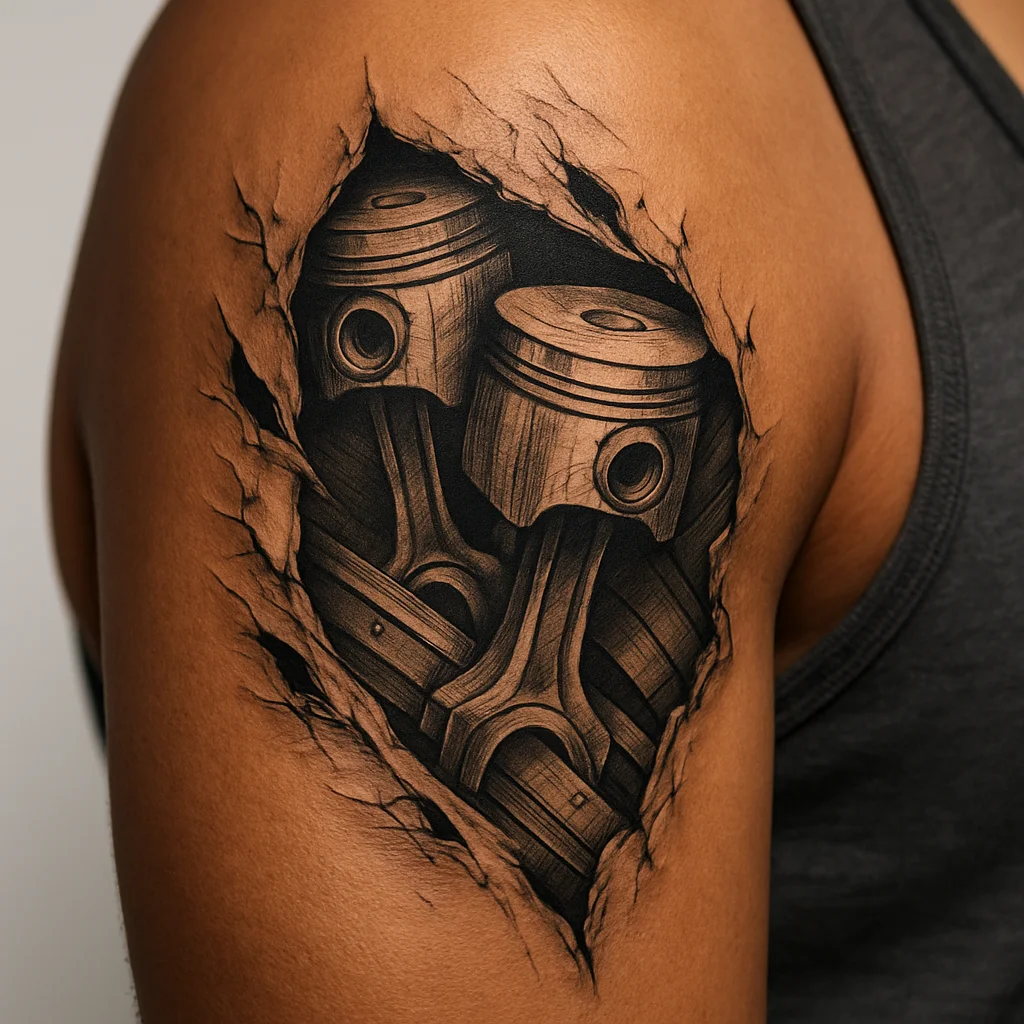
21. Biomechanical panel on the inner bicep and upper arm
Torn skin revealing pistons, cabling and a machined plate, contoured to your actual muscle so it flexes convincingly. This one lives or dies on the artist's ability to draw to your anatomy, so check healed photos, not fresh ones. Painful zone, plan short sessions.
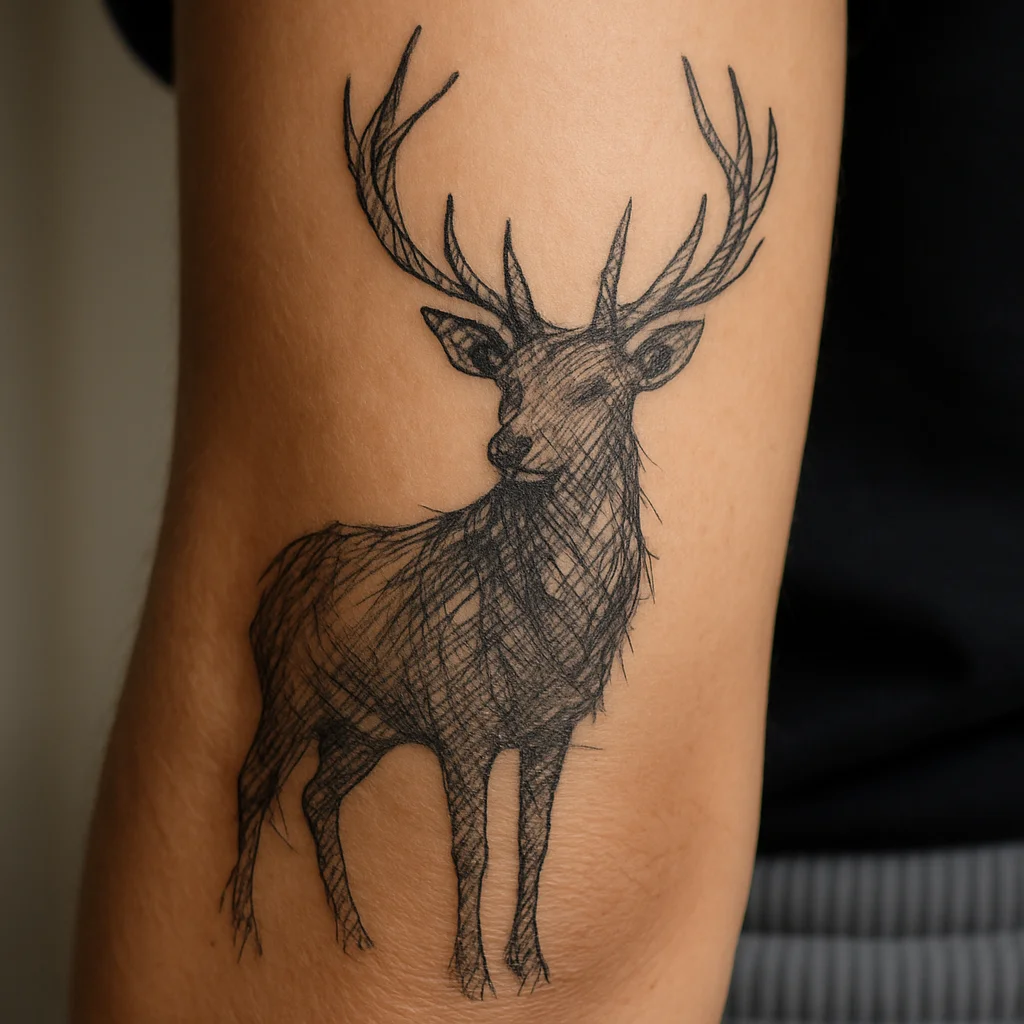
22. Etched stag with engraved-line shading
Antlers spreading toward the elbow, body built entirely from cross-hatching like an old field guide plate. The line-only approach ages honestly, it softens rather than smudges. Give it 20 cm and keep the antler tips well inside the arm's silhouette so they do not get clipped by the curve.
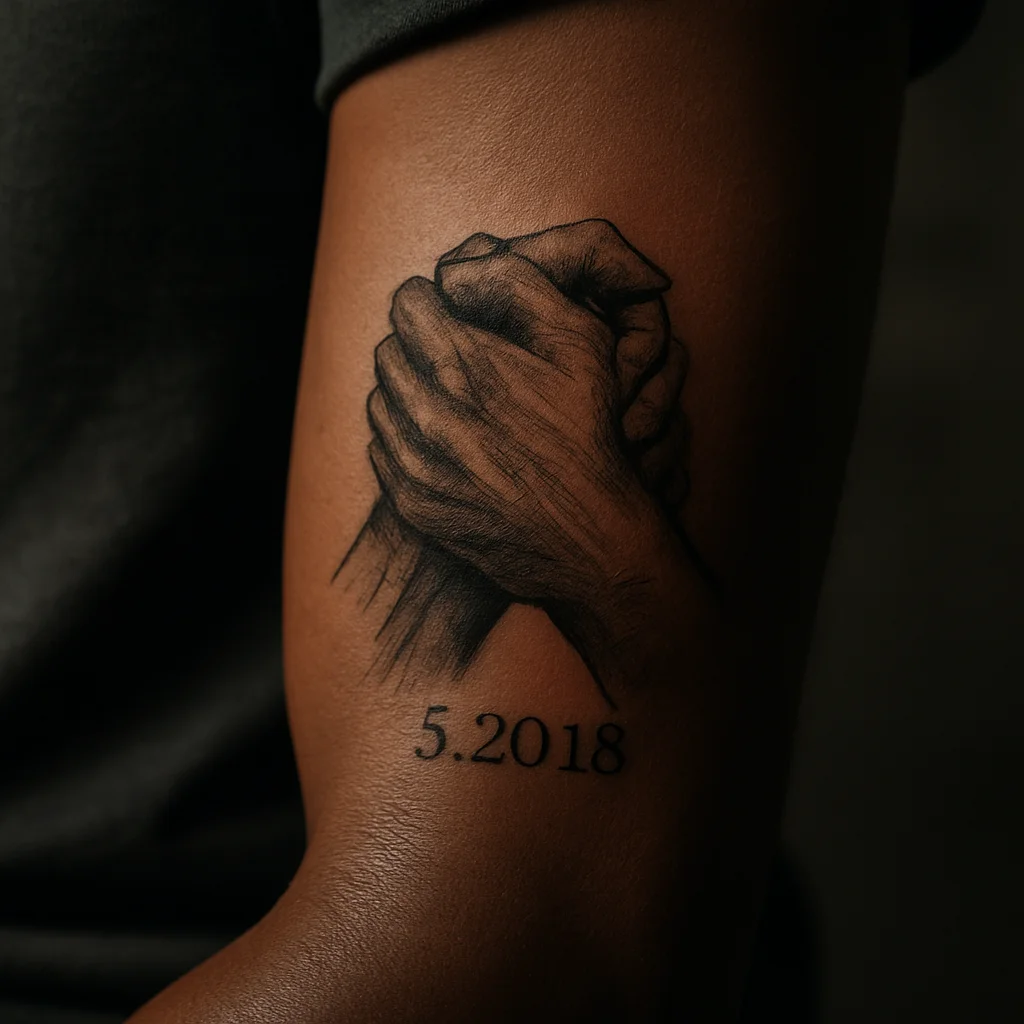
23. Portrait-scale memorial hands with a date
Two clasped hands in soft realism with a small engraved date beneath, set on the outer forearm where light hits evenly. Realism needs space and skill: under 15 cm it will not hold, and a cheap version will look wrong within five years. Save for the artist whose healed realism you have actually seen.
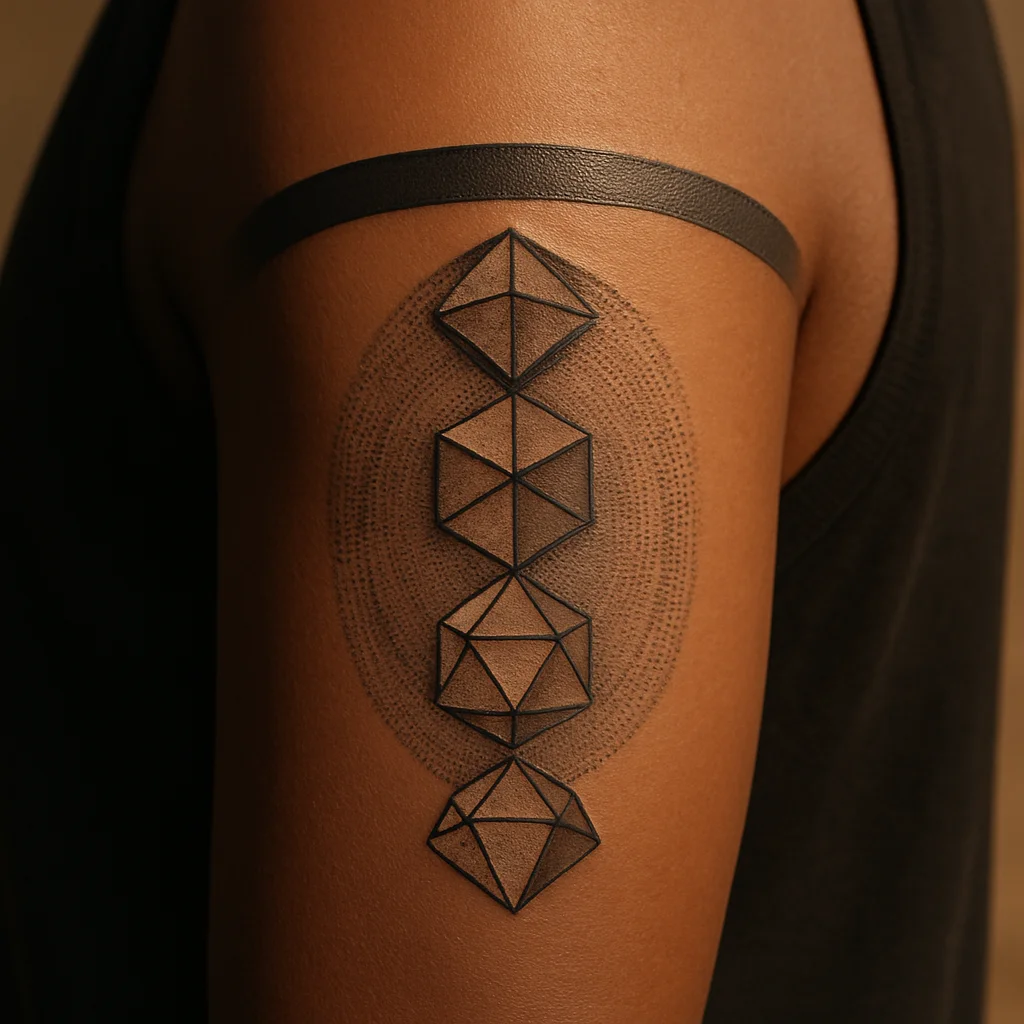
24. Sacred-geometry sleeve panel from shoulder to elbow
Nested platonic solids, dotwork gradients and a single strong ring at the bicep to cap it off. Symmetry across a moving limb is a technical job, so expect the artist to spend real time on the stencil. The result is one of the cleanest-ageing large pieces you can get.
Six Pieces That Grow Into a Sleeve
If there is even a chance you will keep going, start with a piece that acts as scaffolding. These six are chosen because they define edges, absorb filler and give a future artist something to build against instead of work around. Worth reading alongside our guide to planning an arm that flows before you commit to the first stencil.
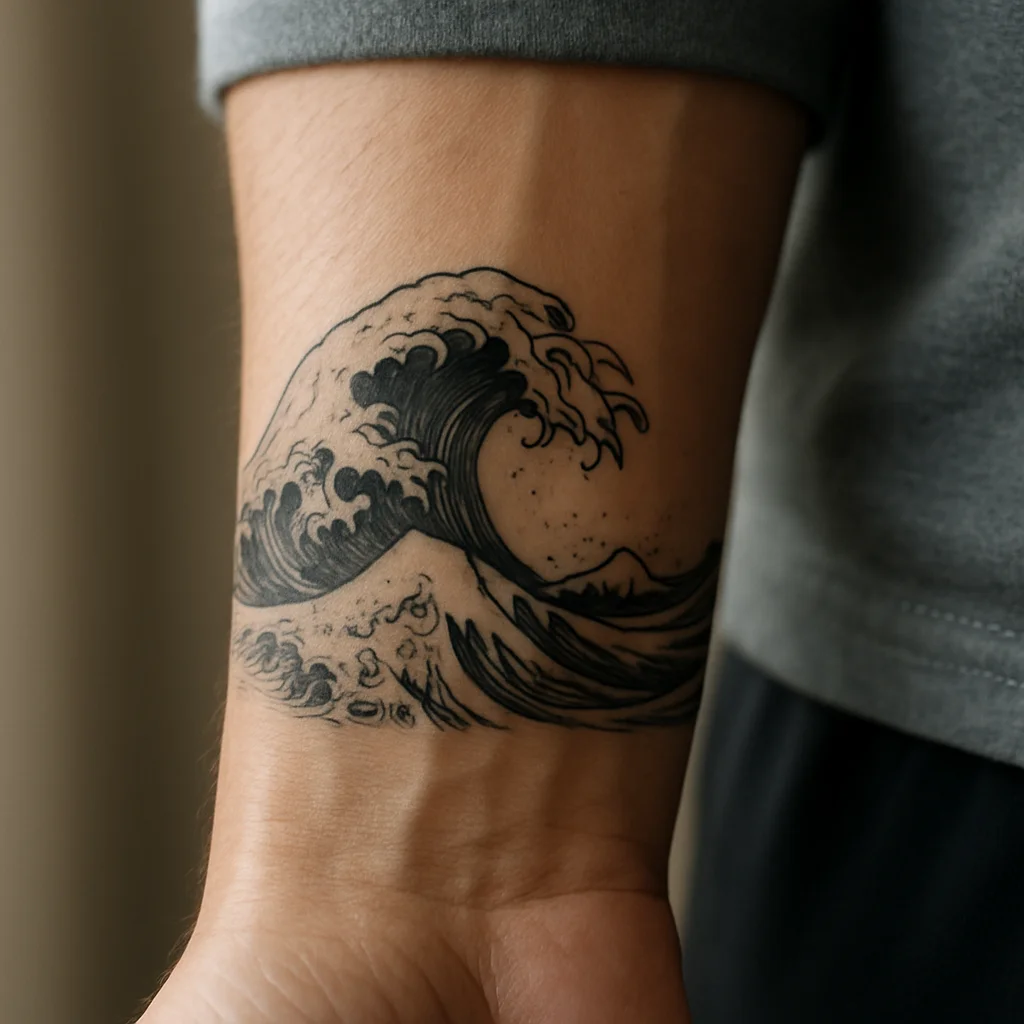
25. Wave band at the wrist
A Japanese-style water band circling the wrist becomes the natural terminator of a future sleeve, so the arm never looks like it just stopped. Two to three hours on its own, and it looks intentional standing alone. Keep it 4-6 cm tall so there is room for a cuff of skin below.
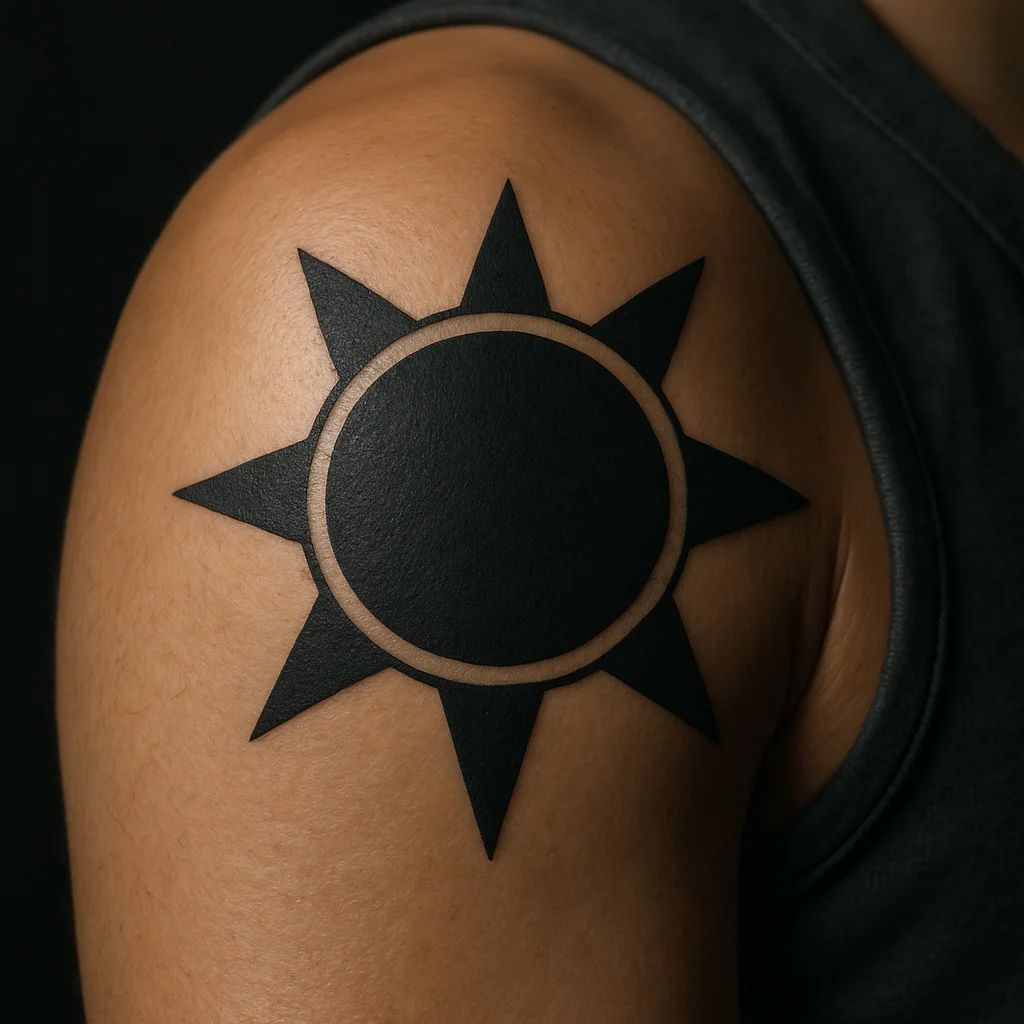
26. Shoulder-cap anchor piece
Any bold circular subject on the deltoid, a mandala, a sun disc, a lion's face, sets the top boundary and the visual weight of the whole arm. Start here if you are sleeve-curious but not sleeve-ready, because everything downstream hangs off it. It also hides completely under a t-shirt.
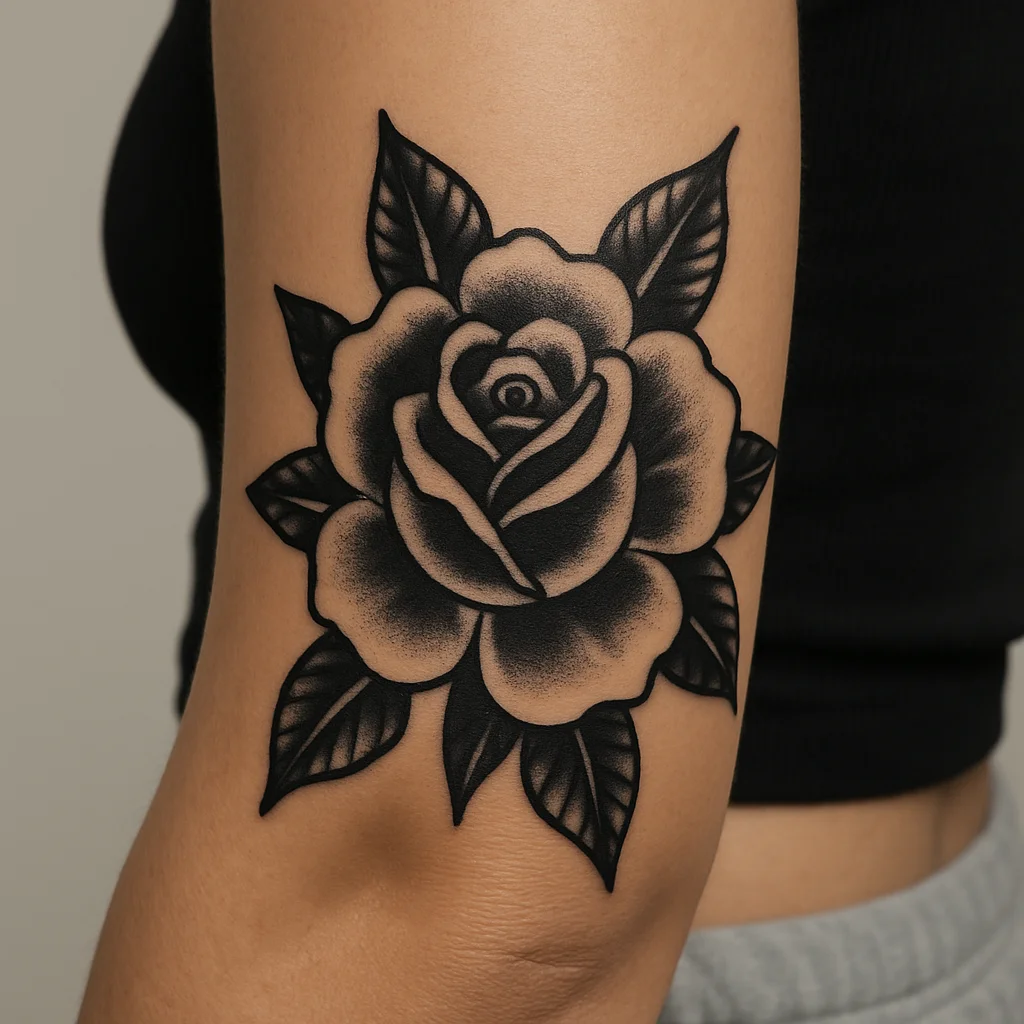
27. Elbow rose or spiderweb
The elbow is the hardest gap to fill later, so claiming it early with a radial motif saves your future self a bad compromise. A rose with petals radiating from the point of the elbow bends naturally with the joint. Sharp pain but short, usually under two hours.
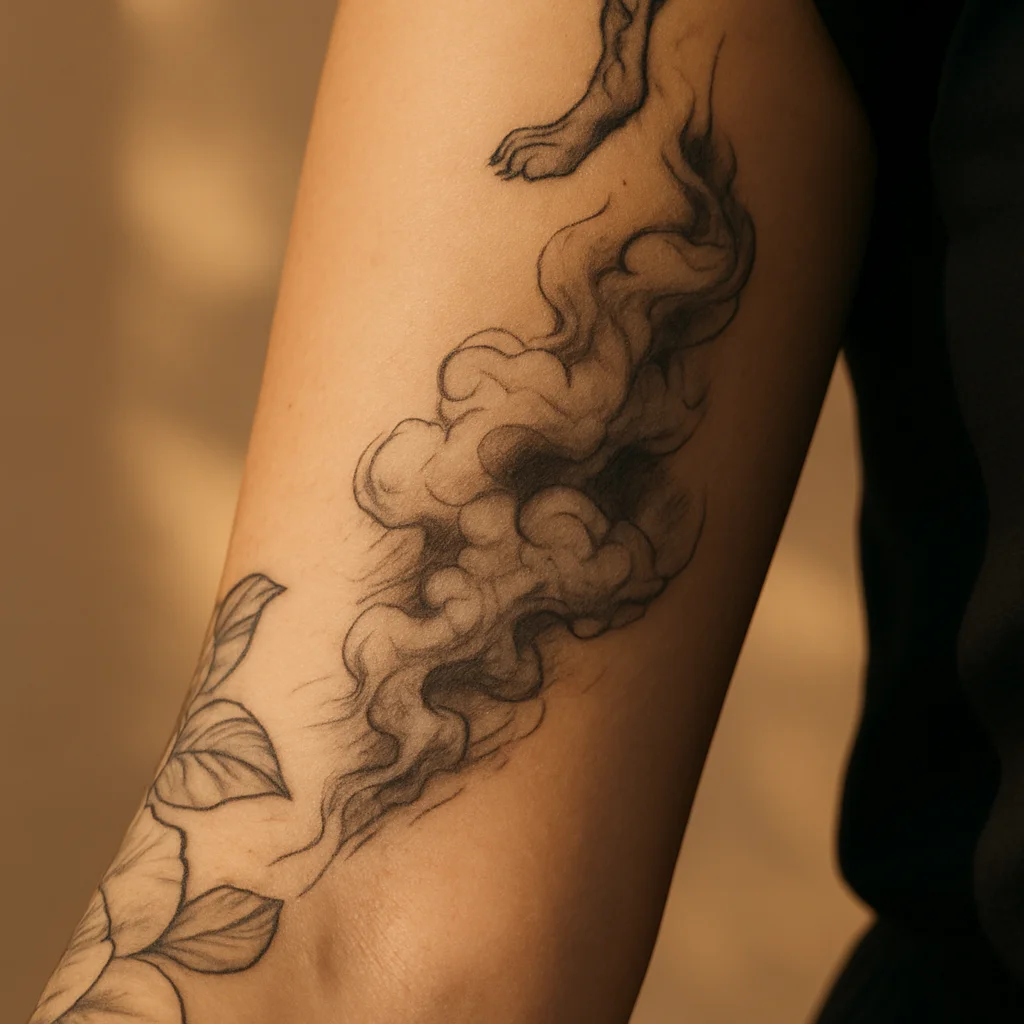
28. Cloud and smoke filler channel
Instead of a subject, commission connective tissue: grey-wash clouds or smoke running along the inner arm between two existing pieces. It reads as atmosphere on its own and welds separate tattoos into one body of work. Cheap per hour of visual impact and easy to extend.
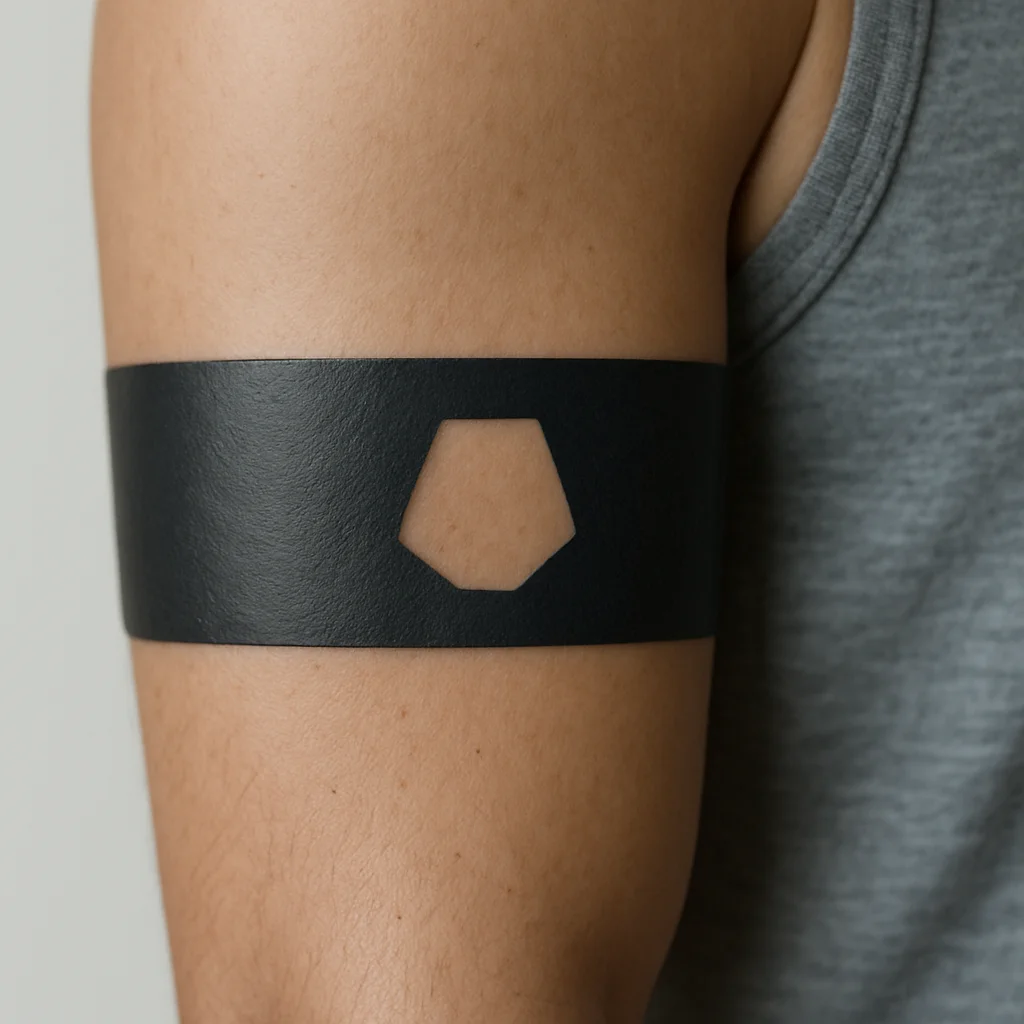
29. Negative-space blackout band on the inner bicep
A solid black block with a simple shape cut out of it, placed in the ditch area where mismatched styles usually collide. It absorbs scars, faded old work and awkward seams. Sit for it in two shorter sessions, packing black in the ditch is a grind.
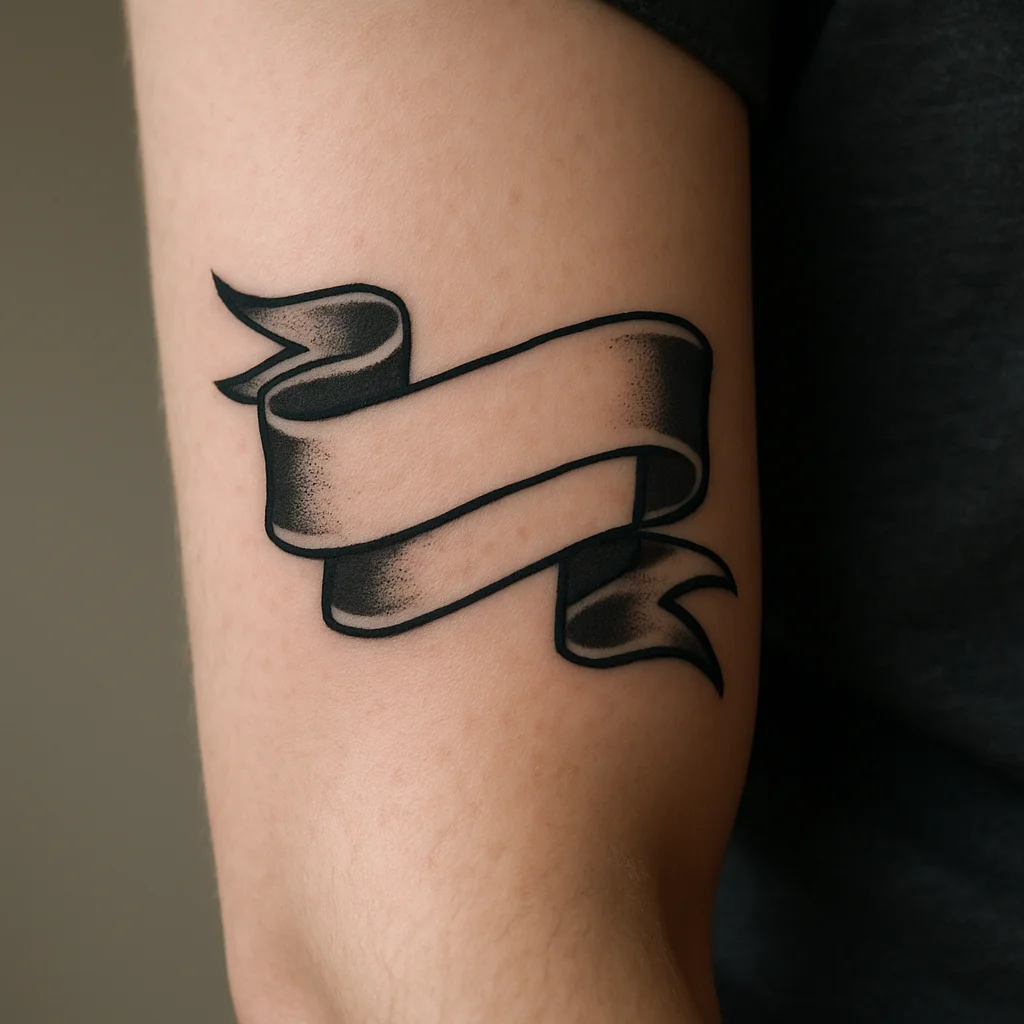
30. Banner across the inner forearm
A classic ribbon with a name, date or short phrase, drawn wide enough that later tattoos can tuck behind its ends. Banners are the oldest sleeve connector in the trade because they hide transitions so well. Ask for bold traditional lettering, not script, if you want it legible in 2045.
Pain, Cost and How Long Each Bracket Really Takes
Pain, honestly. The outer forearm is the gentlest large surface on the body, a dull scrape most men handle fine for three hours straight. The inner forearm is a step up, particularly the last few centimetres before the wrist. The upper arm and outer deltoid are comfortable. The inner bicep, elbow ditch and the elbow itself are the genuine hot spots: nerve-heavy, thin-skinned and impossible to zone out through. If your design crosses those zones, tell the artist you want them tattooed early in the session while you are fresh.
Cost, in ranges. Most established shops work either to a piece price or an hourly rate, and in major cities that rate commonly sits in the low hundreds per hour, with shop minimums covering anything tiny. A one-sitting piece from the first bracket typically lands in the low-to-mid hundreds. Half-day statements usually run into the high hundreds. Multi-session builds move into four figures once you total outlining, shading and colour, and a full sleeve is a different conversation entirely. Colour, realism and heavy black packing all add hours; clean line-driven work adds the fewest. Ask for a written estimate as a range, plus how the deposit applies.
Time. Artists quote drawing and stencil time as part of the appointment, so a "four-hour" tattoo is often a five-hour visit. Anything over five hours in one go tends to hurt more in the last hour than the ink justifies, and skin that has been worked too long takes ink poorly. Splitting is not weakness, it is how good work gets done.
Briefing the Artist and Healing an Arm Properly
The best brief is short, specific and honest about constraints. Bring three to five reference images and say what you like in each one, not just that you like it: the line weight, the amount of black, the shape of the composition. Say where your sleeves fall at work. Say whether this is the only tattoo you will ever get or the first of several, because that single sentence changes how an artist places the stencil.
Ask these four questions before you sit:
- How will this wrap when my arm is at my side, not held out on the armrest?
- What will this look like at ten years, and which details will you thicken to get it there?
- Where would you leave space if I come back for more?
- How many sessions, and how far apart do you want them?
Healing. Arms are the easiest limb to heal and the easiest to ruin at the gym. Keep the wrap on as long as your artist specifies, wash with clean hands and unscented soap, pat dry, then a rice-grain amount of ointment two or three times a day for the first few days before switching to a plain fragrance-free lotion. Skip barbell knurling, bench pressing against a fresh inner bicep and anything that makes you sweat heavily for about a week. No pools, no baths, no sea for two to three weeks. Peeling and itching around days four to seven is normal, picking is not.
Sun is the long game. An arm gets more UV than any other placement, and fading is almost always sun damage rather than bad ink. Once healed, high-factor sunscreen on exposed arm work is the single cheapest thing you can do to protect a tattoo you paid real money for. For a fuller schedule, our 30-day aftercare guide walks through week by week.
Frequently asked questions
What is the best first arm tattoo for a man?
The outer forearm is the most forgiving starting point: low pain, stable skin and a flat surface that keeps designs readable for decades. A bold, line-driven piece around 10-15 cm, like a compass rose, a geometric animal head or a traditional dagger, gives you a finished-looking tattoo in a single sitting. Leave clear skin above and below it in case you want to build later.
How much does an arm tattoo cost for a man?
Most shops charge either a piece price or an hourly rate that commonly sits in the low hundreds per hour in larger cities, with a shop minimum for small work. A one-sitting forearm piece usually lands in the low-to-mid hundreds, a half-day statement in the high hundreds, and a multi-session half sleeve into four figures. Colour, realism and heavy black packing add hours; clean linework adds the fewest.
Which part of the arm hurts most to tattoo?
The inner bicep, elbow ditch and the point of the elbow are the sharpest, thanks to thin skin and dense nerve endings. The outer forearm and outer deltoid are the mildest and most men sit through those comfortably for several hours. If your design crosses a hot spot, ask the artist to tattoo that area first while you are fresh.
Should I plan for a sleeve before getting my first arm tattoo?
You do not need a full sleeve plan, but you should tell your artist whether more work is likely. That one sentence changes placement, scale and how much bare skin gets left as breathing room. Starting with a shoulder-cap anchor, a wrist band or a wide banner gives a future sleeve something to build against instead of work around.
How long before I can go back to the gym after an arm tattoo?
Light cardio is usually fine after a couple of days, but avoid heavy lifting, barbell knurling and anything that stretches or sweats on the fresh area for about a week. Sweat, gym equipment and friction are the three main causes of patchy healing on arms. Wait two to three weeks before pools, saunas or the sea.
The conversation
No comments yet. Got a thought about these designs? Start us off.
Want to weigh in? Join the community to comment, save designs and try them on your skin.