Full Sleeve Tattoo Cost: What You'll Actually Pay
A full sleeve is priced in hours, not inches, so the honest answer depends on style, artist tier and how many sessions your arm needs. Here's how the maths actually works, style by style.
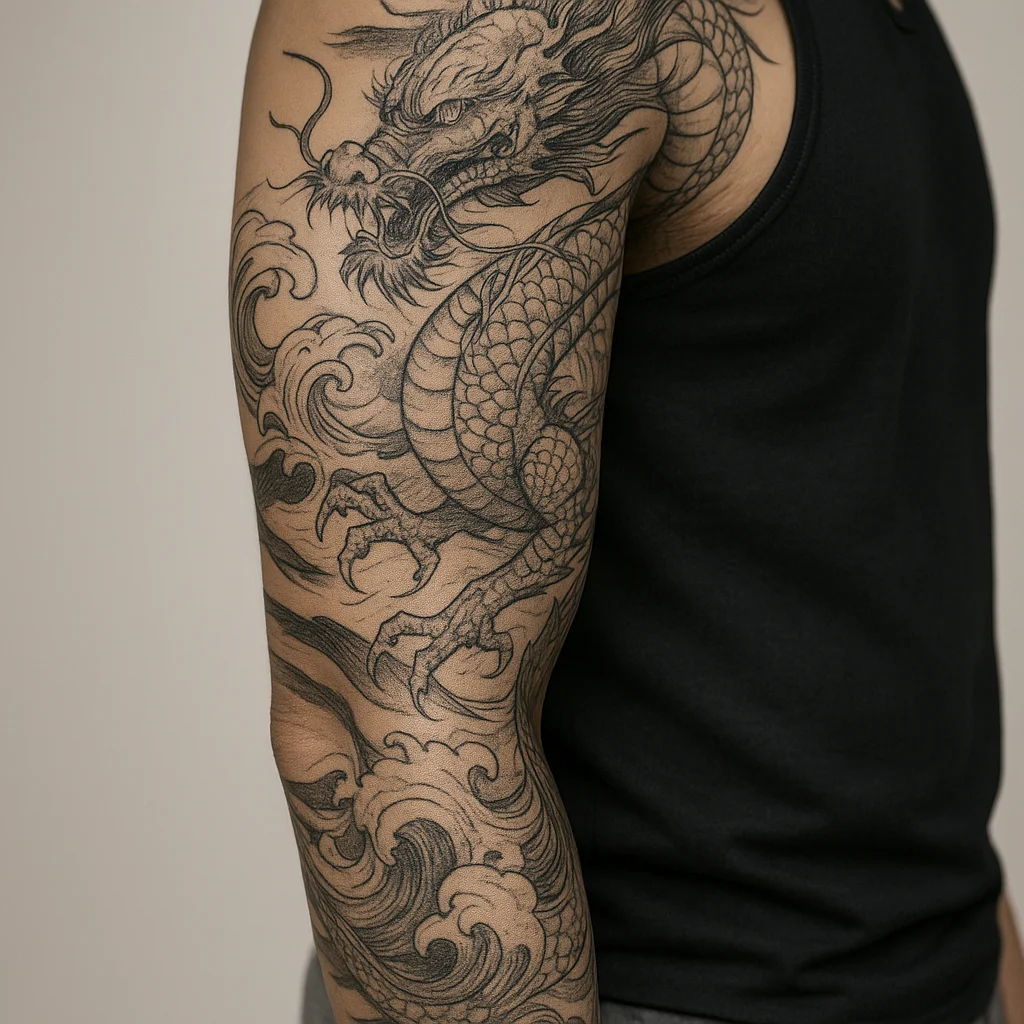
What You're Actually Paying For
A sleeve isn't priced like a product; it's priced like labour. Almost every artist capable of covering a full arm charges either an hourly rate or a day rate, and the total is simply that number multiplied by how long your arm takes. In smaller cities and quieter studios, hourly rates commonly sit in the lower three figures. In busy metros and at shops with waiting lists, they climb steeply, and heavily booked specialists often skip hourly pricing altogether in favour of a flat day rate that covers a full session of six to eight hours of needle time.
Three things move that rate more than anything else:
- Artist demand and specialism. A resident artist three years into their career and a guest-spot name with an international waiting list can be doing similar work and charging wildly different money. You're paying for consistency, healed results and design ability, not just tattooing speed.
- Geography. Rent drives rates. The same sleeve can cost noticeably less in a mid-size town than in a capital city, which is why some clients travel and factor flights into the budget.
- Complexity per square inch. Bold outlines with flat colour cover skin fast. Smooth grey wash, layered colour blends and dotwork shading are slow. Same arm, very different hour count.
Ask for the rate and the estimated total hours in the same breath. An artist who has built dozens of sleeves can usually say something like "four to six full days" with real confidence, and that estimate is what you should actually budget against. For broader pricing context beyond sleeves, our guide to what tattoos cost covers smaller work too.
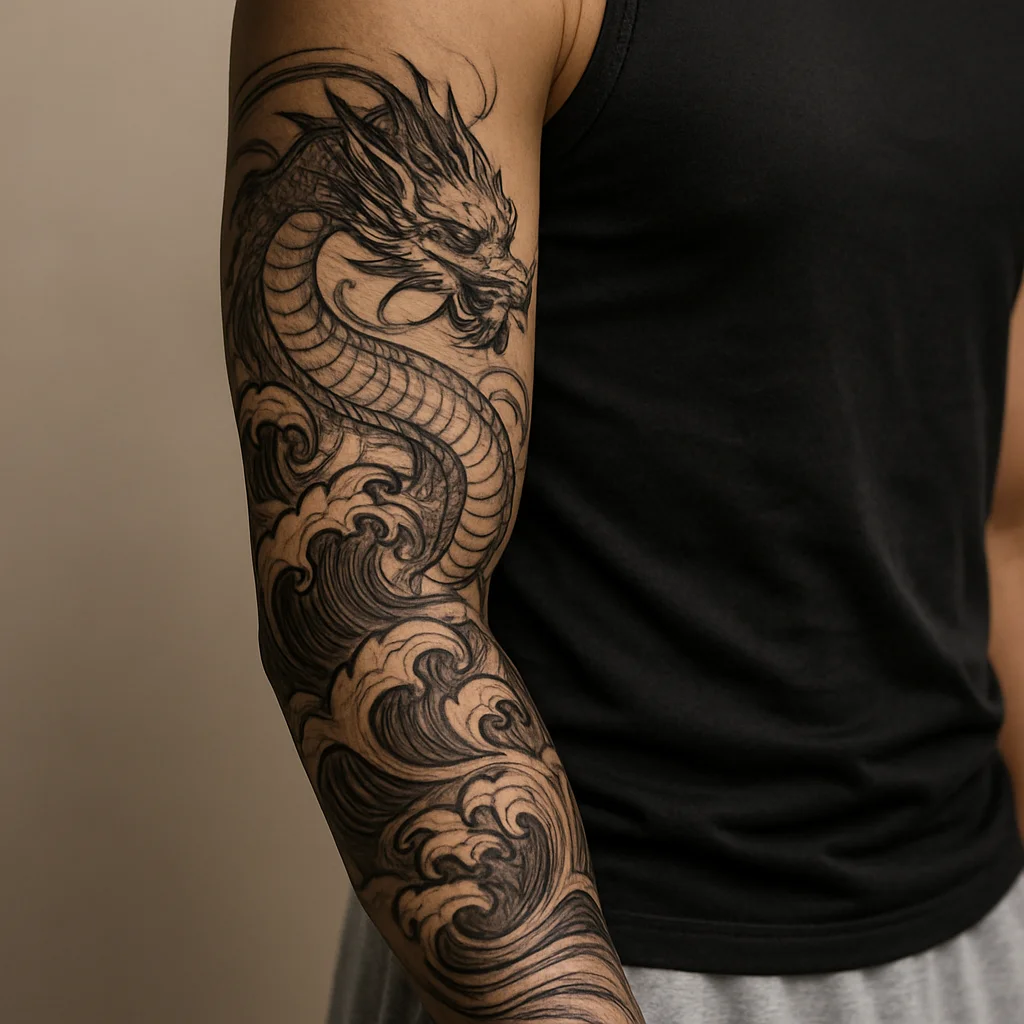
Hours, Sessions and the Realistic Total
A true full sleeve runs from the shoulder cap to the wrist and wraps the whole circumference. That's a large canvas: most arms need somewhere between roughly 15 and 40 hours of needle time, and dense colour or realism work can push past 50. Translate that into money and the honest range for a completed sleeve is broad, from the low thousands for simpler bold work with a mid-level artist to the high five figures for a heavily detailed colour sleeve from a sought-after specialist. Most people planning carefully land somewhere in the middle: several thousand, spread over months.
Sessions matter as much as hours. Very few people sit for more than five or six hours comfortably, and skin stops taking ink well after that anyway; it swells, gets shiny and refuses to hold pigment cleanly. A typical build looks like this:
- Session one: outline the whole arm, or outline and begin shading one section. Often the longest and most tiring day.
- Sessions two to five: shading and colour, worked in panels, usually spaced two to four weeks apart so each area heals.
- Final session: tightening, highlights, background fill and any touch-ups.
Spacing sessions is also the most practical budgeting tool you have. Paying for one day at a time turns a large lump sum into instalments, and nobody minds if your sleeve takes a year. What artists dislike is a half-finished arm that goes silent for two years, because colours fade unevenly and the design language shifts.
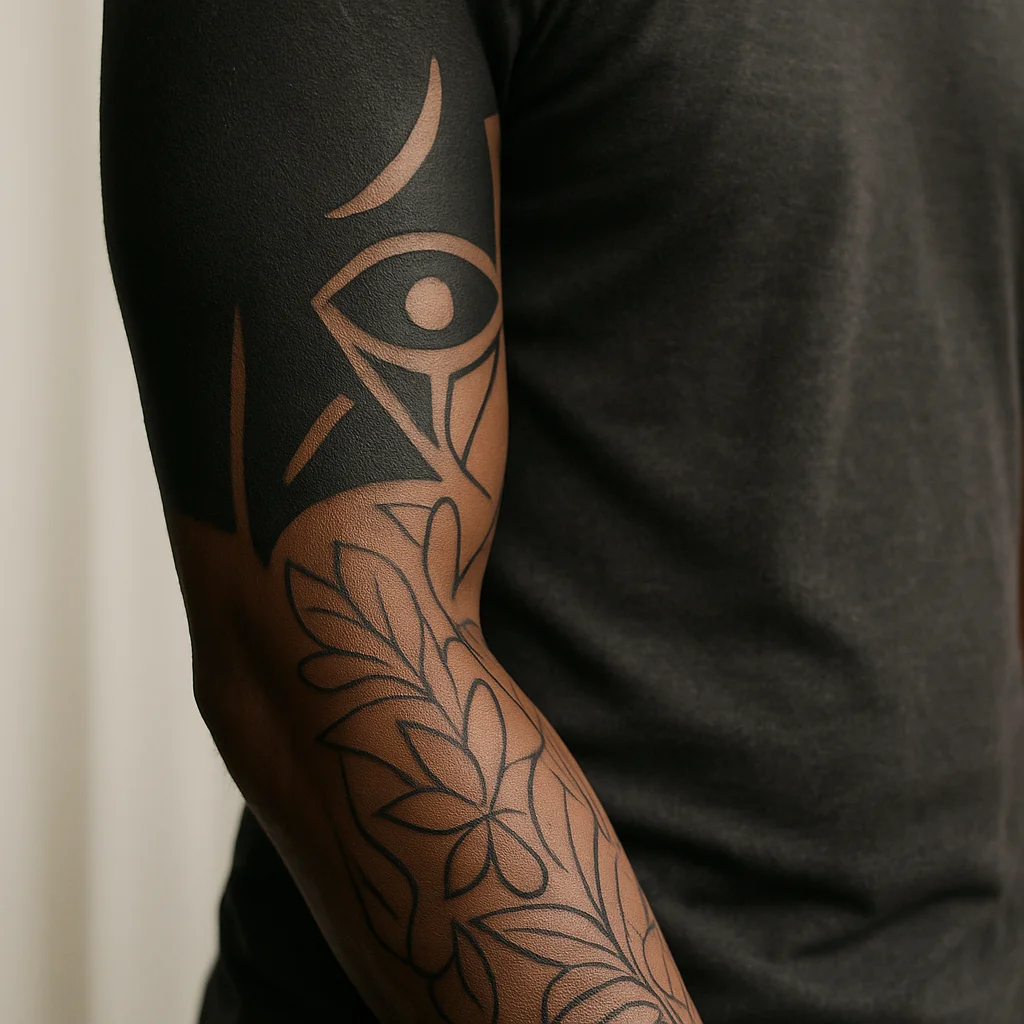
Style by Style: Where the Hours Go
Two sleeves the same size can differ by twenty hours purely because of style. If your budget is fixed, choosing the right style is the single biggest lever you have. Here's how the common sleeve languages behave on the clock.
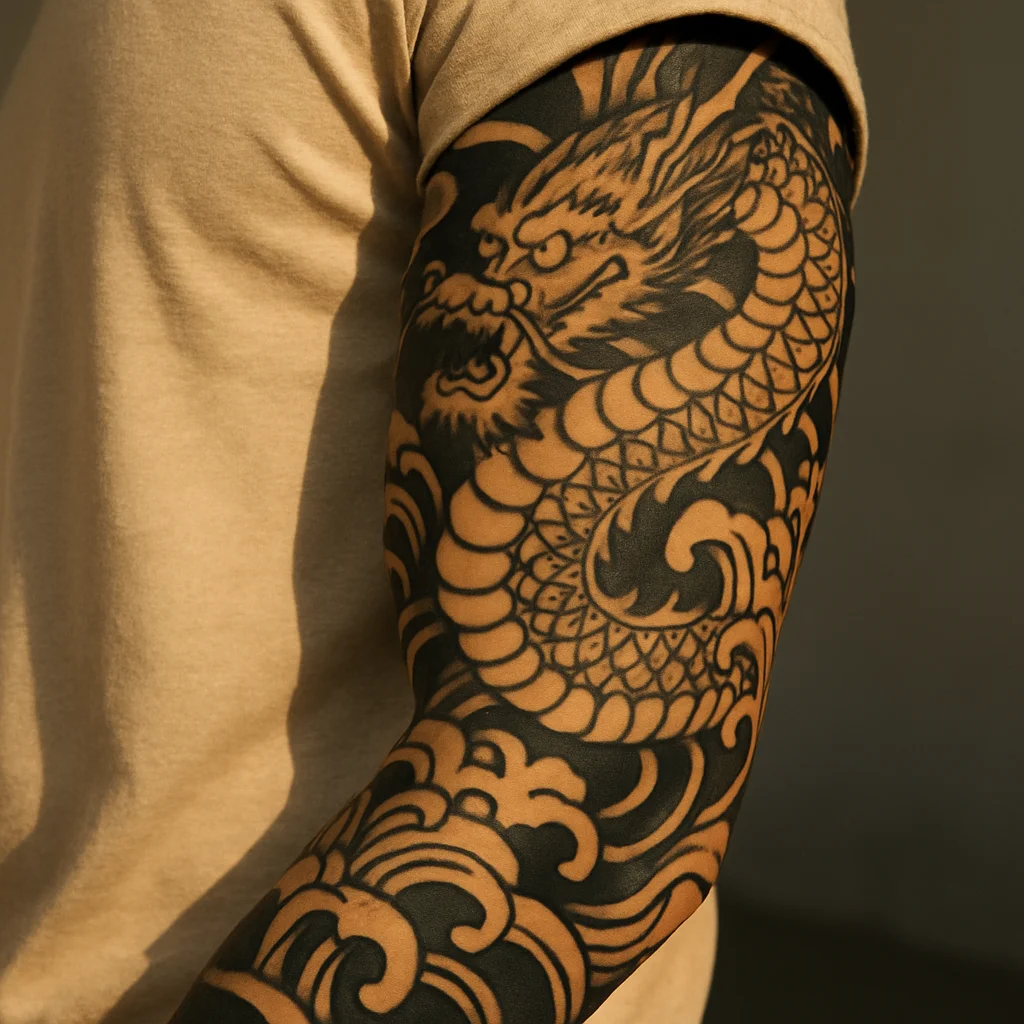
1. Japanese sleeve with dragon, waves and wind bars
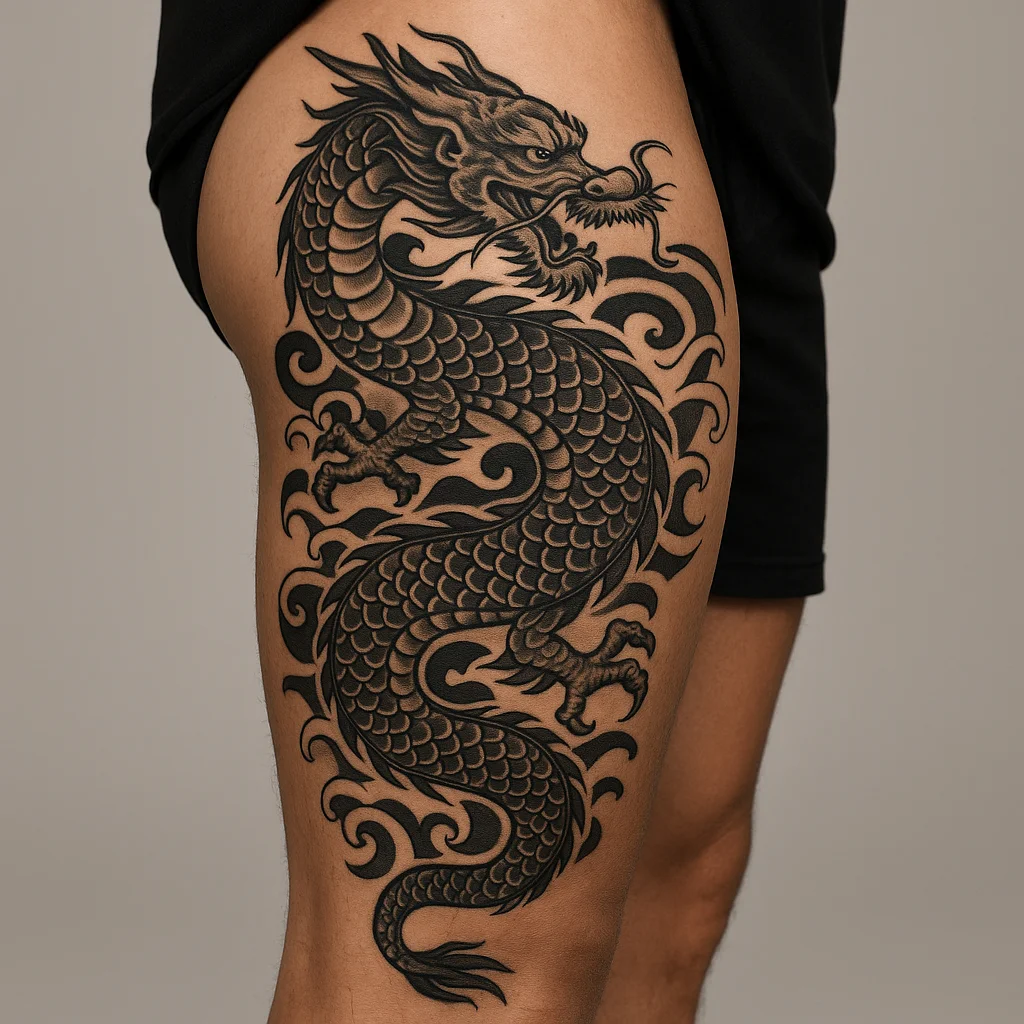
Traditional Japanese is built for the arm: a main subject spiralling the bicep, wave crests and wind bars filling the gaps, black background carrying the whole thing. It's also one of the most hour-hungry approaches, typically 30 to 50 hours because of the sheer amount of background packing. Budget for five to eight full days, and expect the artist to design the entire arm before the first needle touches skin.
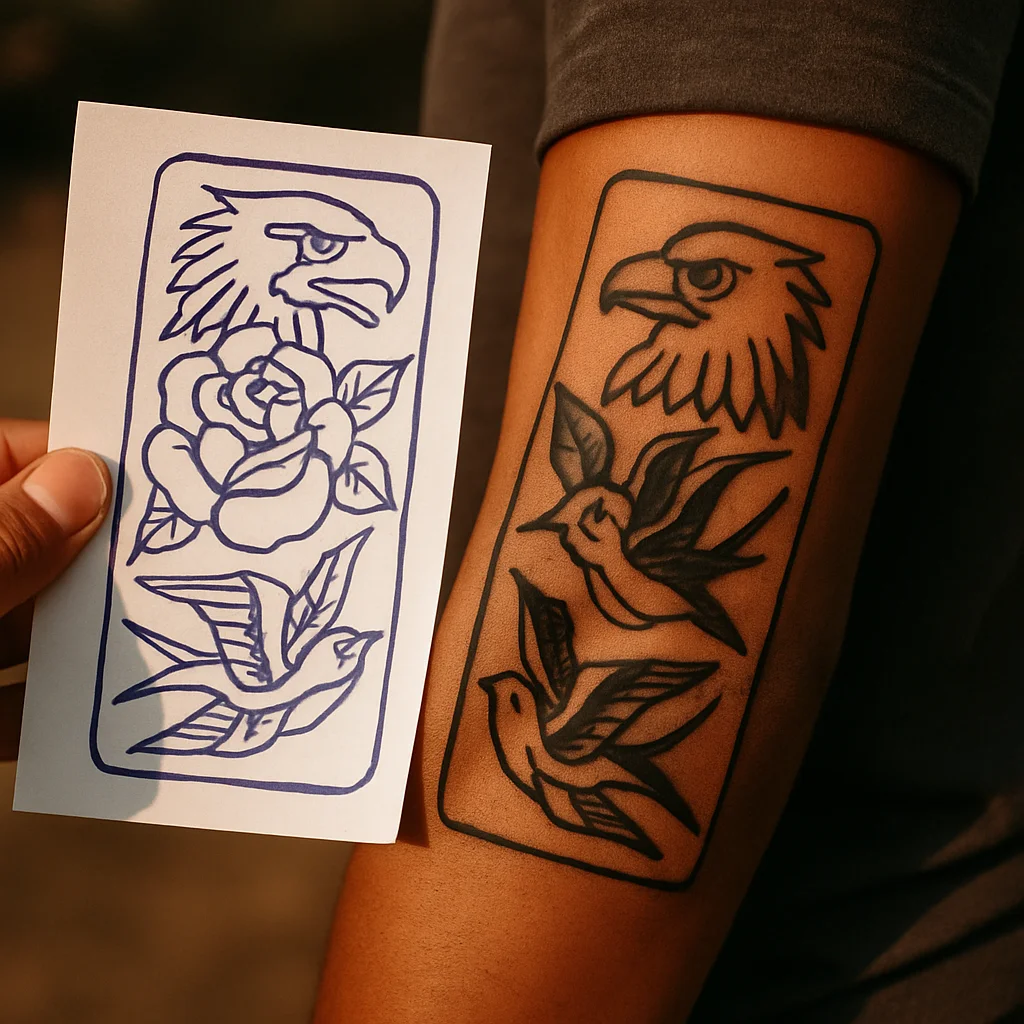
2. American traditional sleeve built from bold classics
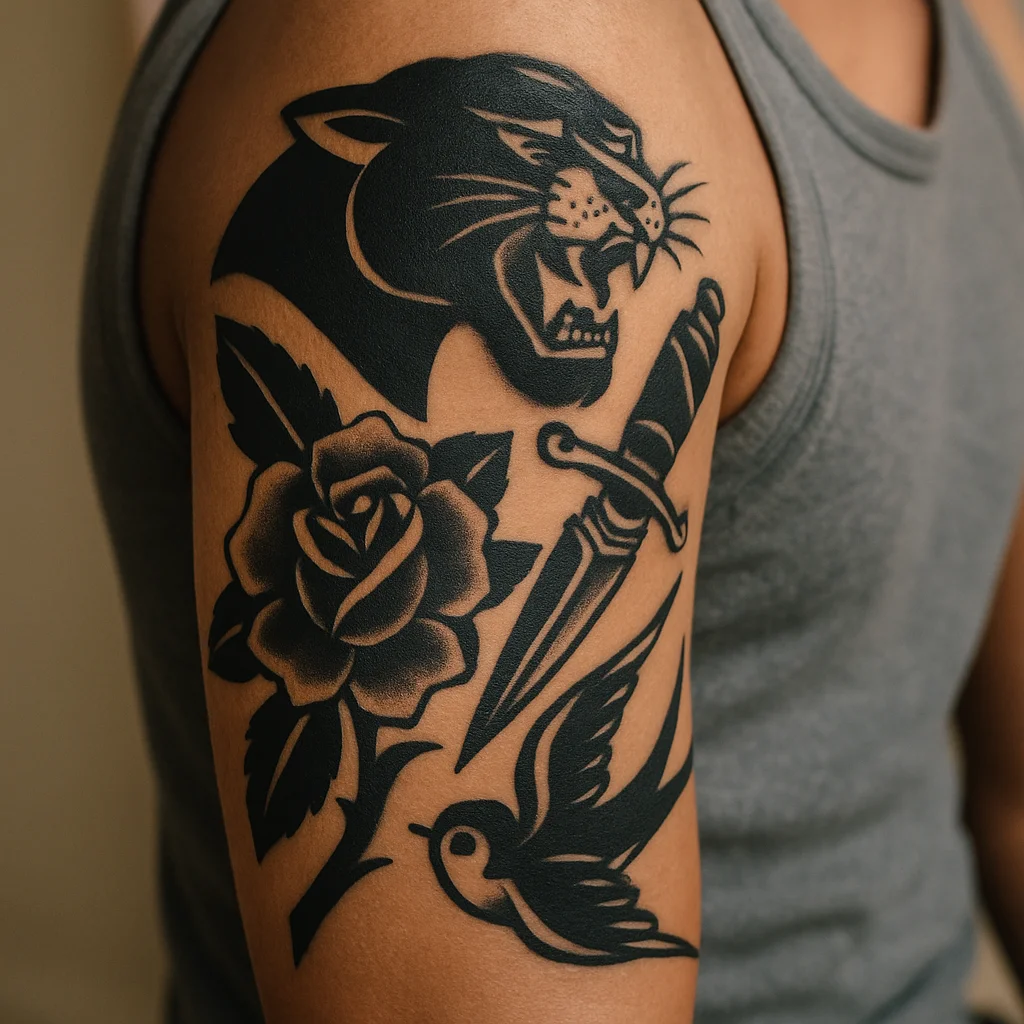
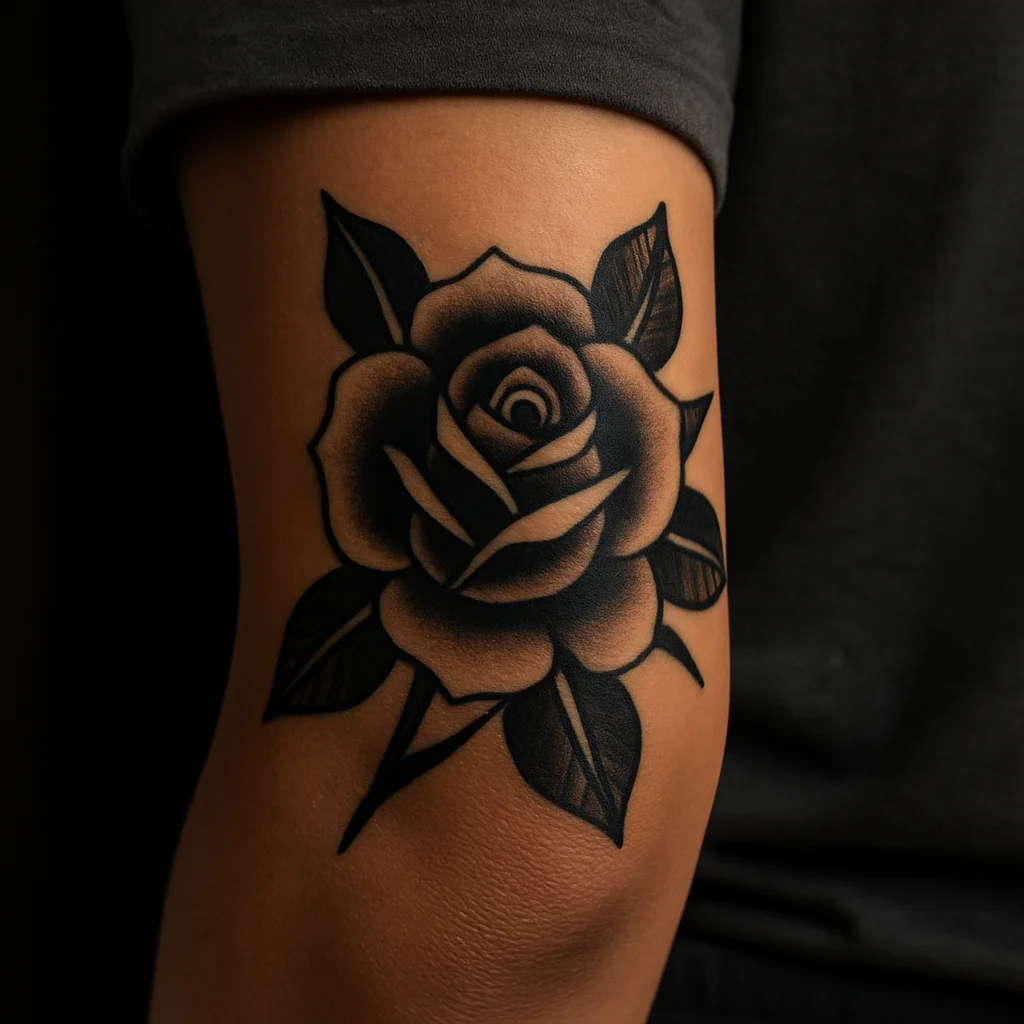
Panthers, roses, daggers, swallows and a ship, tied together with black filler or plain skin gaps. Bold lines and flat colour go in fast, which makes traditional one of the most cost-efficient ways to fill an arm properly, often in the 15 to 25 hour range. It also ages better than almost anything else, so the money buys decades rather than years.
3. Blackwork and ornamental sleeve
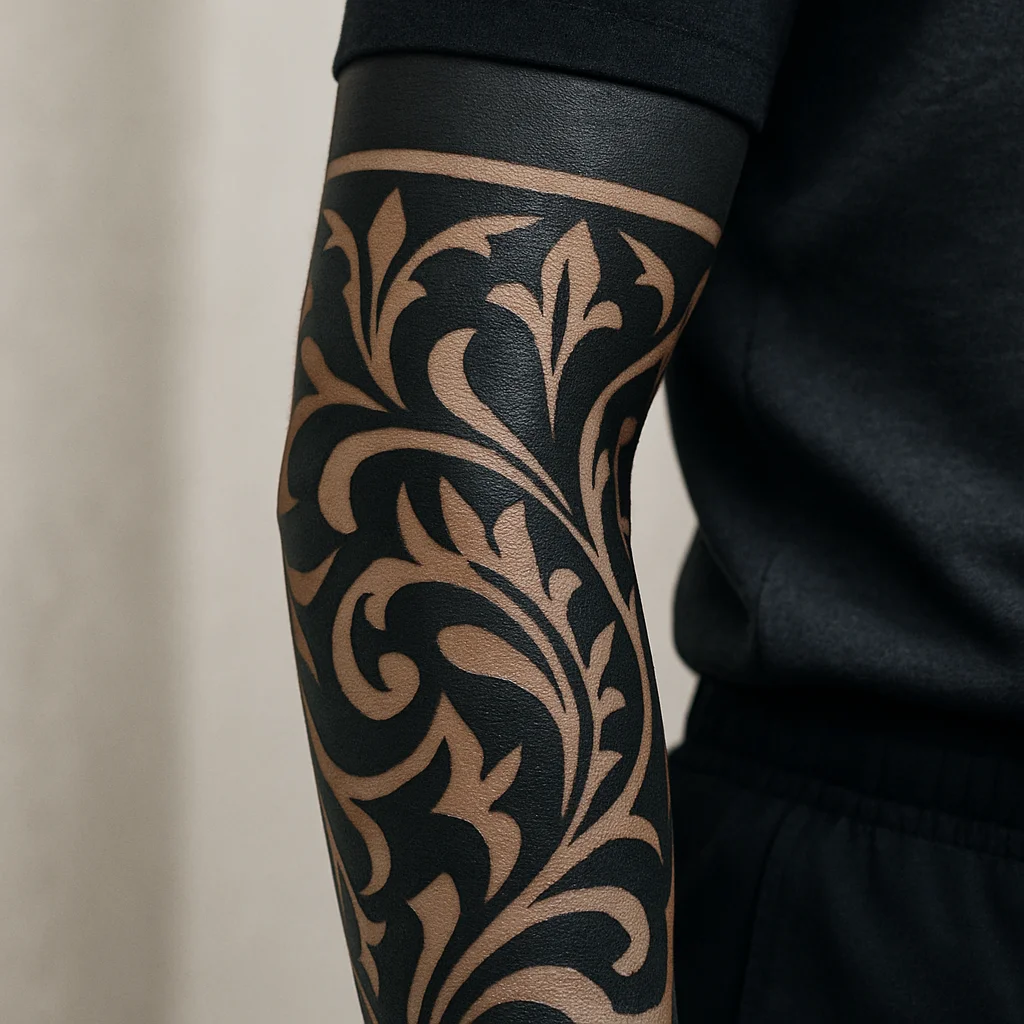
Heavy black shapes, ornamental borders and negative-space patterning around the forearm and bicep. Line-led ornamental work moves quickly; solid black packing does not, and it usually needs a second pass to look truly even. Expect 20 to 35 hours, plus one paid or free touch-up session depending on the studio's policy.
4. Fine-line botanical sleeve
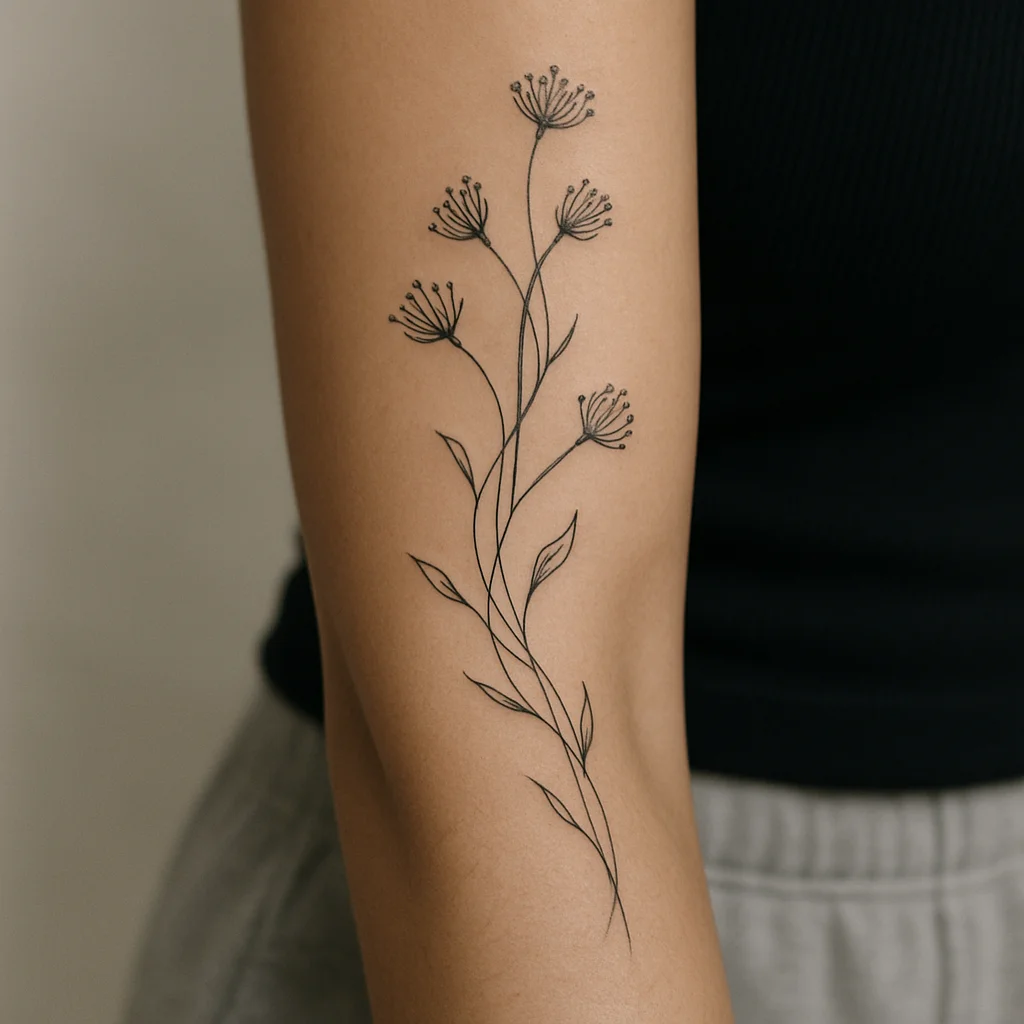
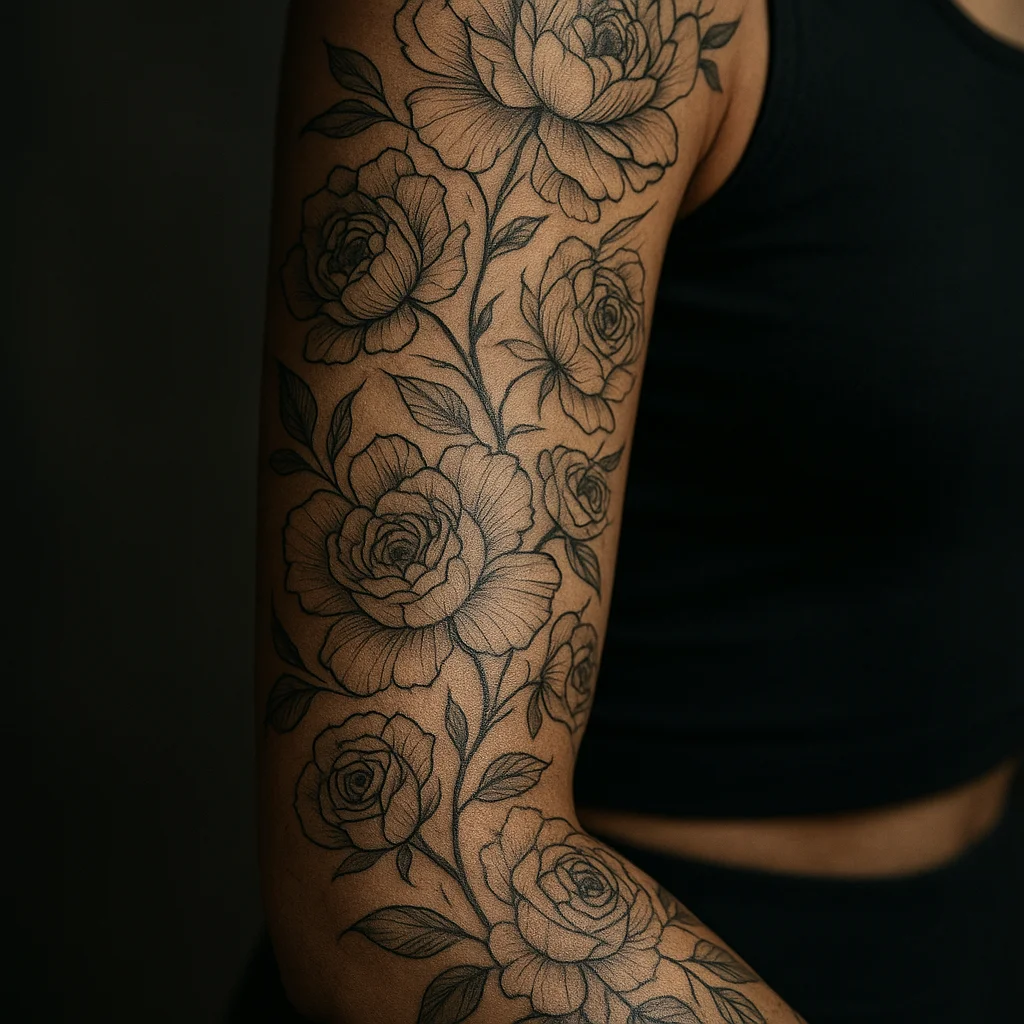
Stems, seed heads and leaves travelling up the arm in a loose spiral, drawn with a single needle or tight liner. It looks light, but covering a whole arm in delicate line takes real time, often 20 to 30 hours, and fine line demands more maintenance later. Ask directly about touch-up costs at the three-year mark before you commit.
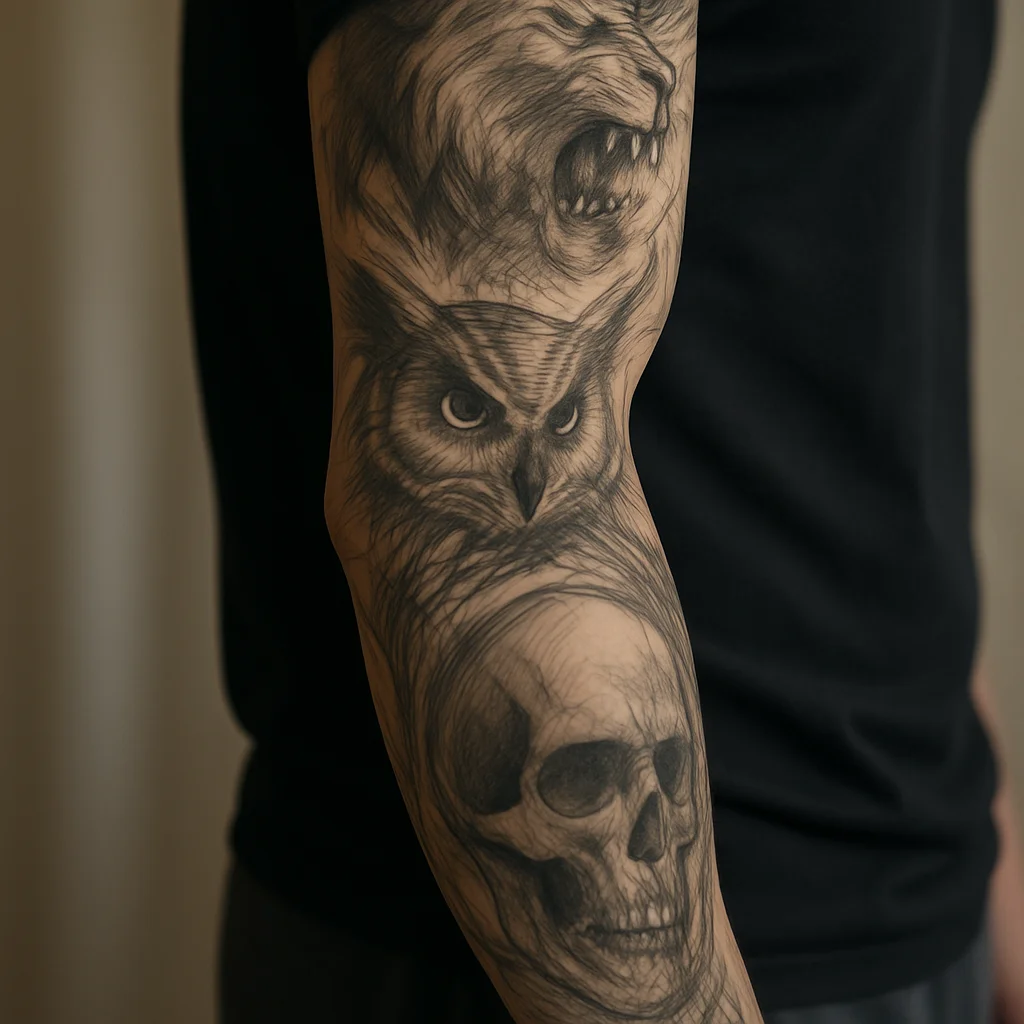
5. Black-and-grey realism sleeve
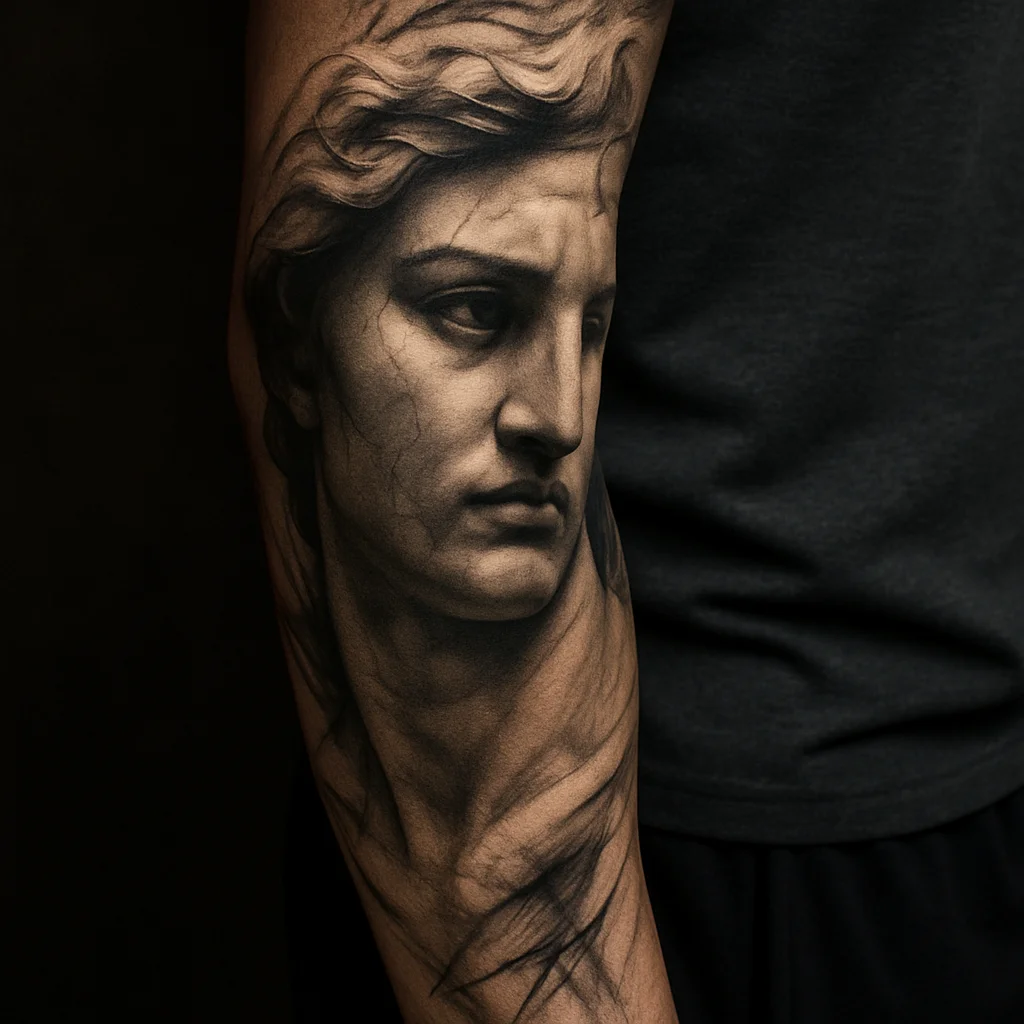
Portraits, statues, architecture, smooth grey gradients. This is the most expensive style per square inch in almost every studio, because realism needs slow, layered shading and the specialists who do it well are in demand. A full arm realistically means 35 to 50 hours across many sessions, and it's rarely a good first tattoo project.
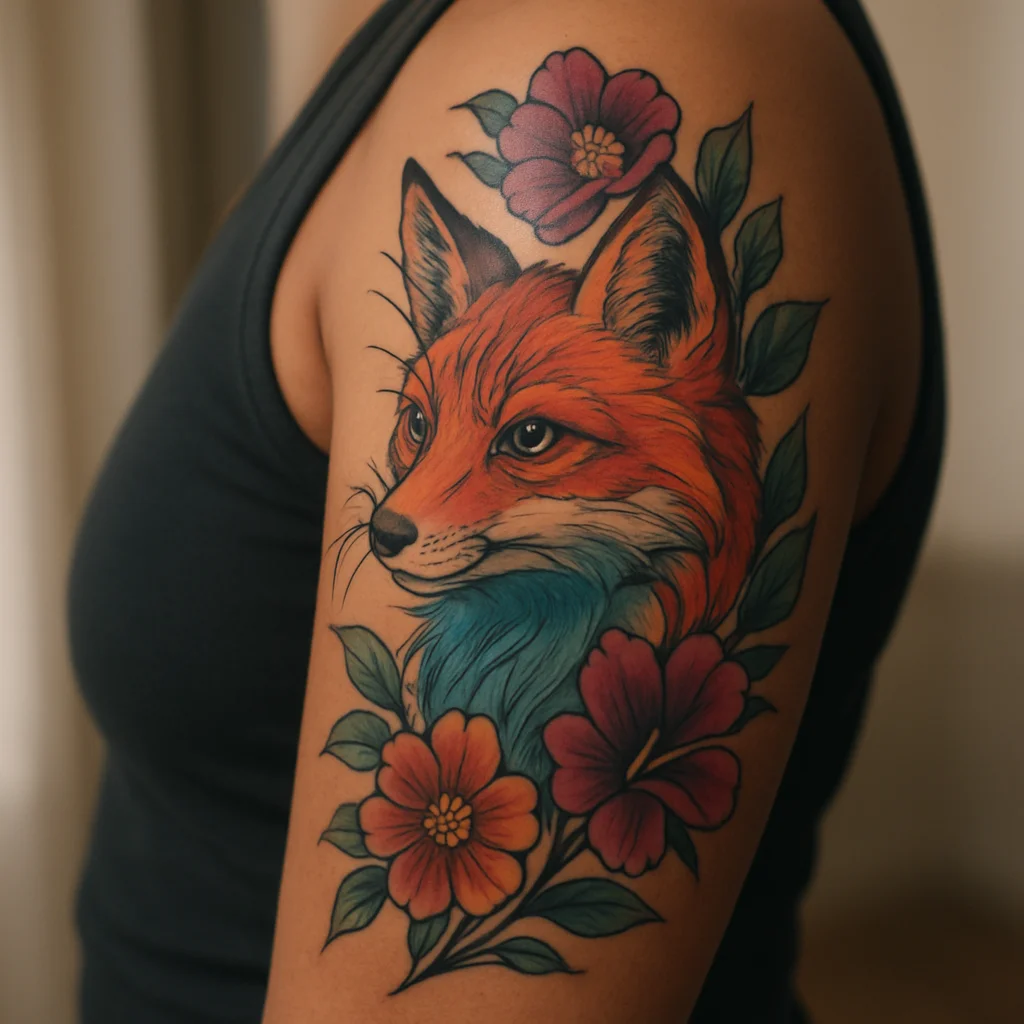
6. Neo-traditional colour sleeve
Bold outlines with rich, saturated colour and decorative detail, animals and florals with jewel tones. Colour packing is slow and often needs a second pass for solid, even saturation, so 30 to 45 hours is normal. Colour also fades faster on sun-exposed forearms, so factor future refresh sessions into the lifetime cost.
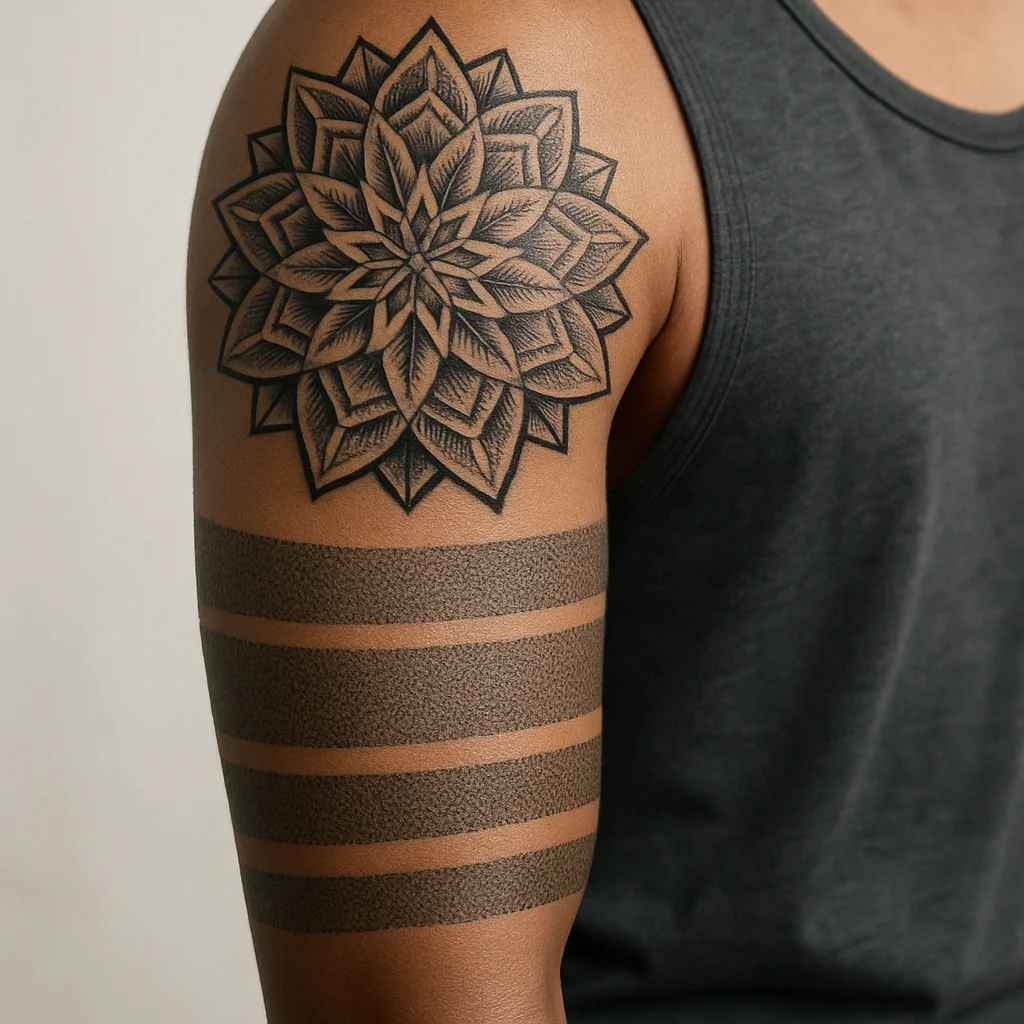
7. Geometric and dotwork mandala sleeve
Mandalas on the shoulder cap, geometric bands around the forearm, dotwork shading between them. The stencil work alone can eat a session, and hand-stippled shading is genuinely slow, so 25 to 40 hours is common. Precision here is unforgiving: pay for an artist whose healed geometric lines you've actually seen.
The Line Items Nobody Quotes You
The hourly rate is the headline, but a sleeve budget has edges most first-timers miss. None of these are huge on their own; together they can add a noticeable percentage.
- Deposit. Usually the cost of one hour or a fixed sum, paid to lock your first appointment and often deducted from the final session, not the first. Miss an appointment without notice and you generally lose it.
- Design time. Some artists build custom drawings into the rate; others charge a separate design fee for large-scale, fully custom sleeve layouts. Ask upfront so the number isn't a surprise.
- Tipping. Where tipping is customary, 15 to 20 percent of a multi-thousand sleeve is real money. Many clients tip per session rather than in one lump at the end, which is easier to absorb.
- Touch-ups. Plenty of studios include one free touch-up within a few months. Fading years later is a paid session, and colour and fine line need it sooner than bold black.
- Travel. Booking a specialist in another city means flights, a night or two of accommodation, and the discipline to not sunbathe on the trip.
- Time off. A six-hour session on your dominant arm can make the next day uncomfortable. If you work manual shifts, factor lost hours into the true cost.
- Aftercare supplies. Minor, but real across a year of sessions: fragrance-free wash, ointment, second-skin film, high-factor sunscreen for the healed sections.
One more thing worth pricing in: patience. Cheap tattoos are almost always cheap because someone is fast, unbooked, or working outside their skill range. Removing or covering a bad sleeve costs several times what the original did.
Getting the Sleeve You Want on a Real Budget
You have more control than the quote suggests, as long as you make the trade-offs deliberately instead of accidentally.
Choose fewer, larger elements. A sleeve with three strong subjects and generous background reads better and costs less than one crammed with twelve small ones. Detail density, not arm size, drives hours.
Consider black and grey over full colour. Dropping colour can cut a meaningful chunk of hours, ages beautifully and still gives you contrast and depth. If you love colour, use it as accents on one or two focal pieces instead of everywhere.
Build in a logical order. Outline the whole arm first if your artist works that way, then fill from the shoulder down or the wrist up. That way an unfinished sleeve still looks intentional between sessions rather than scattered.
Book a standing slot. Monthly appointments booked six months ahead keep you moving and keep your artist's momentum on the design. Sporadic booking is how sleeves stall for years.
Don't chase a discount, chase a fit. A skilled artist earlier in their career who specialises in exactly your style is a better value proposition than a famous name doing something outside their wheelhouse. Look at healed photos, not fresh ones, and check whether their linework holds up on curved surfaces like the inner elbow.
Be honest about your ceiling. Tell the artist your total budget at the consultation. Good ones will design to it, scaling the concept or suggesting a three-quarter sleeve now with the hand and inner arm left for later. If you're still shaping the concept itself, our guide to planning a cohesive arm is a useful companion.
Pain, Healing and Pacing Across Sessions
Cost and comfort are linked: the more sessions you need, the more the sore spots matter, and pushing through a bad day usually means paying for corrections later. Arm pain is uneven. The outer bicep, outer forearm and shoulder cap are the mellow zones, tolerable for hours. The inner bicep is thin, ticklish skin and stings. The elbow ditch and the inside of the elbow are sharp and nervy for most people, and the wrist and the bony ridge along the outer elbow are the two spots that end sessions early.
Practical pacing that protects both your arm and your wallet:
- Ask your artist to schedule the brutal zones early in a session while your adrenaline is high, not in the last hour.
- Eat properly beforehand and bring sugar. Most "I can't take any more" moments are blood sugar, not pain.
- Space sessions at least two weeks apart so each panel has peeled and settled. Tattooing near a still-raw area is more painful and holds ink less reliably.
- Wear a loose short sleeve to appointments and expect the arm to swell for a day or two, especially towards the wrist.
Between sessions, healed sections need sun protection more than anything else. A forearm that spends a summer unprotected will look flatter than the upper arm within a couple of years, and evening that out is a paid session you didn't plan for. Keep the whole arm covered or high-factor sunscreened once healed, and your sleeve stays a one-time investment rather than a subscription.
Frequently asked questions
How many sessions does a full sleeve take?
Most full sleeves take four to eight sessions of four to six hours each, spread over several months. Bold traditional or ornamental work can finish at the lower end, while realism and dense colour often need more. Your artist should give you a session estimate at the consultation, and it's normal for it to shift by a session either way.
Is it cheaper to do a sleeve in one long marathon session?
Rarely, and it's usually a bad idea. Skin stops accepting ink cleanly after five or six hours, so the last stretch of a marathon session often needs redoing. Some artists offer a slightly better day rate than their hourly rate, so ask, but plan the work around healing rather than around discounts.
Do artists charge hourly or a flat price for a sleeve?
Both exist. Hourly is most common at mid-level shops, while busy specialists tend to use a day rate covering a full session. Flat quotes for an entire sleeve are less common because the hour count can't be known precisely in advance, though some artists will cap a project if you agree the design first.
Can I get a decent full sleeve on a modest budget?
Yes, if you choose a style that covers skin efficiently. Bold traditional or black-and-grey work with a few strong subjects and simple background gives you a complete, well-composed arm for far fewer hours than colour realism. Tell your artist your total budget upfront so the design is scaled to it from the start.
How much should I tip on a sleeve?
Where tipping is customary, 15 to 20 percent is the usual range, and most clients tip per session rather than saving it all for the end. On a multi-thousand project that adds up, so build it into your per-session budget. In countries where tipping isn't the norm, a good review and repeat bookings carry more weight.
The conversation
No comments yet. Got a thought about these designs? Start us off.
Want to weigh in? Join the community to comment, save designs and try them on your skin.