Tattoo Pain Chart: 12 Least Painful Placements
Pain charts are everywhere, but few explain why one spot stings and the one two inches over doesn't. Here's how tattoo pain actually works, plus 12 genuinely low-pain placements with designs that suit each one.
What the Pain Charts Get Right (and Wrong)
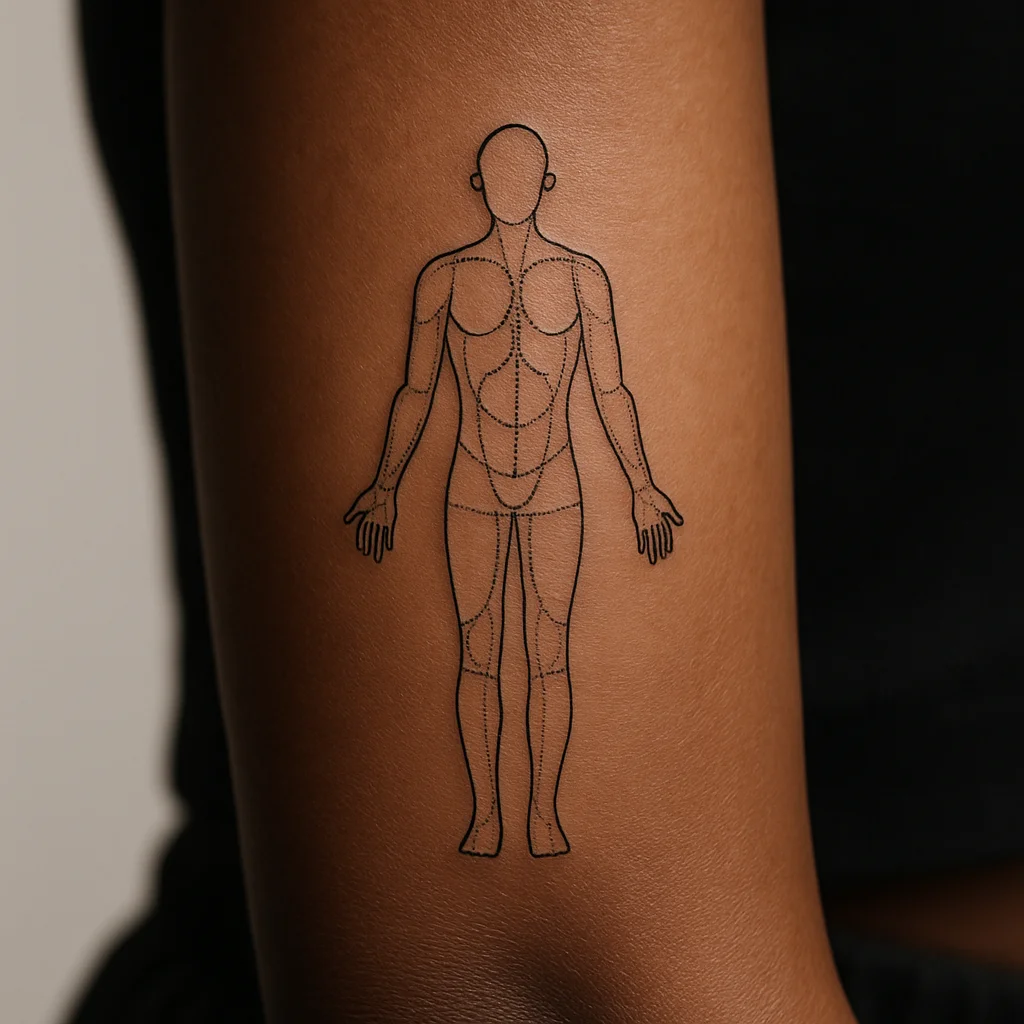
Every pain chart you have seen is a color-coded body outline: green arms, red ribs, orange feet. The colors are broadly correct, but they hide the reason, and the reason is what lets you pick a spot intelligently instead of guessing.
Four things decide how a placement feels under the needle:
- Padding. Muscle and subcutaneous fat absorb vibration. Skin stretched thin over bone transmits every pass straight into the periosteum, which is where that deep, teeth-clenching ache comes from.
- Nerve density. Hands, feet, throat and inner joints are wired for fine sensation. More nerve endings per square inch means a sharper, more electric sting.
- Skin mobility and thinness. Loose, thin skin (elbow ditch, armpit, behind the knee) needs heavy stretching and takes color unevenly, so the artist works the area longer.
- Session length and position. A three-hour outer-thigh sit can feel worse than 40 minutes on the ribs simply because your nervous system runs out of adrenaline around the two-hour mark. Awkward poses that make you hold tension multiply everything.
Where charts mislead people: they rate whole limbs as one block. The outer forearm is a green zone, but the wrist bone at the end of it and the inner elbow crease are not. Read placement in inches, not body parts, and you can put a decent-sized piece on a tender area by shifting it onto the padded neighbour.
The Chart: Every Placement, Ranked 1 to 10
Use this as a starting point, then adjust for your own build. Thin, bony people feel bone zones more; well-padded areas rate a point or two lower for almost everyone. These are typical reports from clients in the chair, not laboratory numbers.
Mild: 1 to 3 out of 10
- Outer forearm, mid-section
- Outer upper arm and deltoid cap
- Inner forearm, away from the wrist and elbow ditch
- Outer and front of thigh
- Calf belly
- Over the shoulder blade muscle
- Upper back below the traps
Moderate: 4 to 6 out of 10
- Inner bicep (padded but the skin is thin and sensitive)
- Back of the thigh and hamstring
- Outer chest over the pec
- Lower back and love handles
- Upper arm near the elbow, lower calf, shin edges
- Nape of the neck
Sharp: 7 to 8 out of 10
- Inner and outer wrist bone, back of the hand
- Collarbone, sternum
- Behind the ear, side of the neck
- Inner elbow ditch, back of the knee
- Ankle bones, shin bone
Hardest: 9 to 10 out of 10
- Ribcage and side of the torso
- Spine and centre of the sternum
- Armpit and inner upper arm crease
- Top of the foot, toes, fingers
- Kneecap, elbow point, hips, throat
One honest caveat: pain tolerance varies more between people than between neighbouring zones. A friend's rib session horror story tells you nothing reliable about your own ribs. What the chart does predict well is the shape of the pain: dull and buzzy in green zones, sharp and vibrating in red ones.
The Six Easiest Sits, Ranked From Mildest
These are the placements artists suggest to nervous first-timers, with design ideas that actually suit the shape of each zone.
1. Outer forearm: a fine-line botanical column
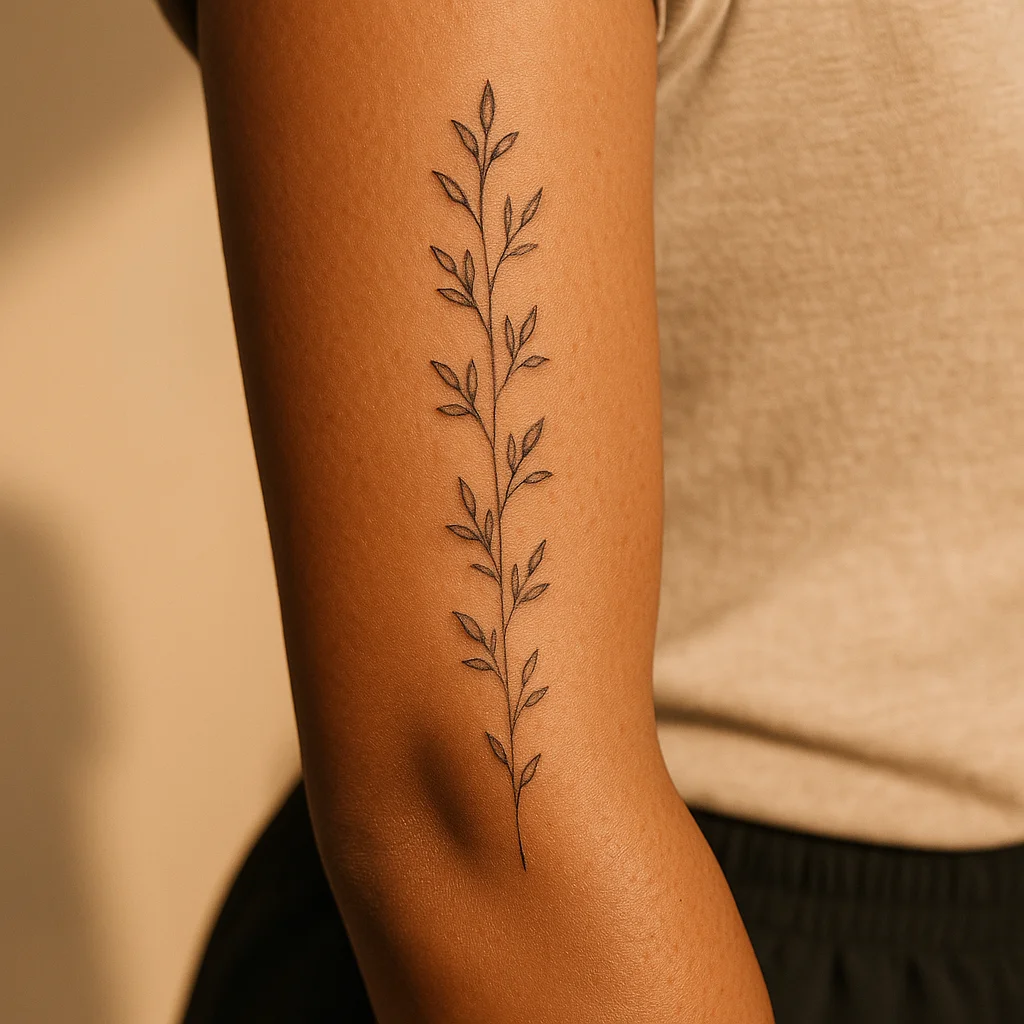
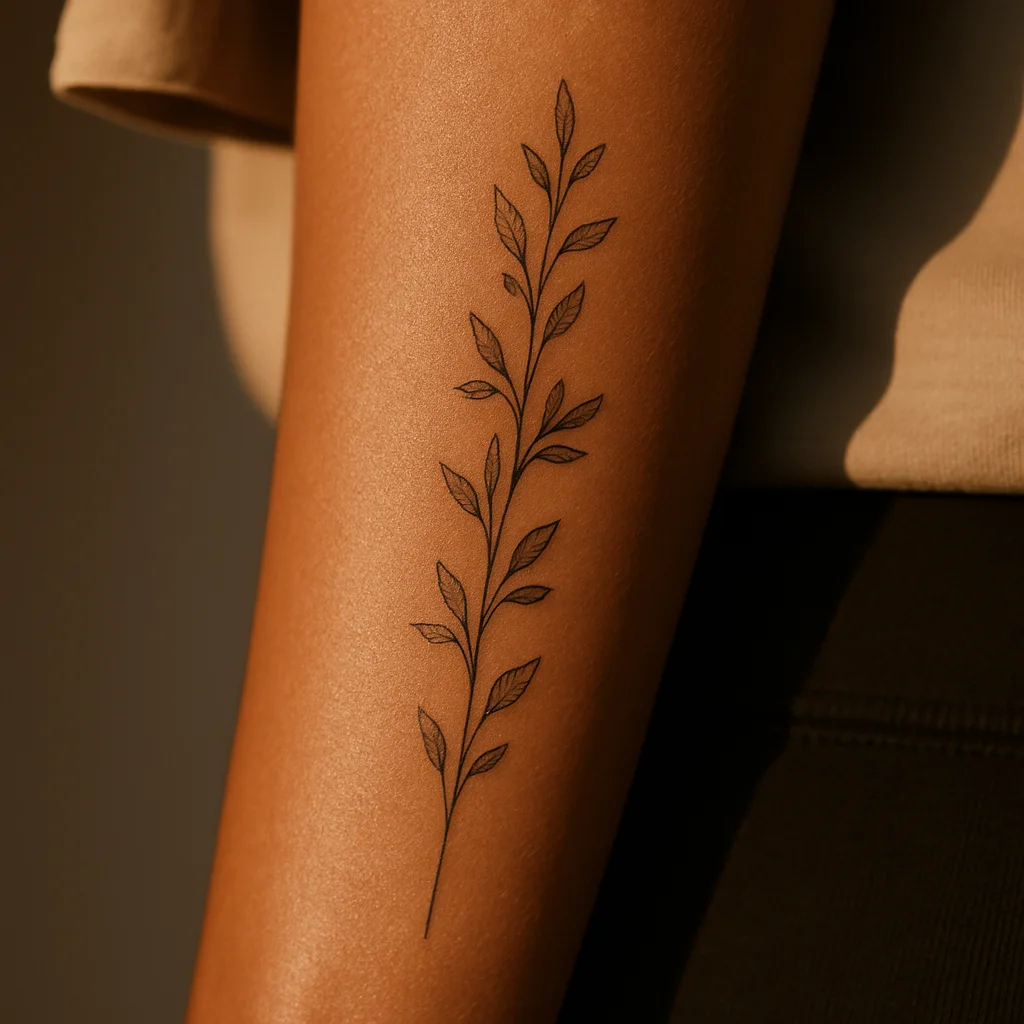
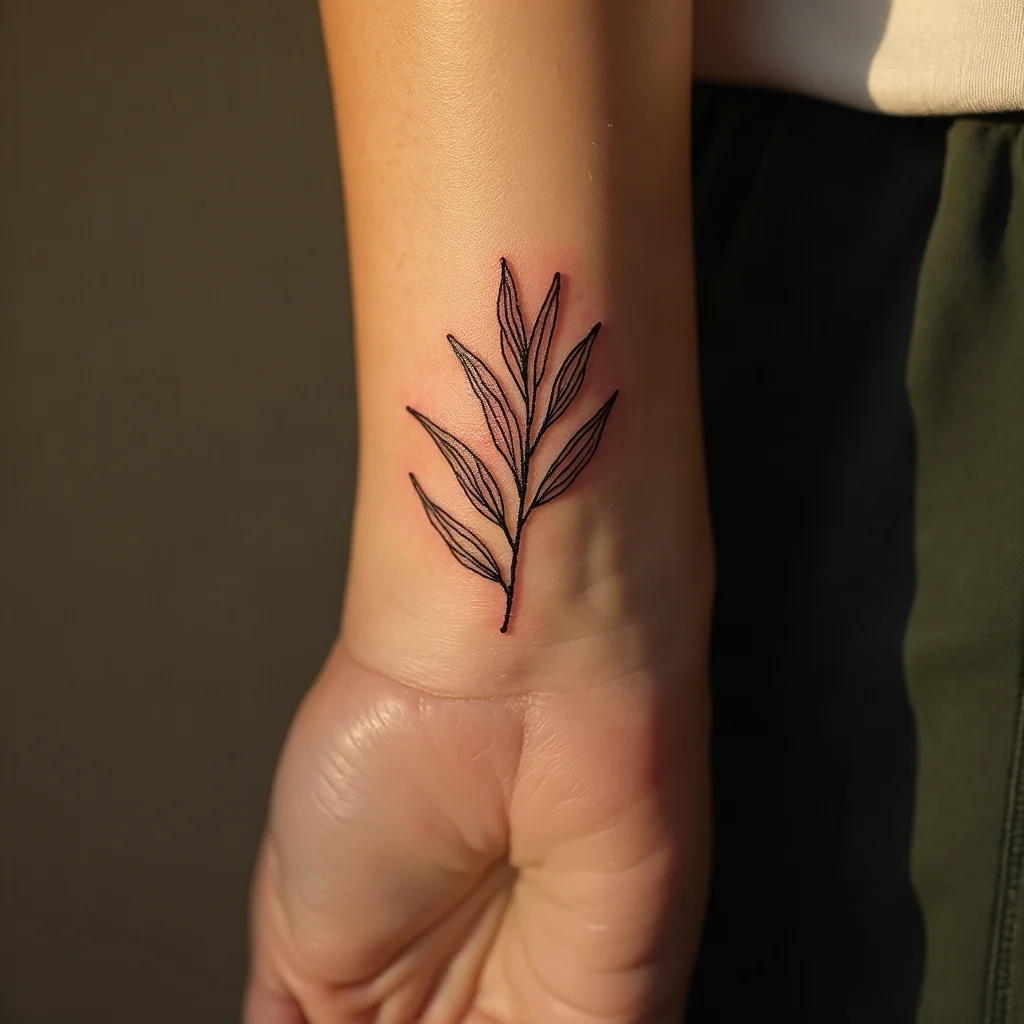
The flattest, most padded, easiest-to-reach real estate on the body, and the standard recommendation for a first tattoo. A vertical column of stems and small leaves running from below the elbow toward the wrist reads cleanly because the forearm is a long, low-curve panel. Budget two to three hours for a piece the length of your hand, and expect a dull buzz rather than a sting; most people scroll their phone through it.
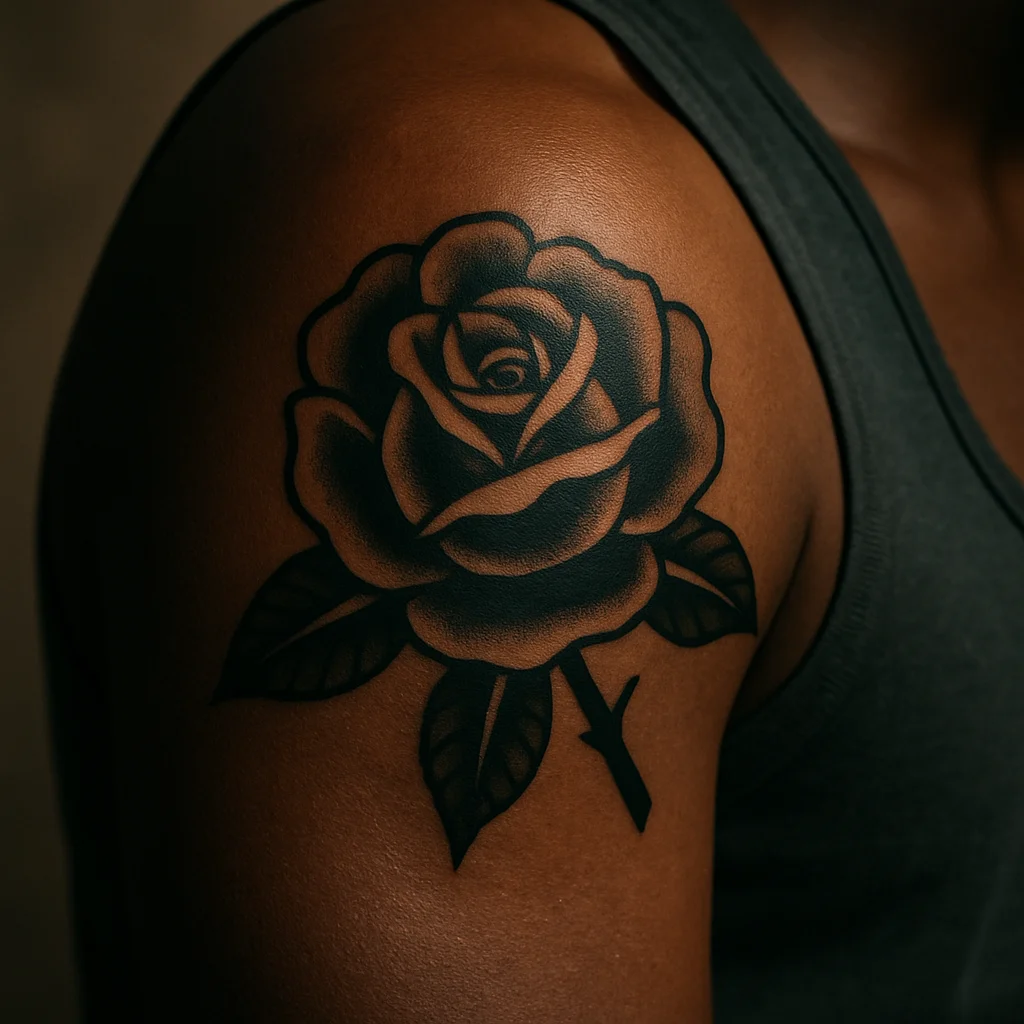
2. Outer deltoid cap: a traditional rose
Thick muscle, no bone contact, and you can sit upright and talk through the whole session. A bold-line traditional rose with a couple of leaves sits perfectly on the rounded cap, and the heavy black outlines age beautifully here because the skin gets little sun stretch. A palm-sized rose usually lands in the one to two hour range and around shop minimum to a couple of hundred in most cities.
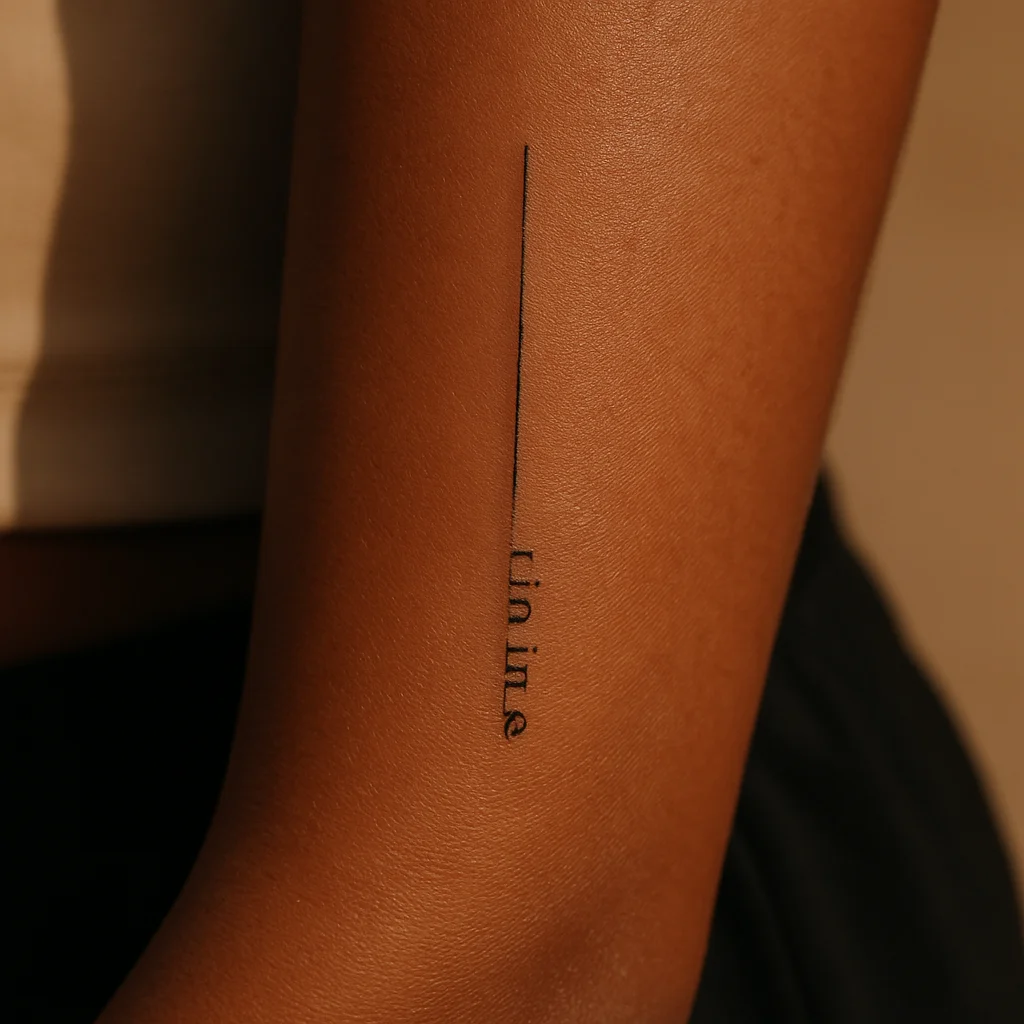
3. Mid inner forearm: a single line of script
Keep lettering in the middle third and it barely registers; drift into the wrist crease or elbow ditch and the rating jumps three points. A short quote or a name in a small serif or handwriting reads best running along the arm rather than across it. This zone is popular for a reason and pairs well with the layouts in our inner forearm guide.
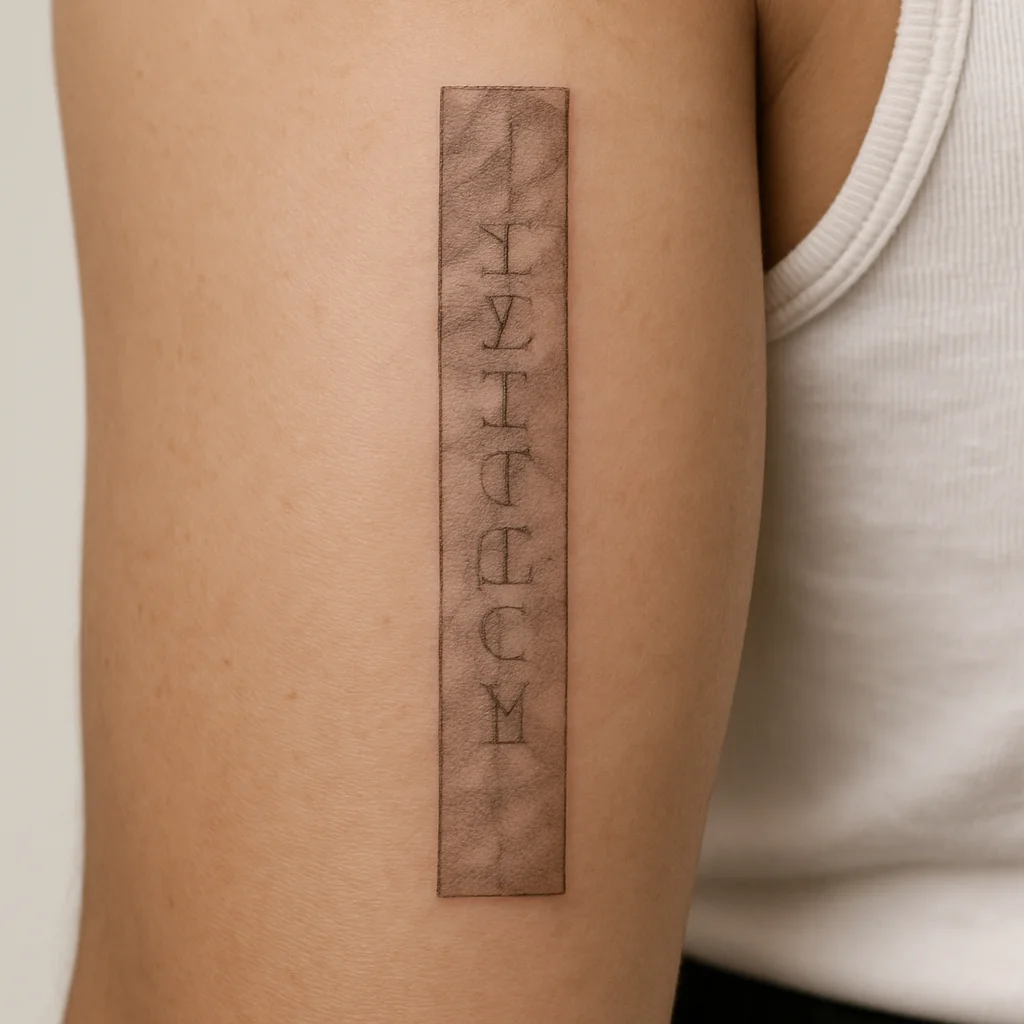
4. Inner bicep: soft-shaded lettering
Padded and easy to hide, though the thin skin makes it a solid 4 or 5 rather than a 2. Vertical lettering or a slim ornamental panel works because the area is a narrow oval that stretches when you lift your arm. Ask for slightly bolder line weight than you would use on the forearm; soft skin here can blur delicate fine line over the years.
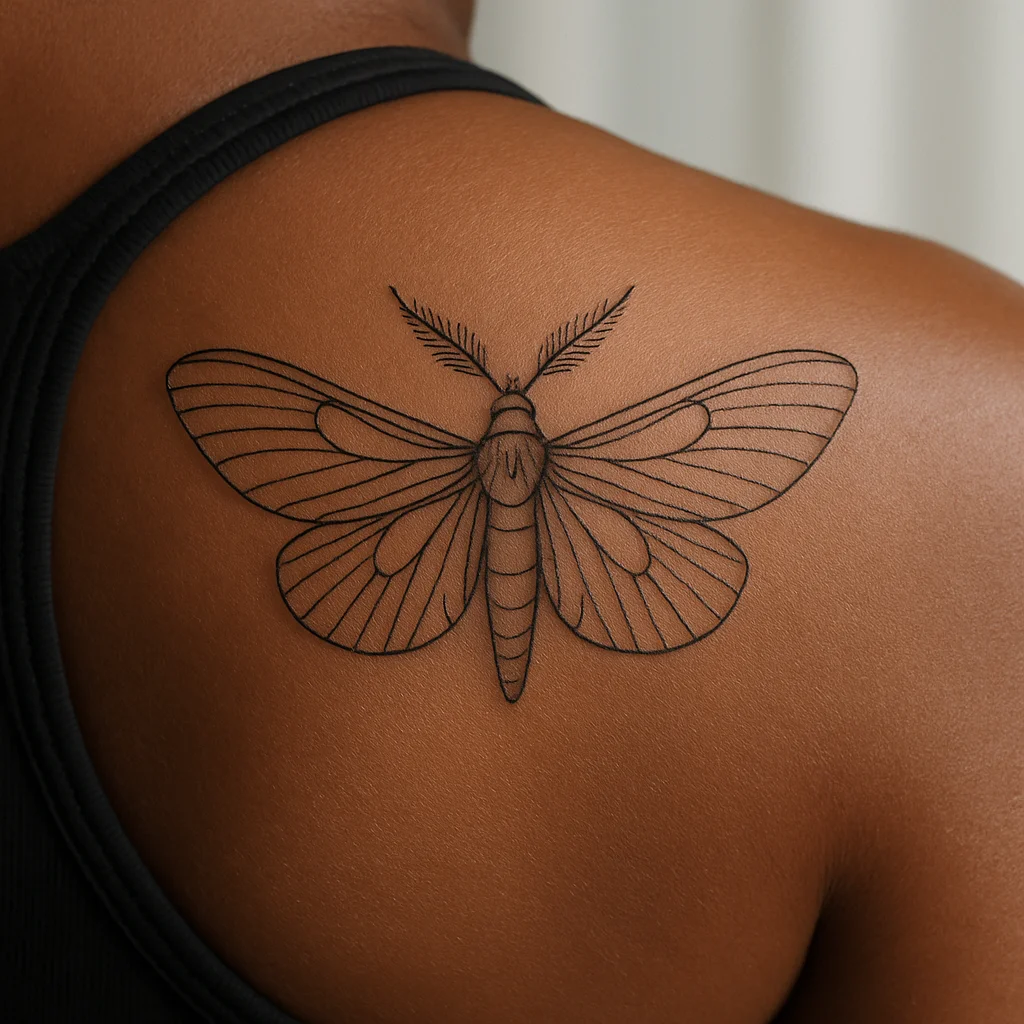
5. Shoulder blade: a fine-line moth
Over the muscle of the scapula the needle feels muffled; along the bony ridge and the spine it does not, so keep the design on the fleshy outer half. A symmetrical moth with the wings spread, roughly the width of your hand, mirrors the natural shape of the blade. It heals easily too, since clothing rarely rubs it and the skin gets almost no sun.
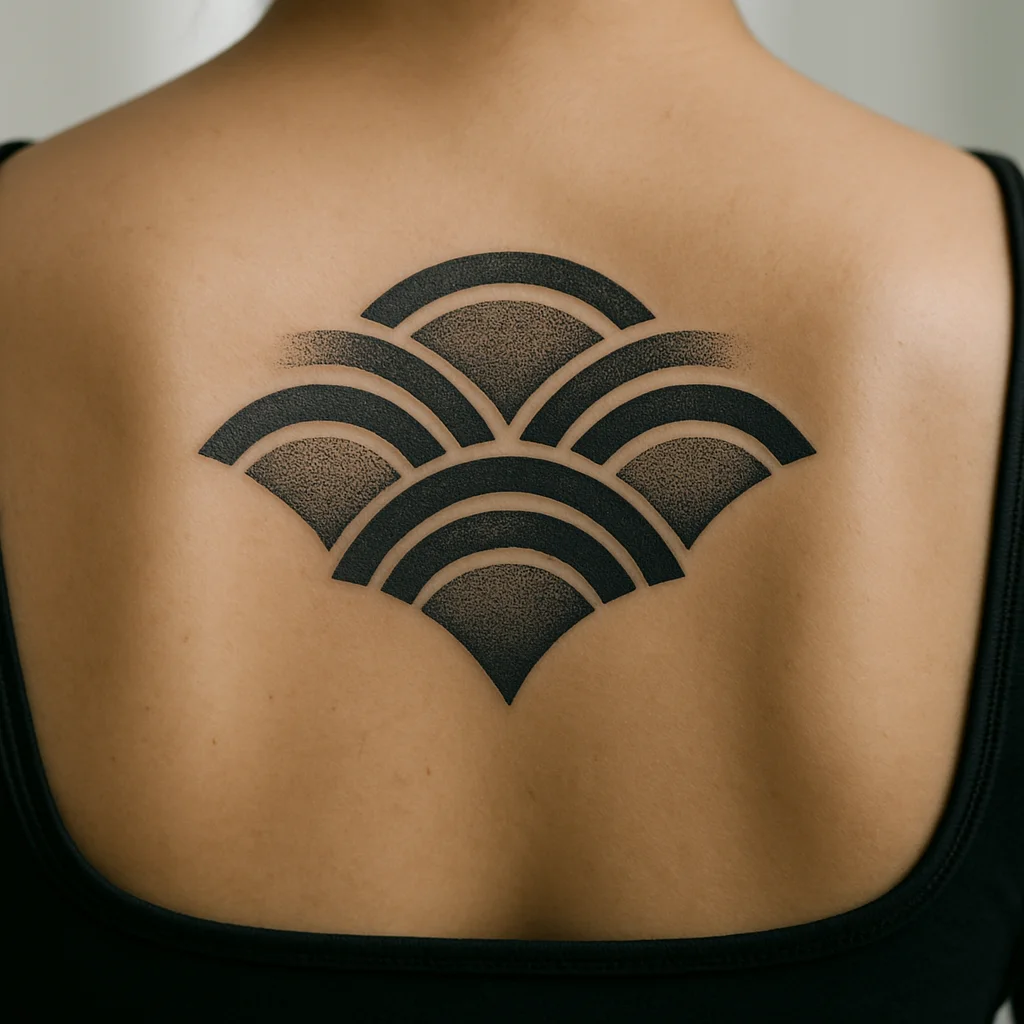
6. Upper back shelf: a geometric ornamental spread
The broad flat area below the traps and between the blades (staying off the spine) is one of the calmest large-canvas zones on the body. Repeating geometric arcs and dot work suit it because the surface is wide and flat enough to hold symmetry. Plan on multiple three-to-four hour sessions for anything shoulder-to-shoulder, and bring a hoodie: lying face down for hours gets cold.
Six More Low-Pain Zones With Room to Grow
If you want something bigger than a hand-span, these zones give you space without pushing you into the red end of the chart.
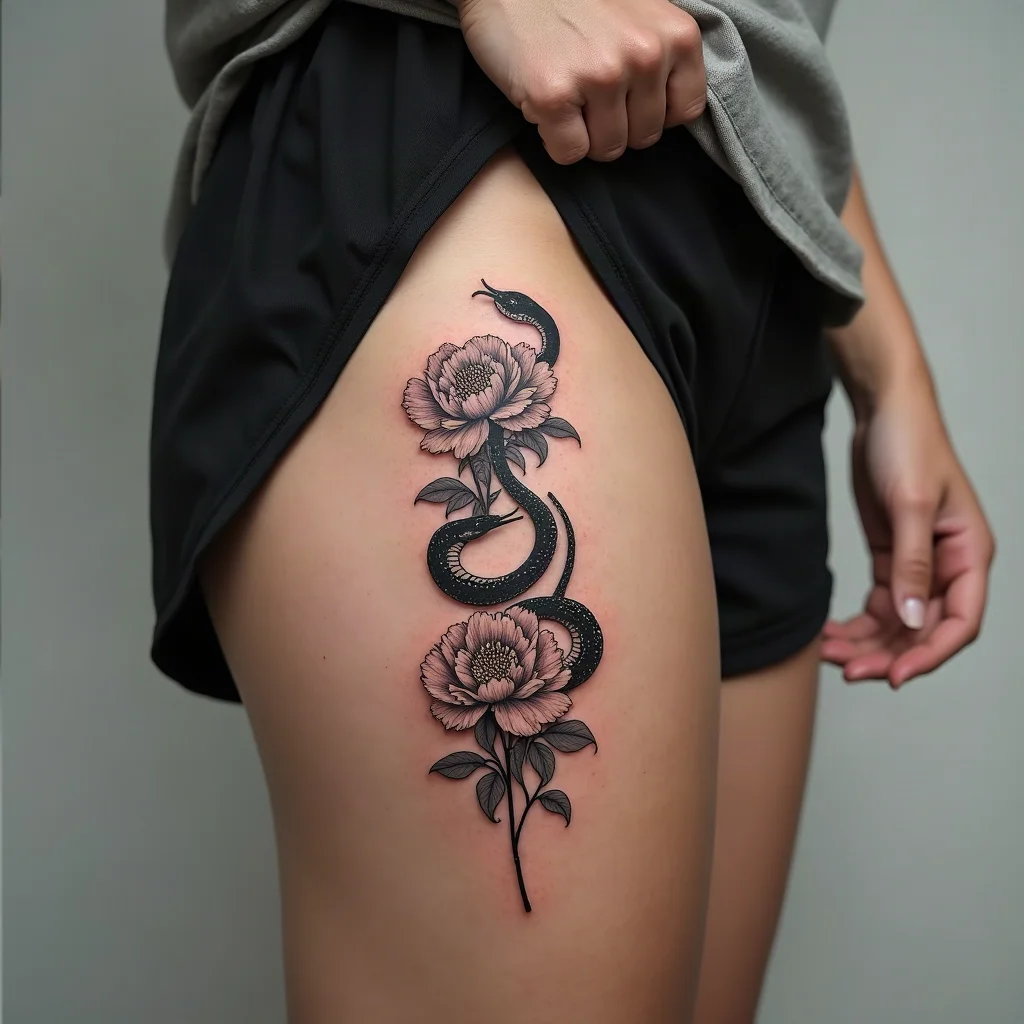
7. Outer thigh: a snake coiled through peonies
The single best canvas for a large first piece: deep padding, no bone, and you can lie on your side and nap through it. A snake winding vertically through open peony blooms uses the length of the thigh and hides stretch lines in the movement of the coils. Expect two or three sessions of three to four hours for something knee-to-hip and price it like a half sleeve.
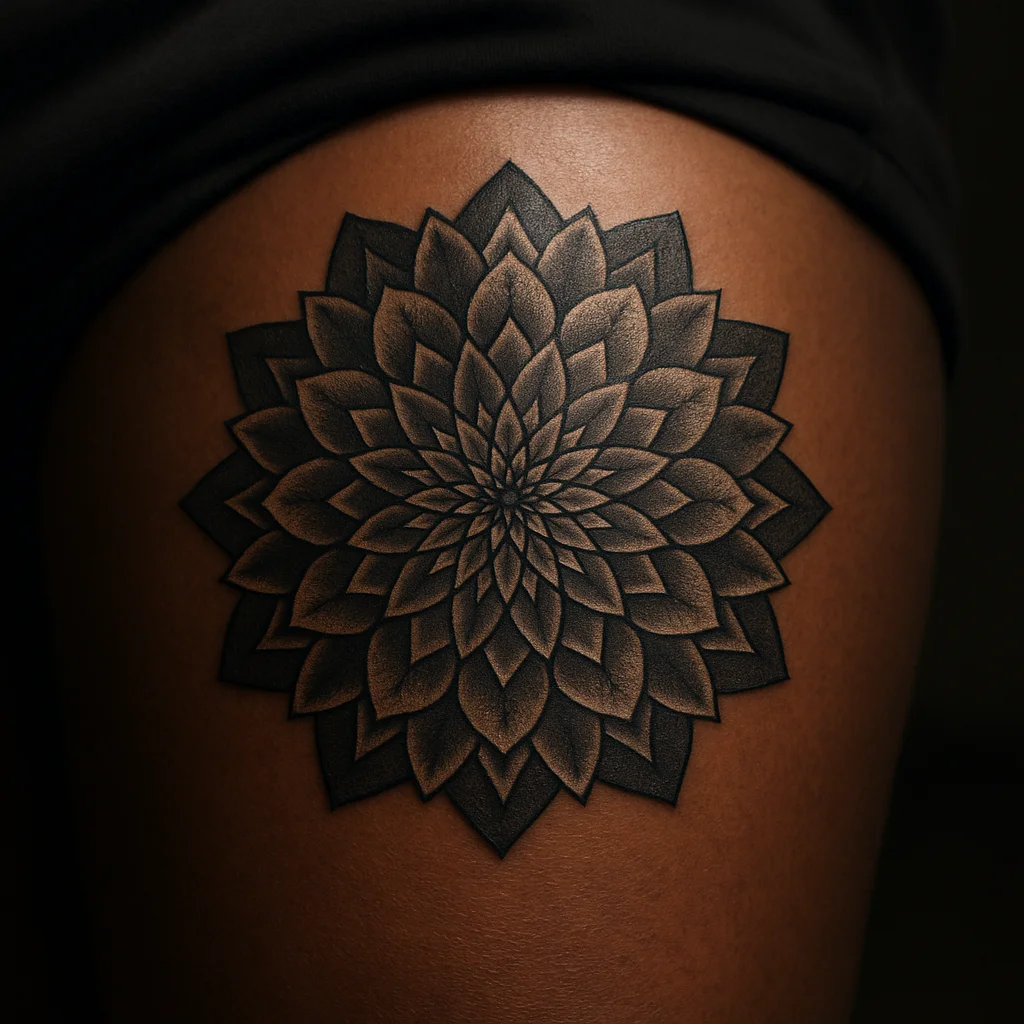
8. Front of thigh: a geometric mandala
Flat, wide and easy for the artist to reach without contorting, which shortens the sit. A circular mandala with concentric petal rings sits well here because the quad gives a broad, gently domed surface that keeps symmetry readable. Sizing between five and eight inches across is the sweet spot; smaller and the linework crowds, larger and it starts wrapping toward the tender inner crease.
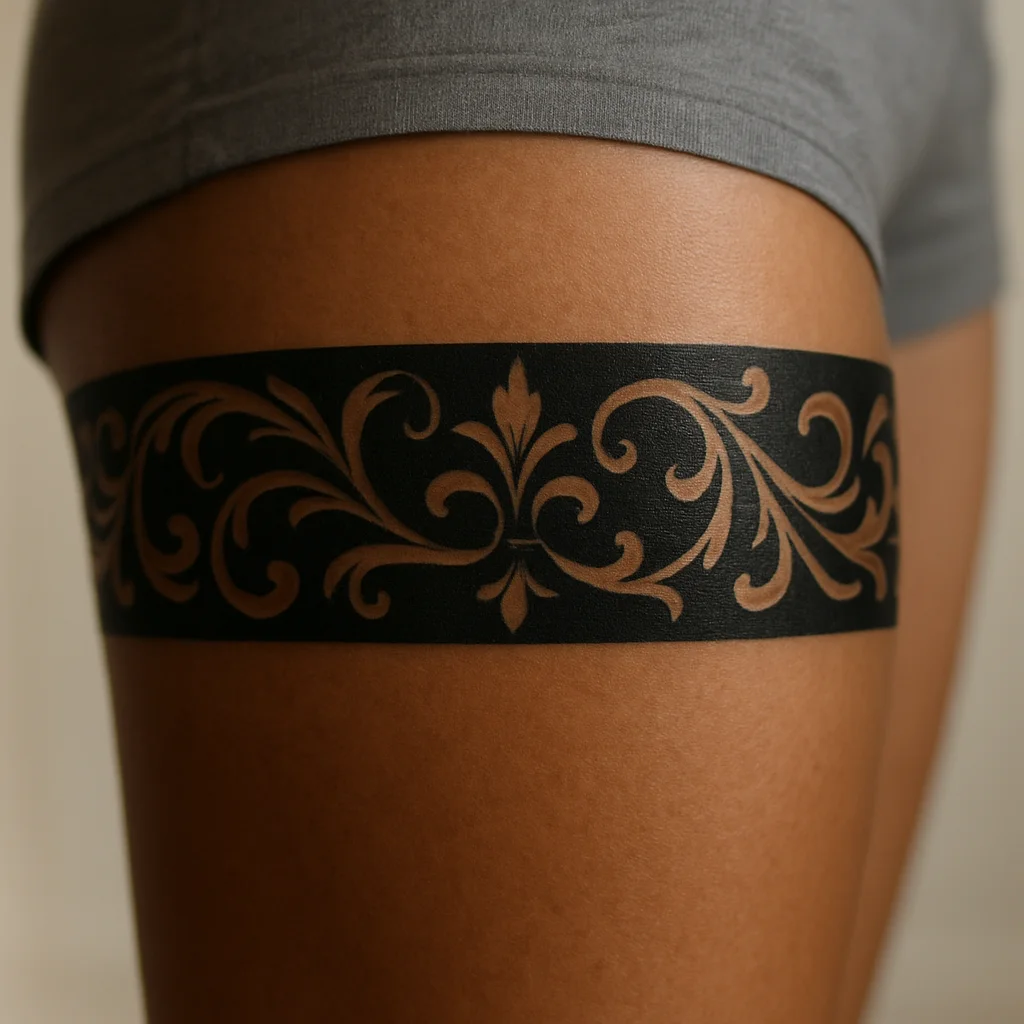
9. Back of the thigh: a blackwork ornamental band
Rates a 4 or 5 rather than a 2, mostly because you lie face down and the hamstring tenses. An ornamental band or garter of blackwork filigree wrapping horizontally suits the shape and looks intentional with shorts. Keep it above the crease behind the knee, which is one of the sharpest spots on the leg.
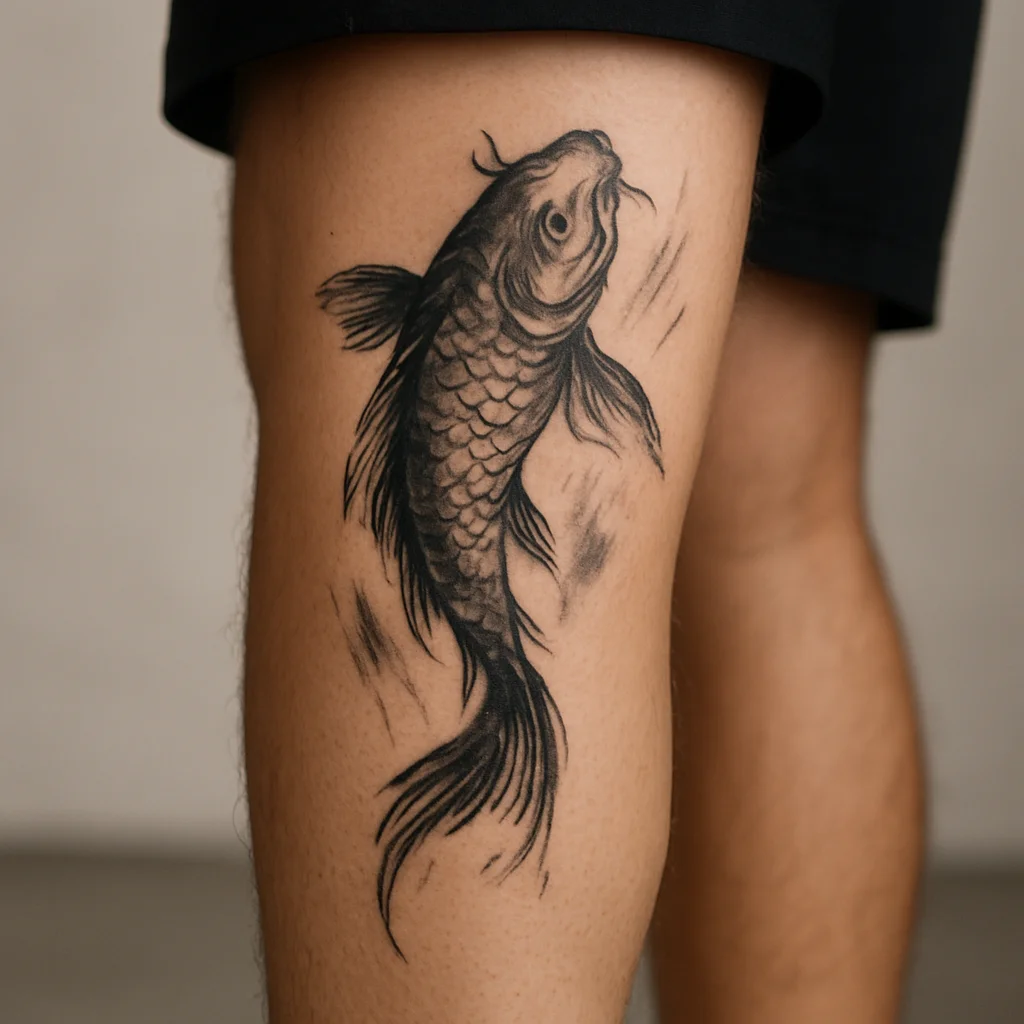
10. Calf belly: an illustrative koi and water
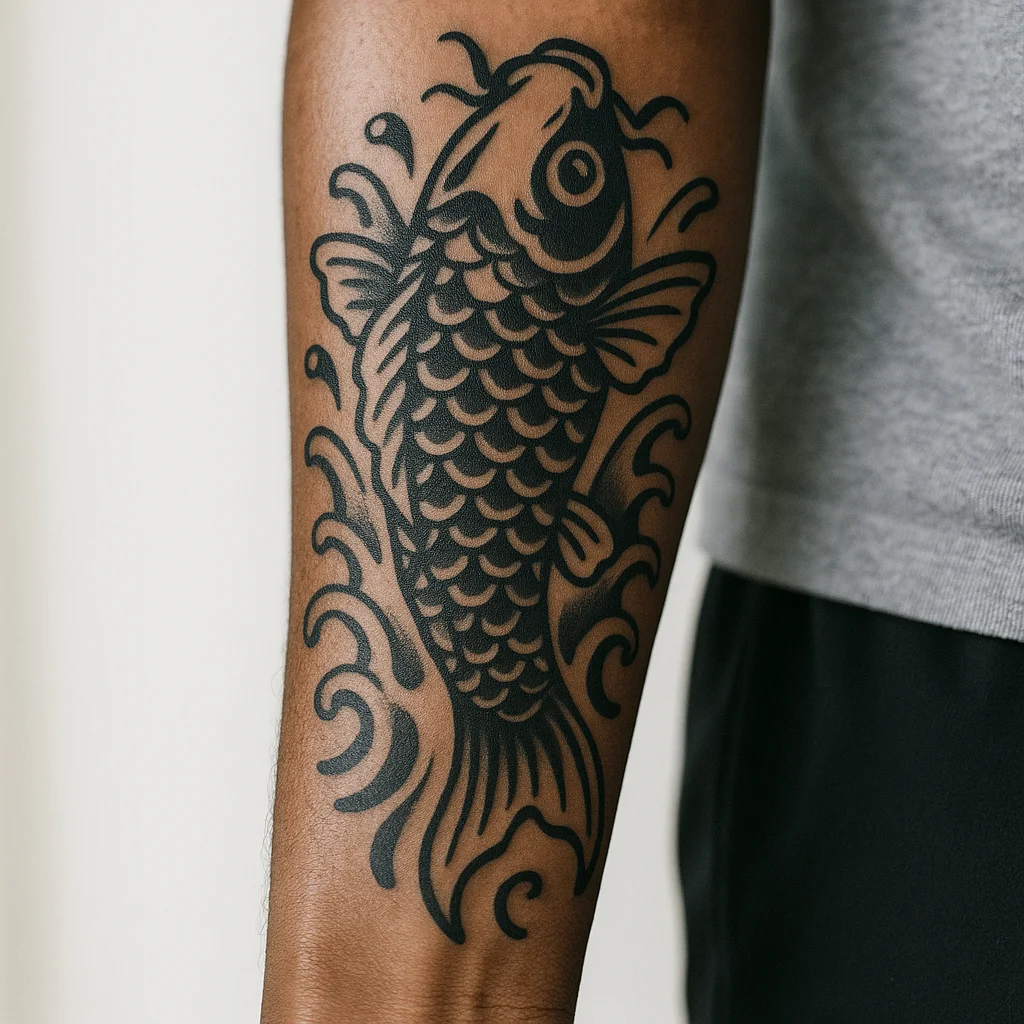
The thick muscle of the outer calf takes shading well and heals fast; the shin bone an inch away does not, so ask your artist to keep the composition on the fleshy outer curve. A koi swimming upward with brushy water shading follows the muscle's vertical taper naturally. If you like this zone, our calf tattoo guide breaks it down muscle by muscle.
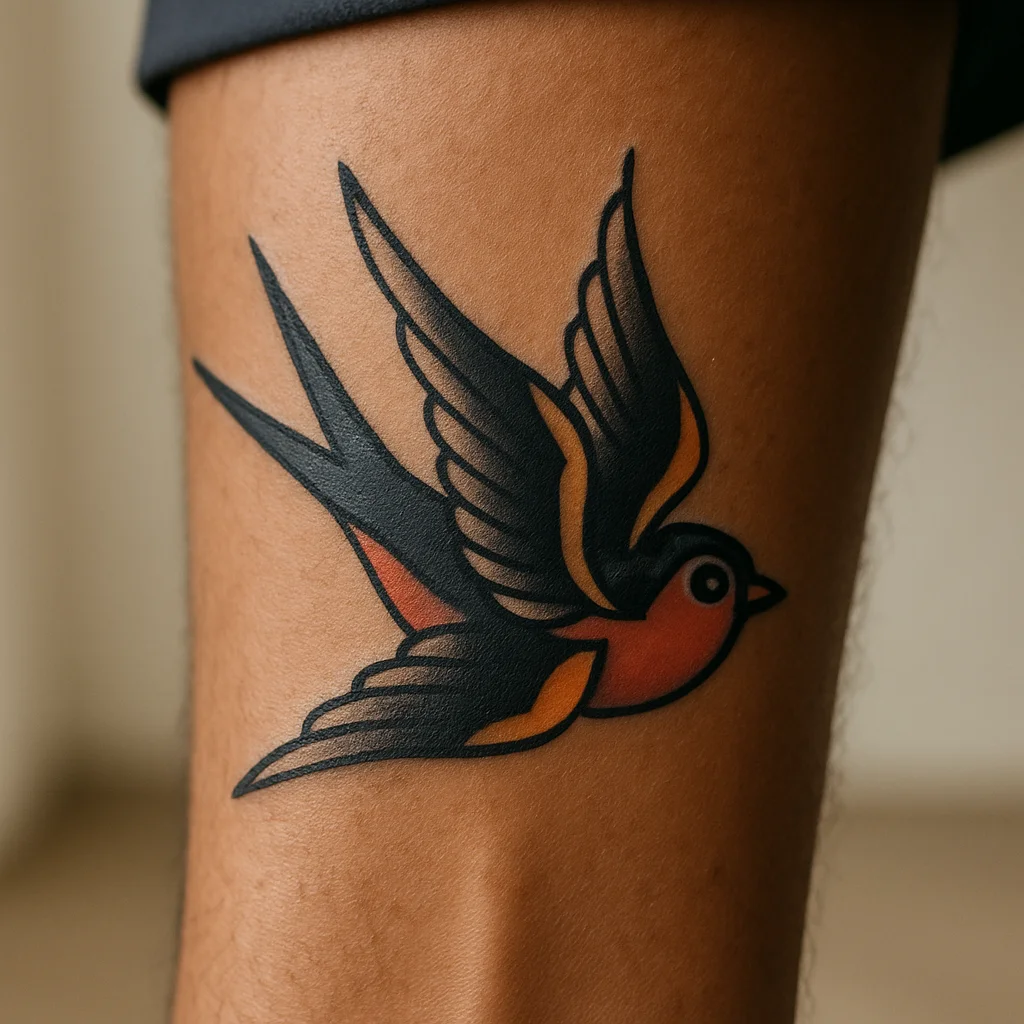
11. Outer calf, lower third: a small traditional swallow
A step spicier as you move toward the ankle, but still mild if you stay on the muscle rather than the bone edge. A palm-sized traditional swallow with solid black outlines and a small colour fill reads clearly from a distance and ages well on a limb that gets some sun. This is a good 45-to-90-minute session and often lands near shop minimum.
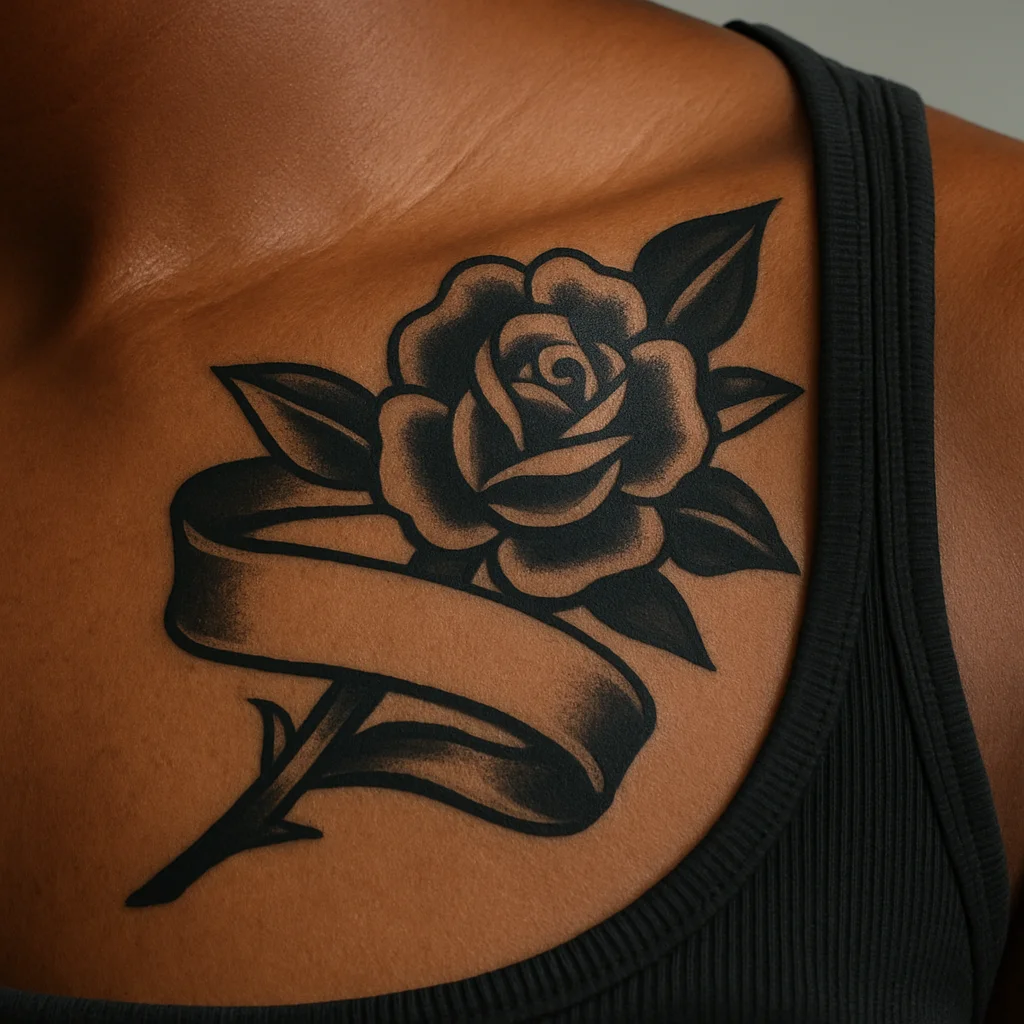
12. Outer chest over the pec: a traditional banner and rose
Honest rating: a 4 or 5 out over the muscle, climbing fast toward 8 or 9 as you approach the sternum and collarbone. A banner with lettering and a rose, angled to follow the natural curve from armpit to collarbone, gives you a chest piece while keeping the needle off bone. Budget three to four hours and be ready for breathing to feel odd during the closest passes to the centre line.
The Zones That Bite: Where Not to Start
None of these are off limits forever. They are simply bad places to learn what tattooing feels like, because a rough first experience makes people quit halfway or never come back.
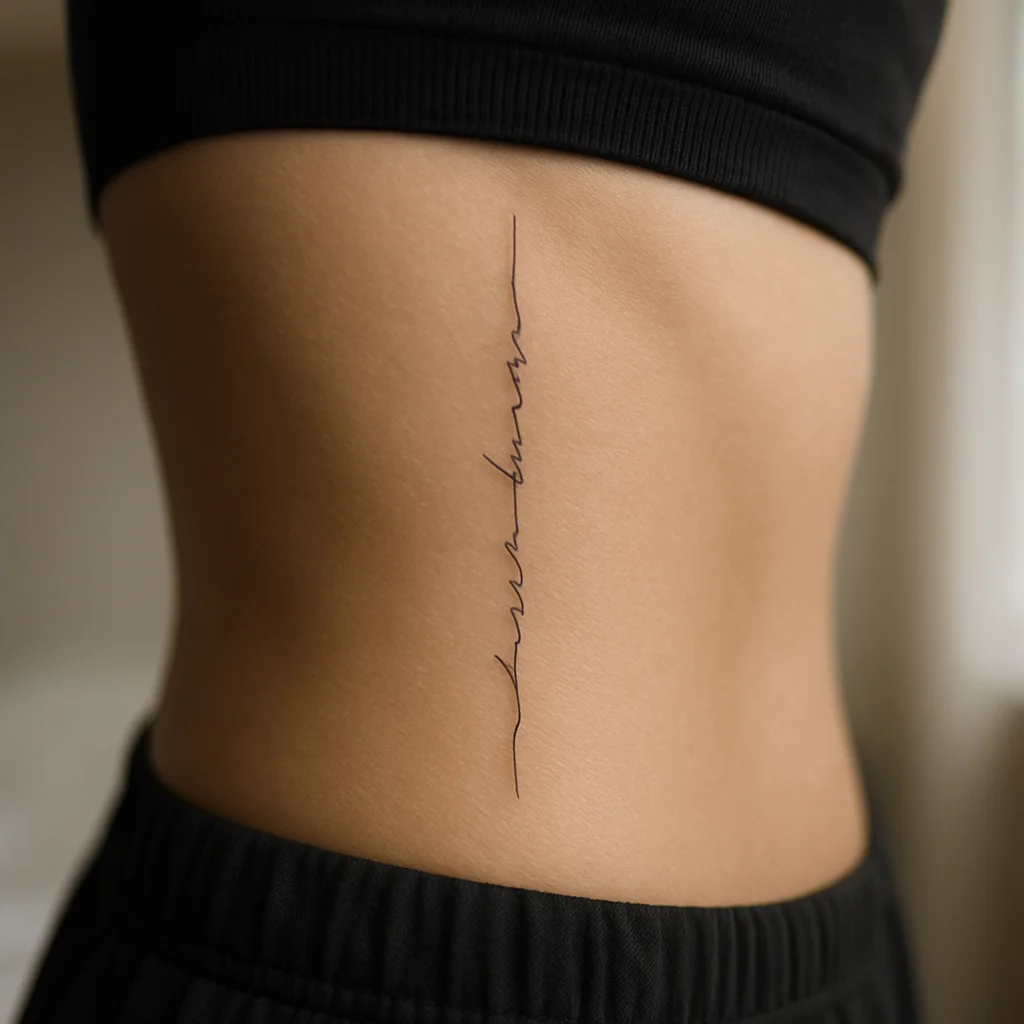
- Ribs and side of the torso. Thin skin over bone, plus your own breathing moving the canvas. Long script down the ribs is one of the most-requested and most-underestimated tattoos in any studio.
- Spine. Direct bone contact for the whole length, and the vibration travels. Beautiful placement, brutal sit.
- Feet, toes, fingers, hands. High nerve density, bone right under the surface, and the worst healing record of any zone. Fingers in particular often need touch-ups within a year.
- Elbow ditch and back of the knee. Loose, thin, constantly folding skin. Sharp during, itchy and slow to settle after.
- Sternum, collarbone, throat, armpit. Bone plus nerves plus nowhere to look away.
If your heart is set on a tender area, two tactics help. First, shrink the design so the sit stays under about 90 minutes; pain is survivable, endurance is the real problem. Second, ask the artist to place the bulk of the design on the padded neighbour and let only the edge cross the tender zone, so the worst passes are minutes rather than hours.
How to Make Any Sit Hurt Less
Pain management starts the day before, not in the chair.
- Eat a real meal within two hours of your appointment and bring something sugary. Most people who feel faint are running on an empty stomach, not on unbearable pain.
- Sleep and hydrate. Tired, dehydrated skin is more reactive and bleeds more, which slows the artist down and lengthens the sit.
- Skip alcohol for 24 hours beforehand and avoid aspirin-type painkillers that thin the blood. Paracetamol/acetaminophen is generally the safer option, but ask your artist about their preference.
- Ask about numbing cream before booking, not on the day. Some artists work with it happily, others find it changes how skin takes ink or wears off mid-session, leaving you with a nastier second half. It has to go on well before the needle and usually under wrap.
- Breathe out on the hard passes. Slow nasal breathing, jaw unclenched, feet flat. Tensing makes the skin harder to work and the pain sharper.
- Take breaks before you need them. Every 45 to 60 minutes, stand up, drink water, reset. It costs you 20 minutes and buys you an extra hour of tolerance.
On the money side, most shops charge either by the hour or by the piece, with an hourly range that varies a lot by city and artist reputation, and a shop minimum for anything small. Low-pain zones tend to be cheaper per square inch simply because the artist works faster on flat, forgiving skin.
Aftercare in green zones is easy: keep the tattoo clean with unscented soap, pat dry, thin layer of the ointment your artist recommends for the first few days, then a plain lotion. Padded areas like the forearm and outer thigh chafe less and heal quickly. Anything near a joint or a waistband needs looser clothing for two weeks, and no soaking or direct sun until the flaking has fully finished.
Frequently asked questions
What is the least painful place to get a tattoo?
The outer forearm and the outer upper arm are consistently the mildest for most people: thick muscle, no bone contact and a comfortable sitting position. The outer thigh and calf belly are just as forgiving and give you far more space. All of them typically feel like a dull buzz or a hot scratch rather than a sharp sting.
Does having more body fat make a tattoo hurt less?
Padding does help, because fat and muscle absorb the needle's vibration instead of transmitting it into bone. That is why the same design hurts less on a thigh than on a shin. But nerve density matters just as much, so a padded but nerve-rich area like the inner bicep still stings more than the flat outer forearm.
Does numbing cream actually work for tattoos?
Good lidocaine-based products genuinely dull the first hour or two, but they need to be applied well in advance and usually under wrap. The catch is the rebound: when it wears off mid-session, the remaining time can feel worse than an unnumbed sit. Always clear it with your artist when you book, because some decline to work over it.
How long should a first tattoo session be?
Aim for 90 minutes to two hours of actual needle time. Adrenaline generally carries people through the first hour comfortably, then tolerance drops off noticeably. A smaller design in a low-pain zone finished in one relaxed sitting is a far better introduction than a marathon you have to abandon.
Are the least painful placements also the easiest to heal?
Largely yes. Padded, low-friction zones like the outer forearm, deltoid, outer thigh and calf get less rubbing from clothing and less flexing than joints, hands or feet, so they settle faster and hold their linework better. The exceptions are areas that sit under a waistband, bra strap or sock line, where friction can drag out healing.
The conversation
No comments yet. Got a thought about these designs? Start us off.
Want to weigh in? Join the community to comment, save designs and try them on your skin.